If this is your first visit, be sure to
check out the FAQ by clicking the
link above. You may have to register
before you can post: click the register link above to proceed. To start viewing messages,
select the forum that you want to visit from the selection below.
Long time since I've given an update, just been enjoying the car as it is over the summer was able to secure a spare motor and AEB head thanks to Colin tear down will commence in the coming weeks.. goal is to get this thing running for February so I can enjoy it for the entirety of next season.
Let the fun begin!! Build specs to follow still have some decisions to make.
Sent from my iPhone using Tapatalk
Current
02 Audi S3 - Low and Slow phase II follow the build @j_gheron
04 GLI low and slow OG
Past
02 Laser S4//605'd//aquamisted//EPLed
00 Jetta 1.8T OEM+
i feel there has been enough progress for another quick update... the car is now parked for the winter and the real work has began.. we ripped into the engine a couple of weeks ago and got it completely torn apart, it was a filthy process so unfortunately no pictures.. but here are some end of season shot
the engine was delivered to precise who will be taking care of all the machine work. We found one of the JE pistons had a collapsed skirt 
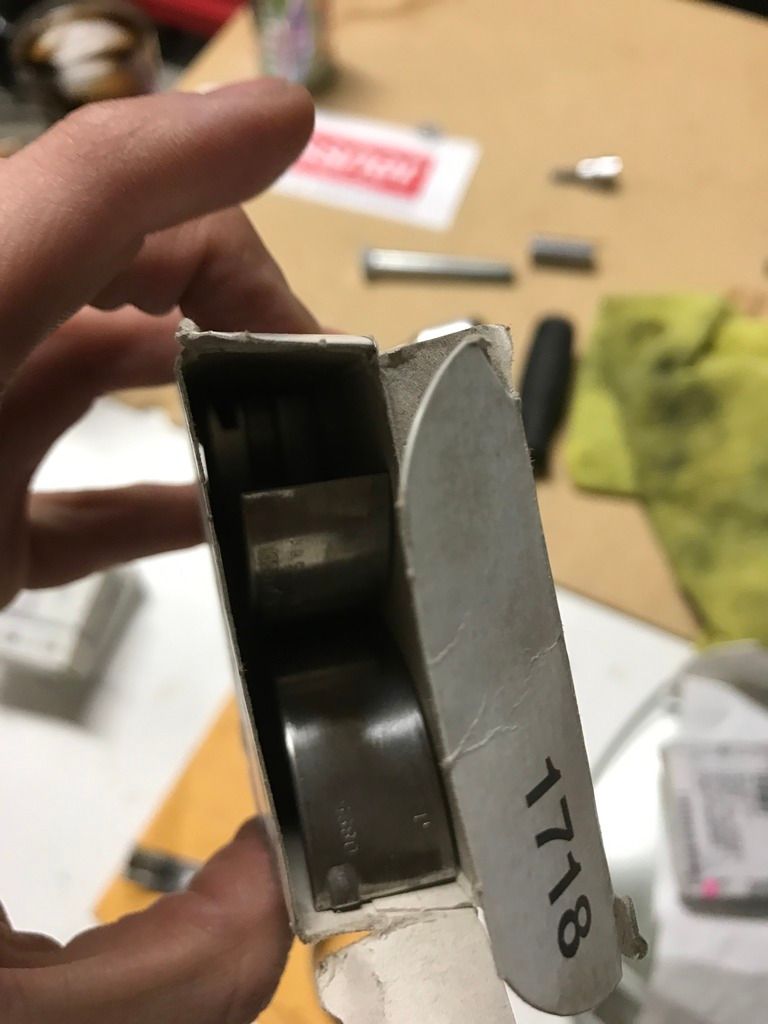
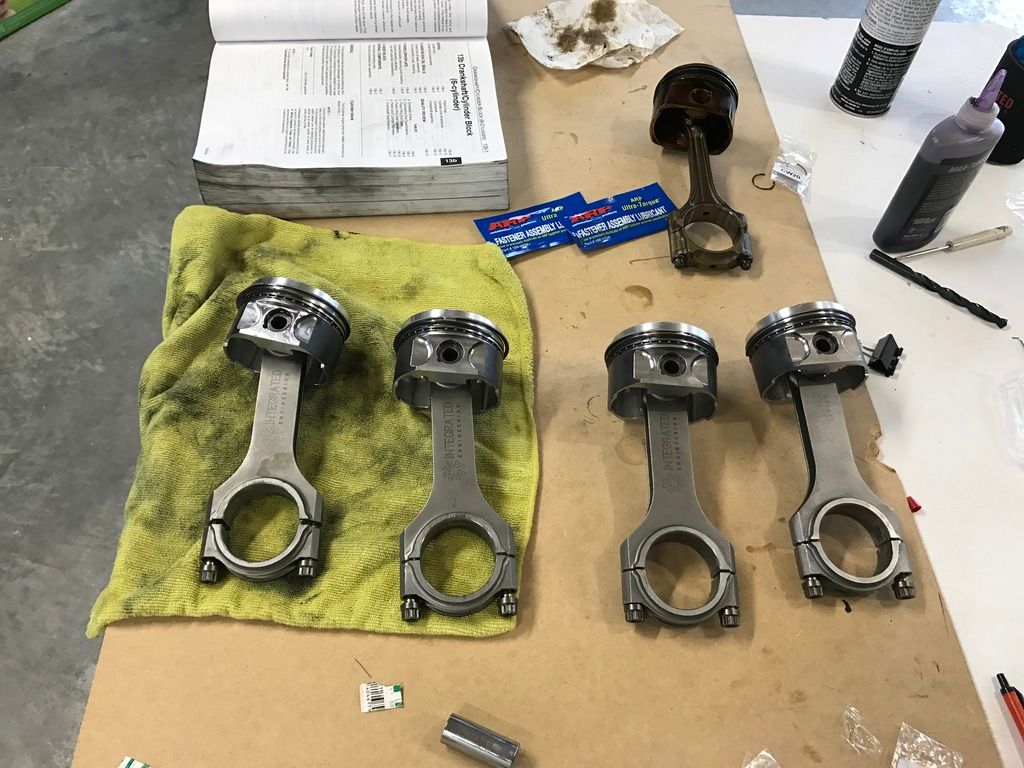
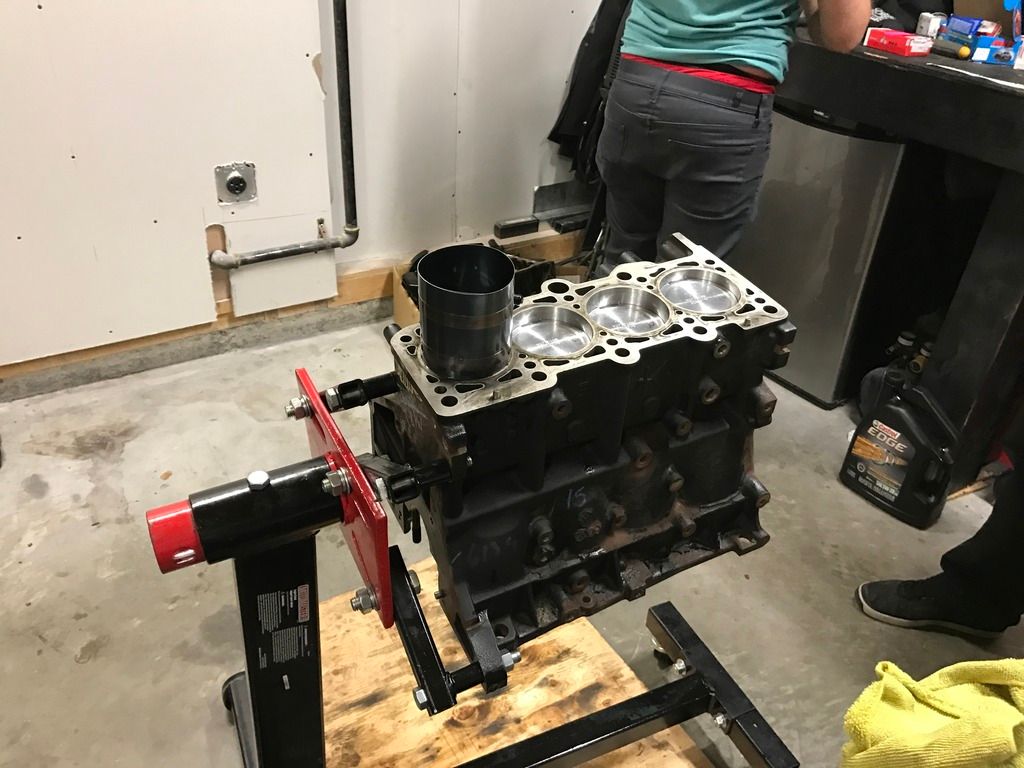
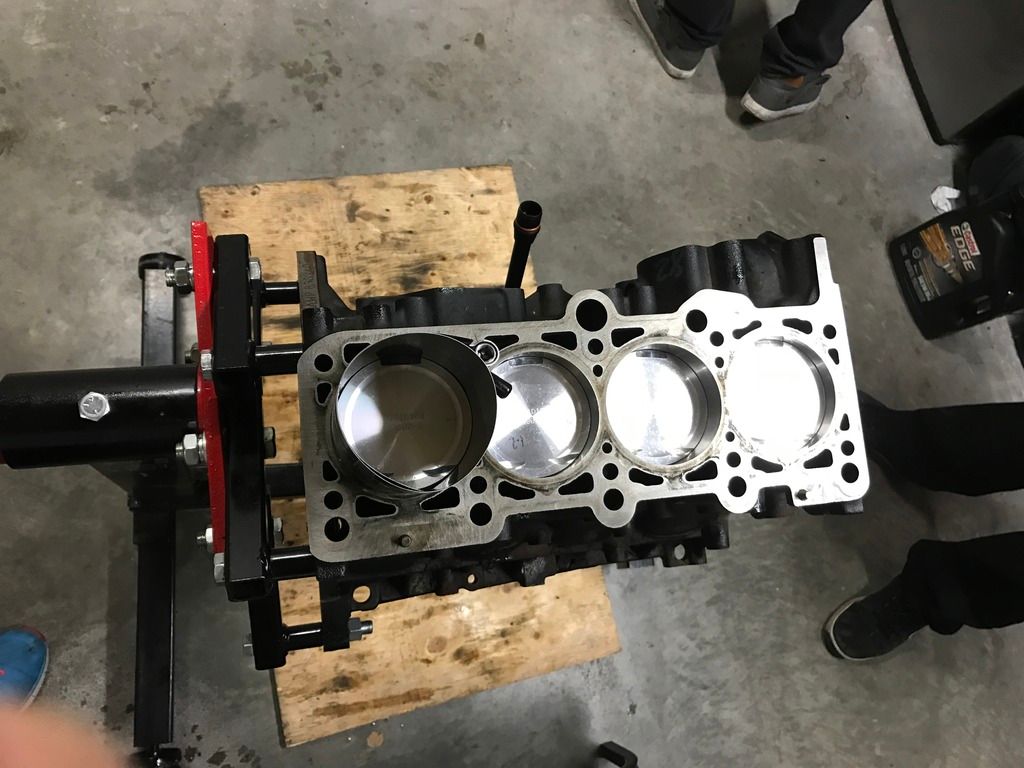
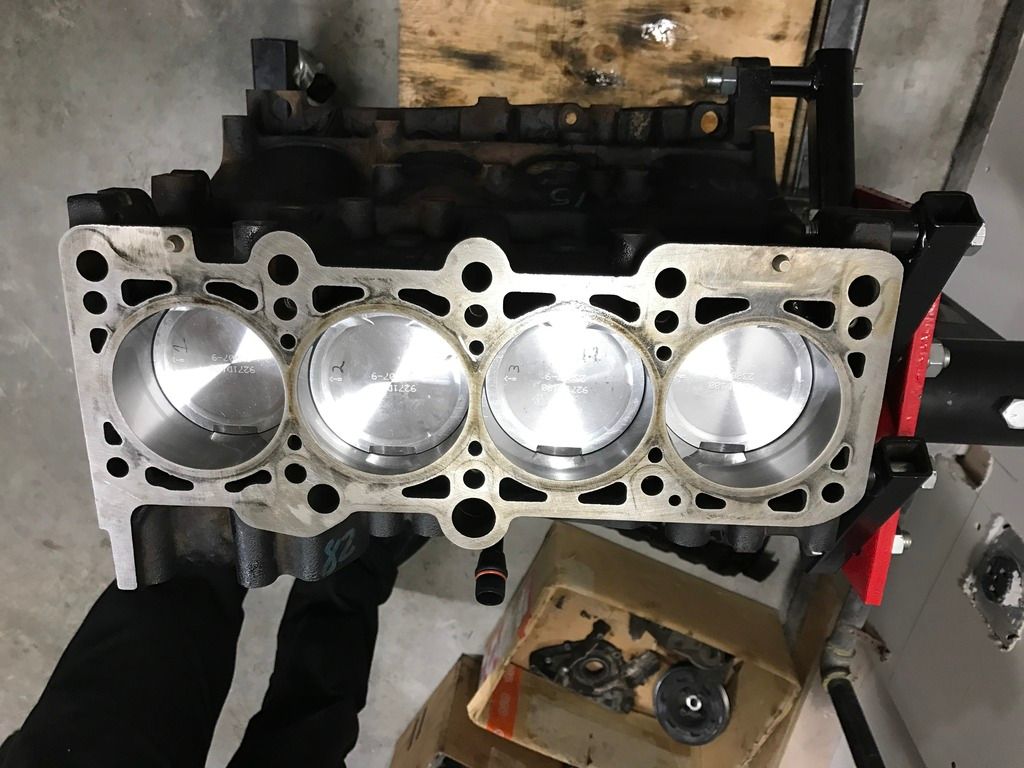
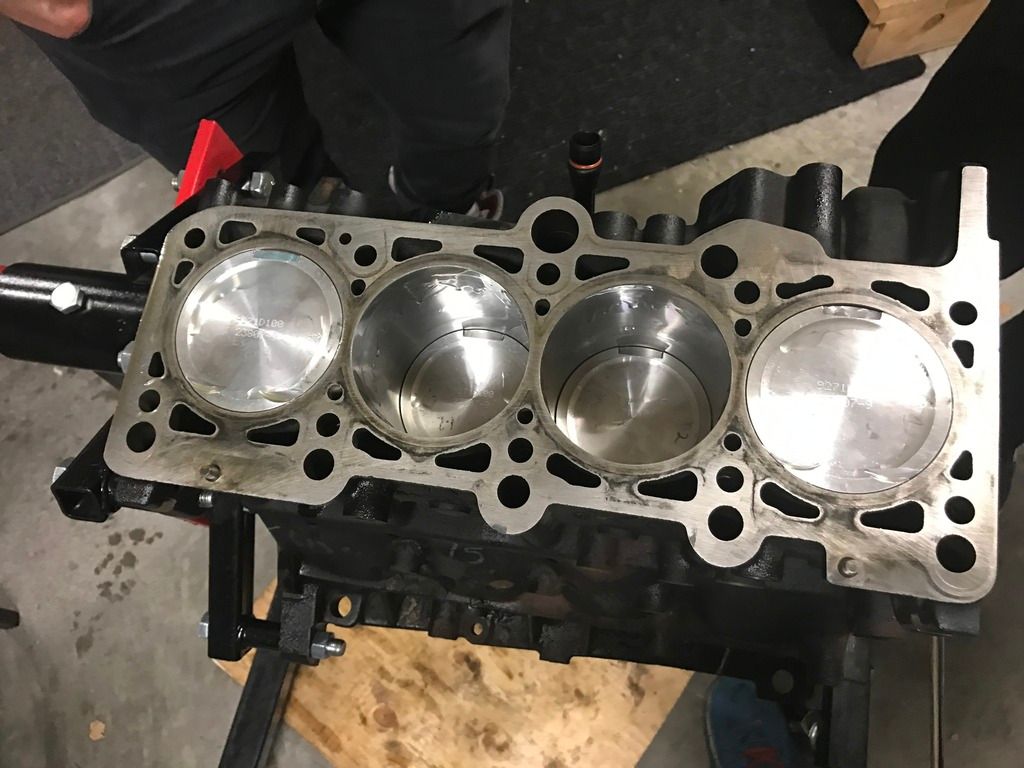
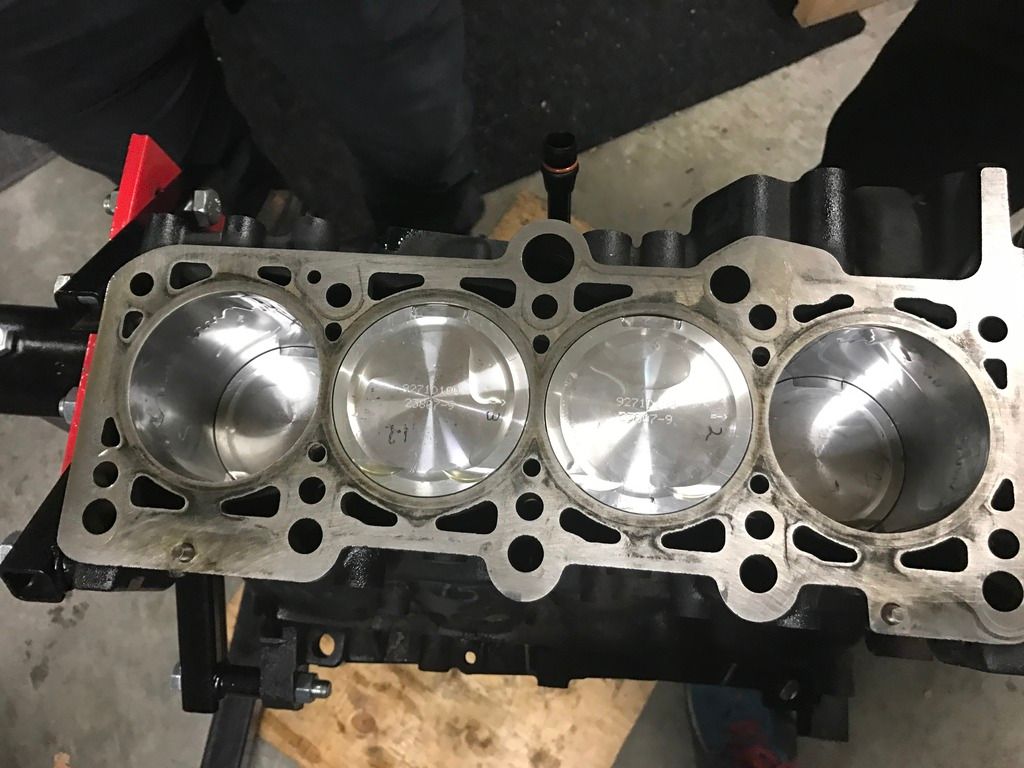
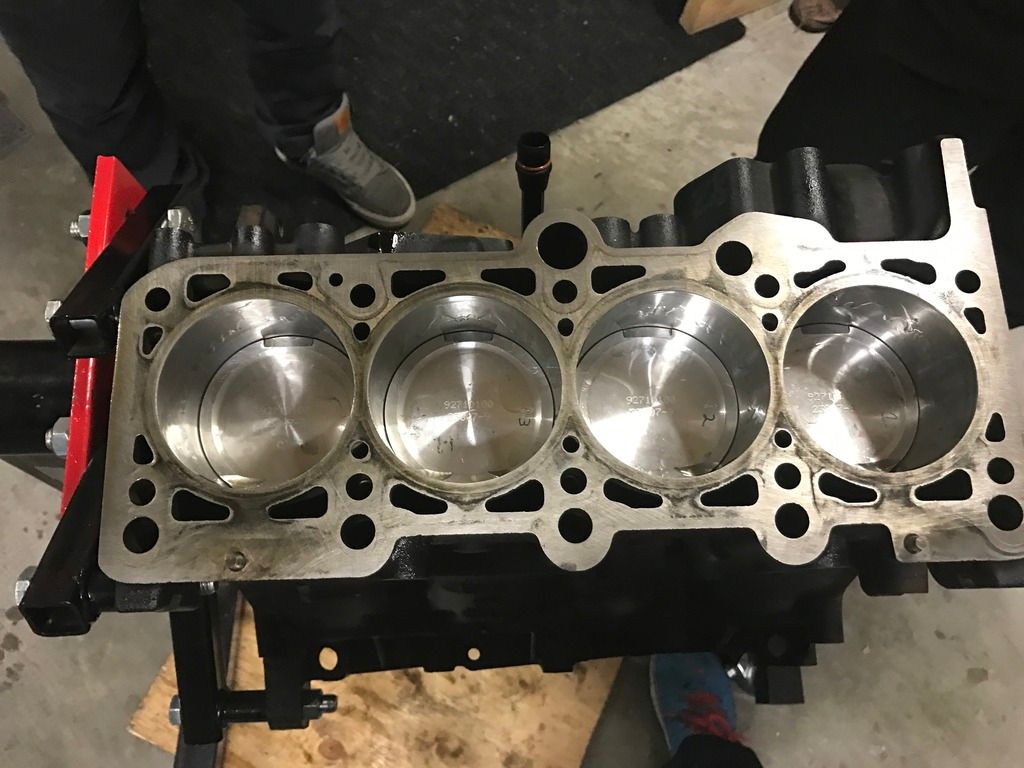
unfortunately this meant the the set wasn't usable after talking with Chris at precise he had mentioned piston to wall clearance with a stock bore piston would have been a bit on the loose end any way and suggested i look at a over bore set of pistons... quick visit to Calgary Autoworks and a chat with Colin and Chris got me hooked up with a set of Wossners, the turbo is on the way and should be here next week there are odds and ends coming in and being ordered on a fairly regular basis... the specs for the build are below.. I`m beyond excited to for next season!
Integrated Engineering Rods
Wossner 82MM pistons 9.5:1 C/R
New rod, main and thurst Bearings of course rings as well
ARP Main Stud Kit
ARP Head Bolt Kit
tubular top mount manifold full V-band
HTA GT3076 with a tial .63 A/R V-band exhaust housing
Tial MVS wastegate
Eurodyne software car will be tuned by Chris
every gasket seal pump etc replaced with new OEM pieces
AEB big port head - depending on the condition this may stay stock for the season and upgraded next year.
IE intake manifold (hope they have a decent sale around Christmas time)
ACT HD clutch kit
as many of you know i drive the car down to Vegas every year with an exclusive list of people to Wuste (everyone is invited!) the goal is the have the motor broken in and tuned before we depart for the 2017 trip, which brings me to my next point this thing is and will remain a daily summer car so if you 1.8 gurus think there is something missing on the list or have a recommendation feel free to speak up.
PS give me a follow on Instagram for more frequent updates (link in sig)
Current
02 Audi S3 - Low and Slow phase II follow the build @j_gheron
04 GLI low and slow OG
Past
02 Laser S4//605'd//aquamisted//EPLed
00 Jetta 1.8T OEM+
Sucks about the piston skirt. Don't think Derek even knew. :(
3076 wont be too lazy? What psi you planning on running?
i doubt he would have there is no way you could tell by looking at them but these things happen had i paid more for the set i may have been slightly upset but considering he gave them away i cant be mad... the HTA wheel is suppose to spool faster for a couple of different reasons im hoping that paired with the higher compression and big port head gives me a nice power band. the larger bore should help too
Yum, wuste open invite eh? Maybe we can ride majestic to vegas together!
should i put you down? :P we are going to try and get a larger group this year... my first trip out there were about 30 cars driving down its decreased significantly... but the show is always a great time.
Current
02 Audi S3 - Low and Slow phase II follow the build @j_gheron
04 GLI low and slow OG
Past
02 Laser S4//605'd//aquamisted//EPLed
00 Jetta 1.8T OEM+
spent Sunday and Monday putting together the bottom end, before I get to the pictures though first thing is first a bit of a rant, from this point on I would not recommend ordering OEM main bearings to build these motors, or at least order 2 maybe 3 sets at a time... I'm sure they are a great product but there is one flaw.... they are probably the worst packaged item on VW's parts catalogue... I'm not sure what VW is thinking but bearings should be carefully packaged and not be allowed to bang into each other like the OEM packaging allows
here is an idea of how they are packaged
as a result out of the 5 sets I had 2 had noticeable gouges and one was scratched but not to the point that you could feel them on the surface..
the picture doesn't show it overly well but I was uncomfortable using them so again Calgary Auto Works to the rescue picked up a set of King Racing rod and main bearings boxed up all fancy
and a comparison shot just for good measure the finish on these was a million times better than the OEM bearings.. this may be due to the fact that they are individually packaged plus the coating looks cool and that's all that matters right?
alright after the rant time to actually get to work on writing this post...
rings gaped, pistons mated to rods and ready to go into their new homes
putting the pistons in is fairly simple just have to be careful not to force anything last thing I wanted was a broken ring, we made sure all the ring gaps were in the right location lubed up the piston along with the ring compressor and cylinder, we then insert the skirts into the cylinder and tightened the ring compressor, make sure the walls of the ring compressor are strait and place the handle of a hammer on top of the piston (rubber), tapping with my hand the pistons went in without much fuss - if you are finding you really need to pound on the piston to set them something is up, back it up make sure everything is clean and lubed and try again. didn't take many pictures of the process but here is what the setup looks like
pistons in their homes
ARP main studs in theirs
after that it was time to make sure the crank to main caps clearance was good.. more for peace of mind than anything as the machine shop ensured everything was within spec I plastigaug'd all the main's and rod's - fairly simple process insert the top bearings into their location on the block, then in the caps, note below cap #3 has a grooved cap all the way around
place crank in its location caps on top and tighten all the main caps to spec - 60 ft lbs in my case with ARP hardware in 3 equal steps, undo and take the caps off now you can measure your plastigauge, all my clearances came out to .0015 - shitty picture
I was happy so I cleaned and lubed everything up and torqued them all down again, once we were done I made sure the crank spun free and did not bind. - ps dont forget your thrust bearings!!
now rod time as I mentioned above I plasigauged the clearance on these again for peace of mind - with the rods I chose to use the ARP stretch gauge, I'm sure torquing them down would yield nearly the same result but again piece of mind when building a motor is never a bad thing, the gauge eliminates any wonder. so we did this 2 at a time first rods 2 and 3 then 1 and 4
clearance check!
stretch gauge in action - first we zero it out
give that bolt a bit of a yank
then take another wrench and use it as leverage, it will take some flexing to get the correct stretch... in all seriousness getting the appropriate stretch .0055' (approx 50 ft lbs according to IE's site) out of a 11 mm box end wrench was not easy
and there we had it... a assembled bottom end!!! gave her a few spins again to make sure there is no binding and that everything spins freely which seemed to be the case.
now just waiting on some more parts so we can move forward with the rest of the build.. more to come!!!
Current
02 Audi S3 - Low and Slow phase II follow the build @j_gheron
04 GLI low and slow OG
Past
02 Laser S4//605'd//aquamisted//EPLed
00 Jetta 1.8T OEM+
should probably give this a quick update as its been a while! i haven't been nearly as good at updating this as I wanted to be the aim is engine in the car and hopefully running this weekend!
Head on and Cams timed
Motor timed with manual tnesioner
accessories on and runing lines... spent a few hours polishing the alternator just to find out you can't even see it with the new manifold
what we started with... yes that Popp himself actually doing some work... or telling us to go through the hub.... right?
[/URL]
old mount... turned into powder.. that's weird
and the other side...
Engine out! and my ugly mug
Decided we should get rid of some stuff... pretty committed at this point
last but not least.... the 2 most expensive boxes i have ever bought... and a nice large TB
that's where we are at... going to send the stock file over to Eurodyne today so that i can hopefully get a base file before the weekend, the last of the parts (knock on wood?) will be here tomorrow and we can get going on the install... ill update the first page with the full specs of the build so its there for reference...
Current
02 Audi S3 - Low and Slow phase II follow the build @j_gheron
04 GLI low and slow OG
Past
02 Laser S4//605'd//aquamisted//EPLed
00 Jetta 1.8T OEM+
Comment