Hey guys,
I've been working on my Mk2 for a while. Its a project that my dad and I have been working on for about 8 months now, we started in November 2013. So basically how I ended up with the car, my dad gave it to me after it had been sitting for a year(ish) and said that we are going to fix it up.
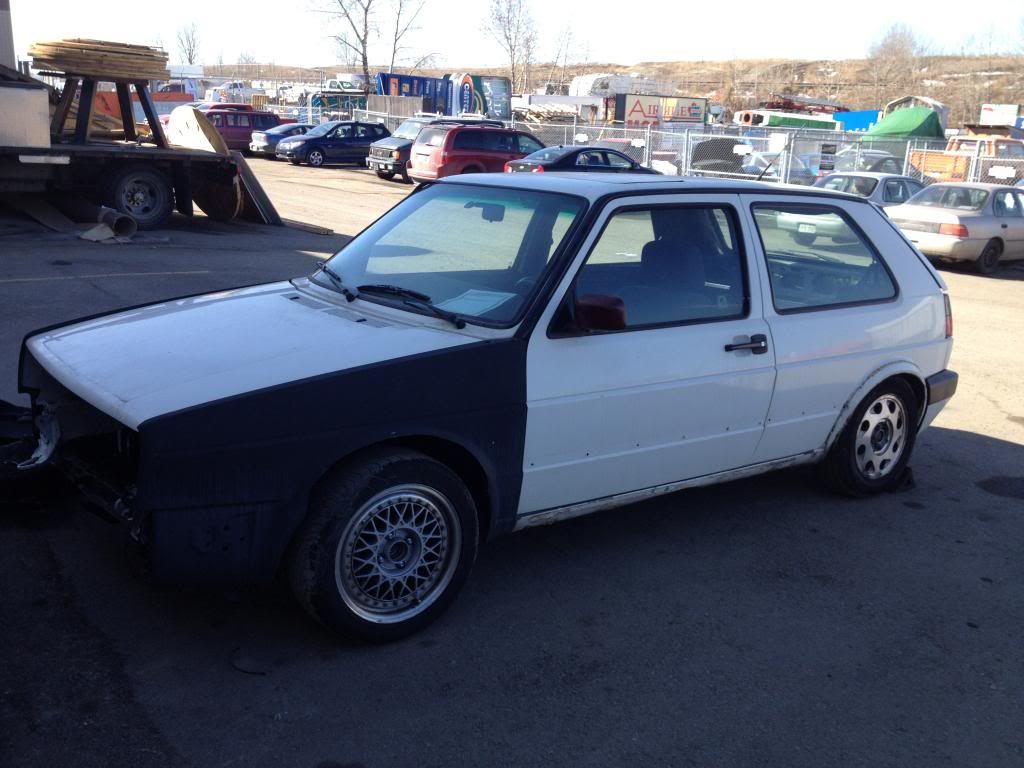
This is what it looked like when I got it. No engine, kinda rusty, had been sitting in our yard for a few years.
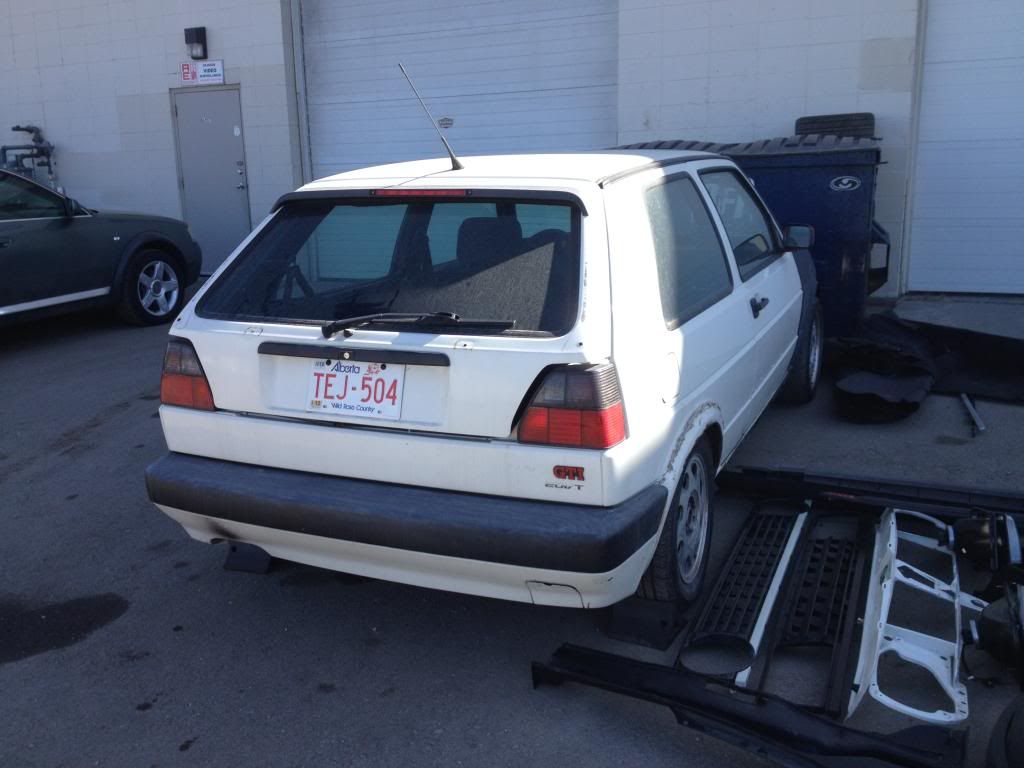
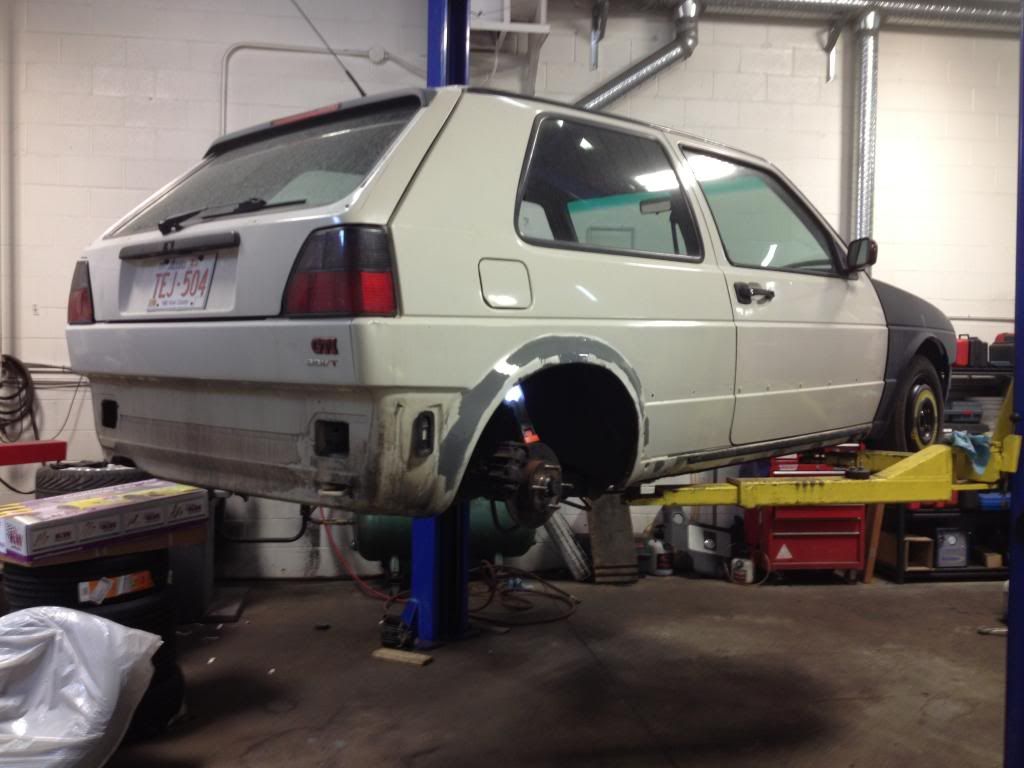
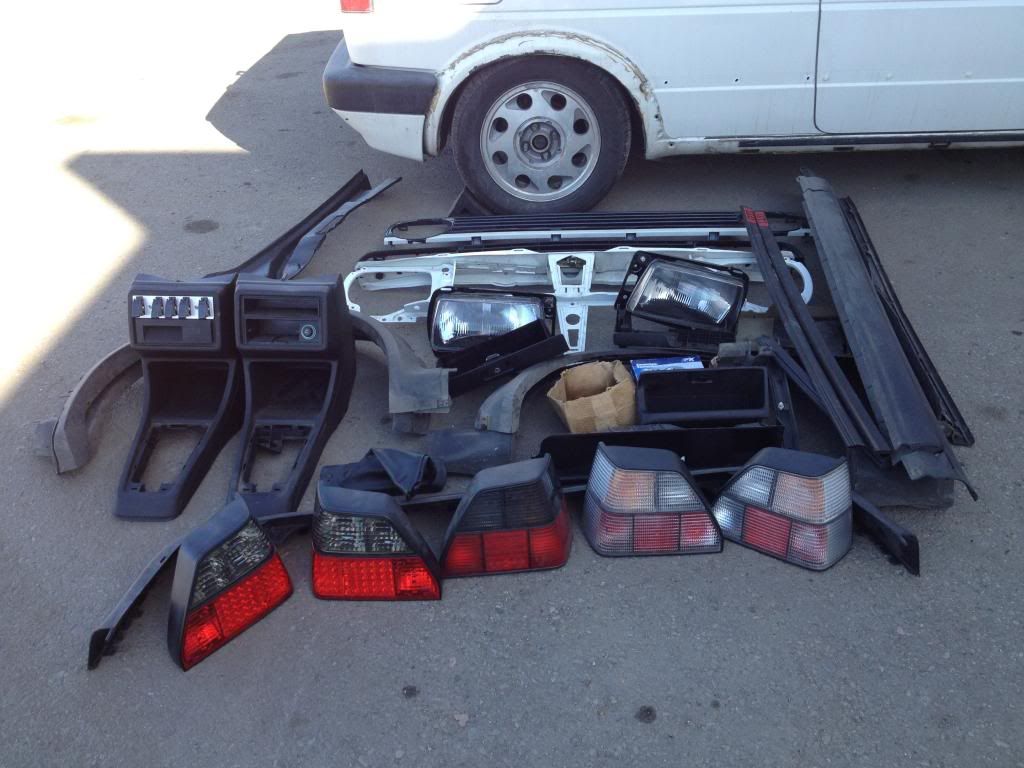
All the stuff that it came with.
And this is what it looked like before it lost its engine and went to the yard. I believe it made about 450whp until it blew a piston ring on the dyno. (Was not mine back then)
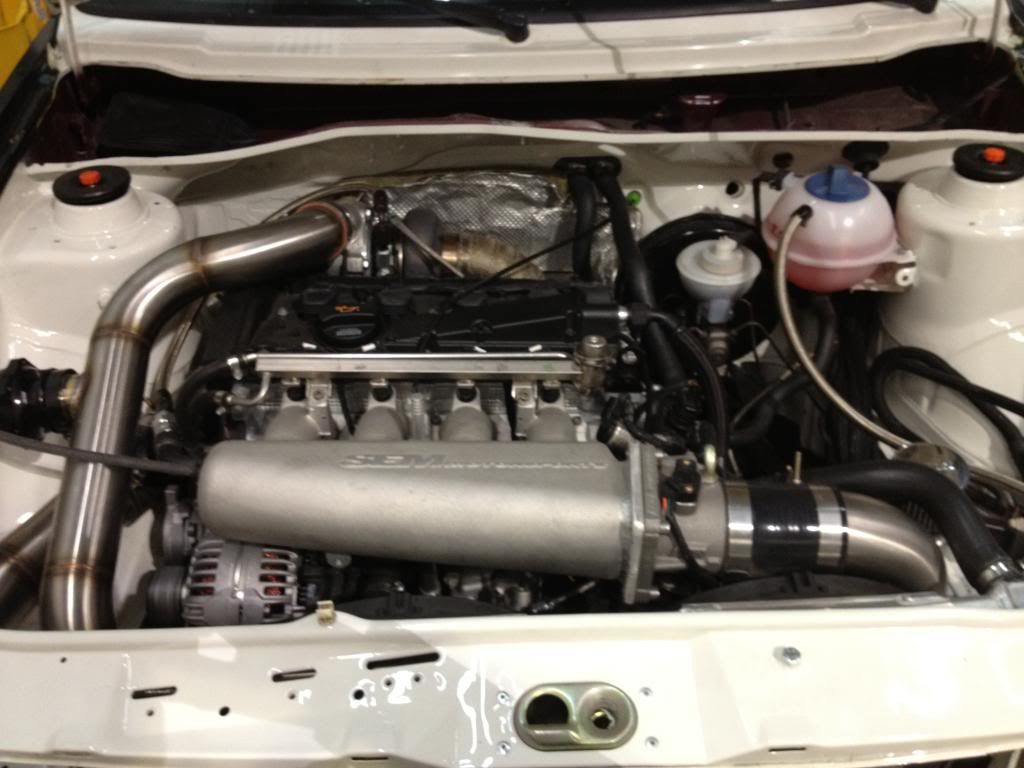
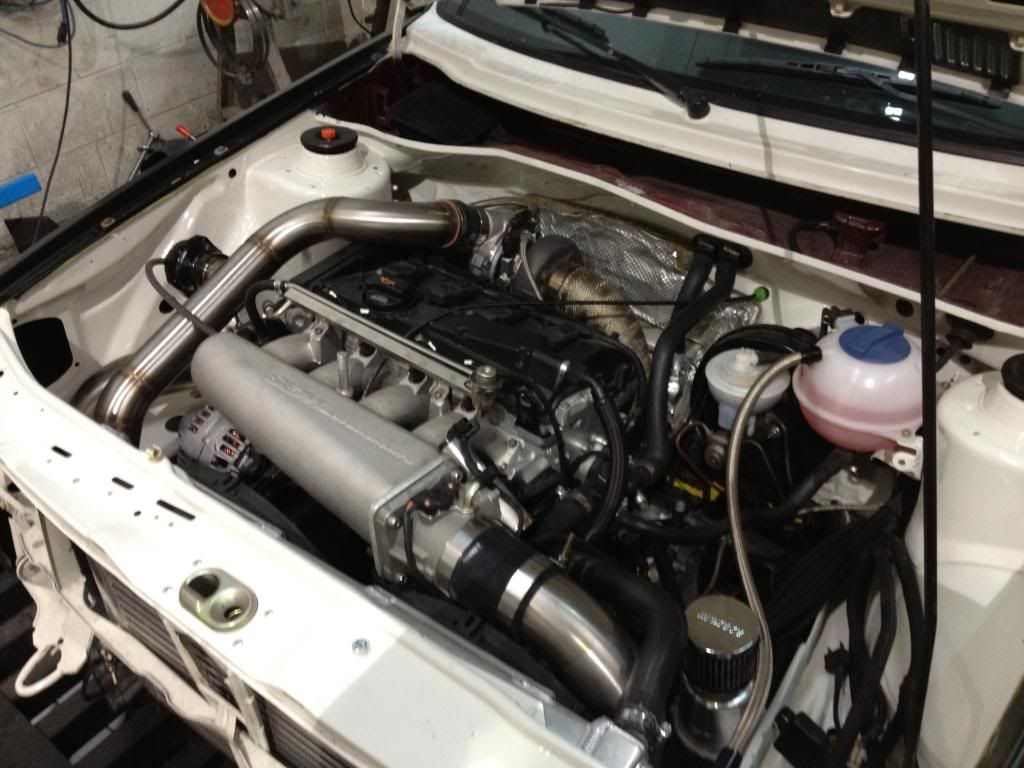
Okay, so now the fun starts. We started the swap to put MK4 engine mounts into it, thats right MK4 mounts. So first mounted the engine in there with its original MK2 mounts so we could know where its supposed to be. Then we had to make it so that the piece that attaches the mount to the engine fit. Here are some pictures of that.
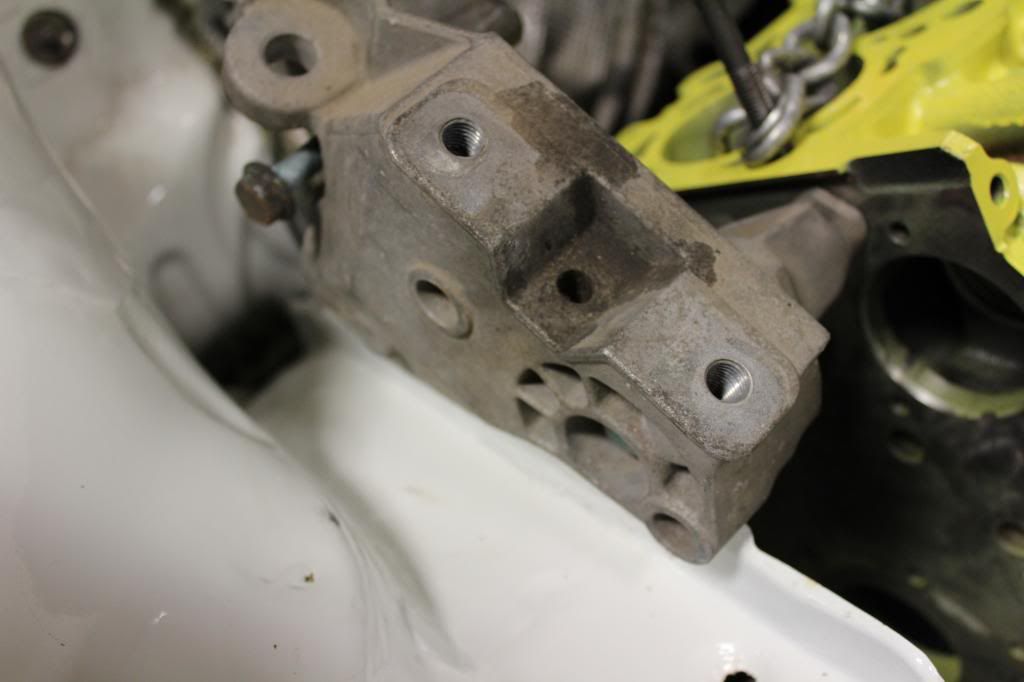
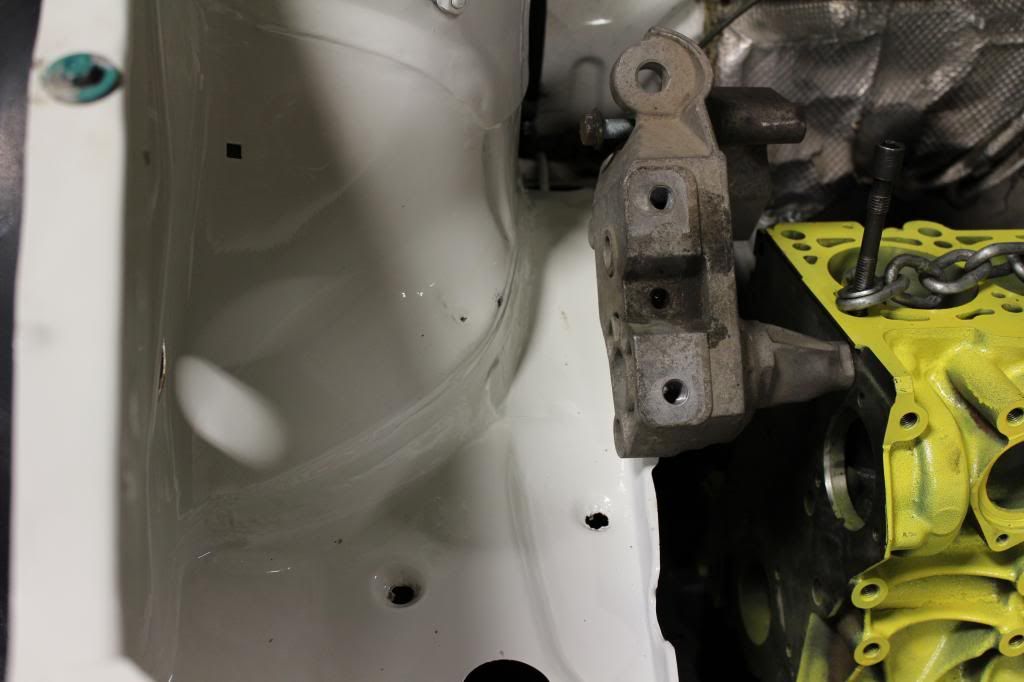
So we obviously had to cut away part of the frame rail for it to fit.
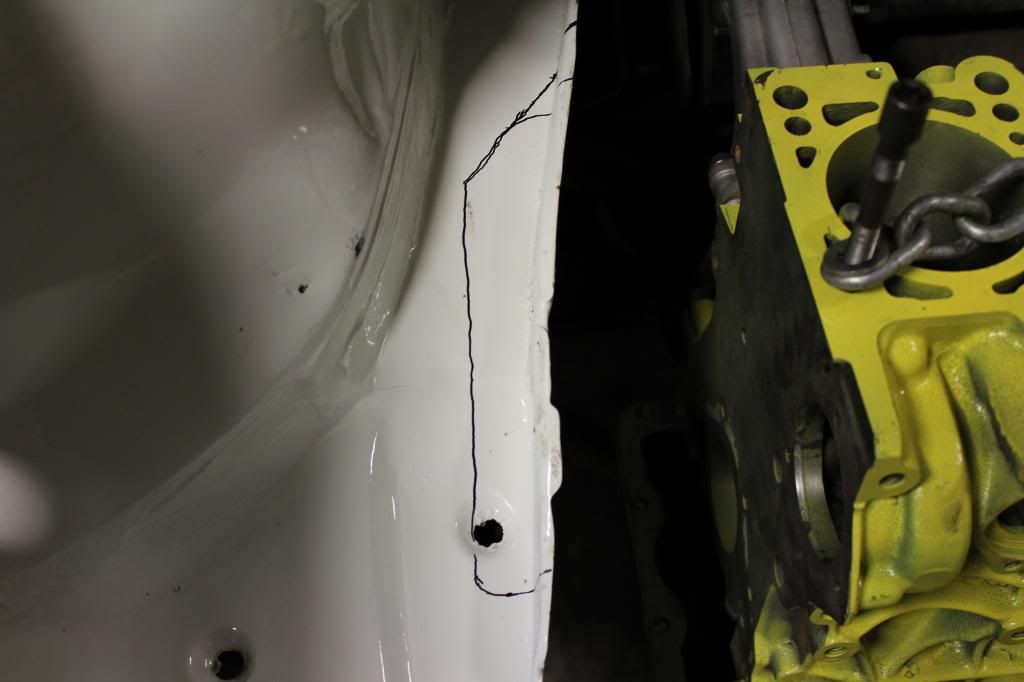
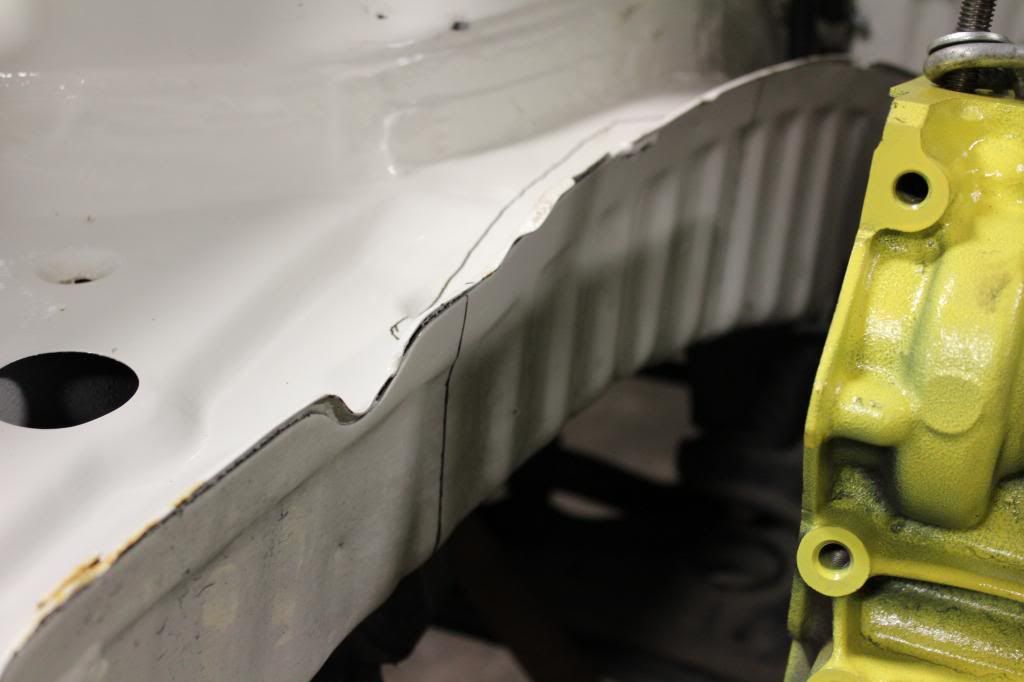
Half done.
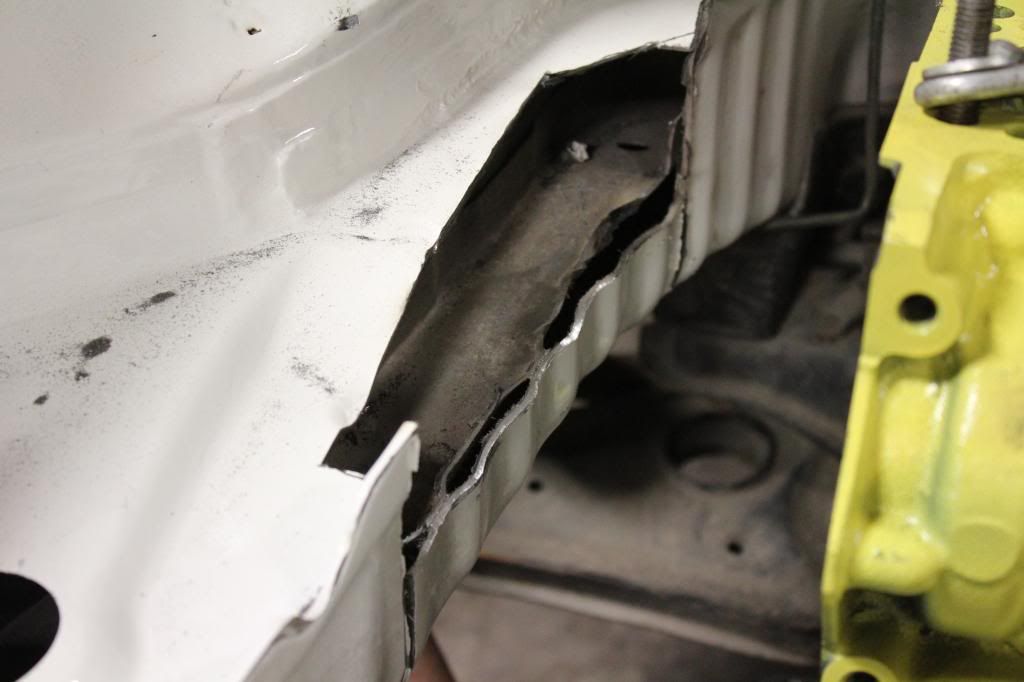
Then it fit!
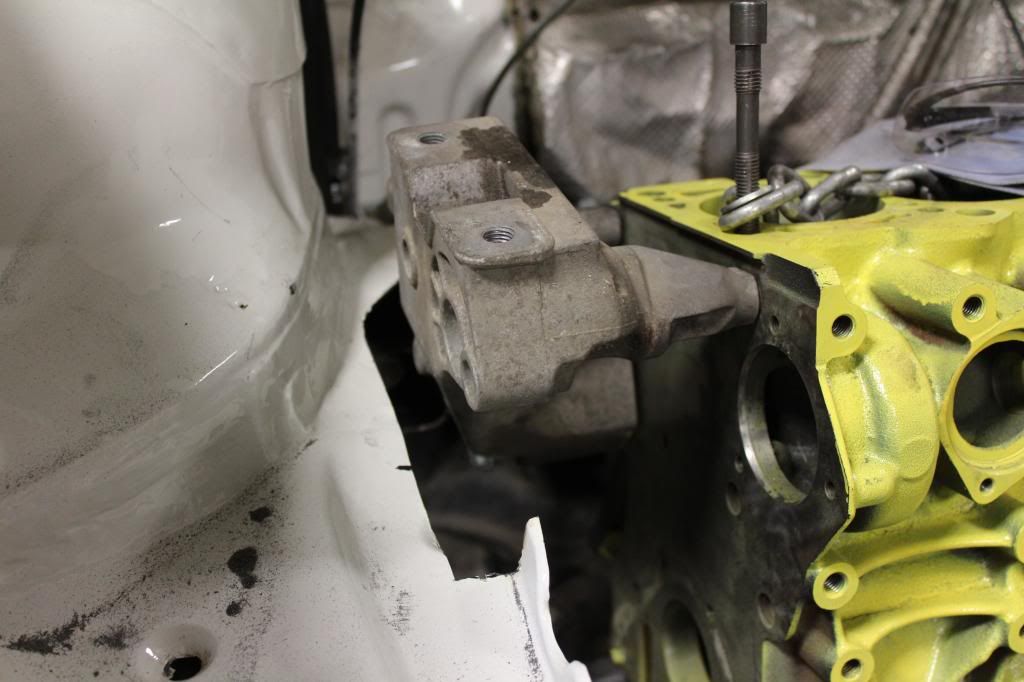
So we welded it up.
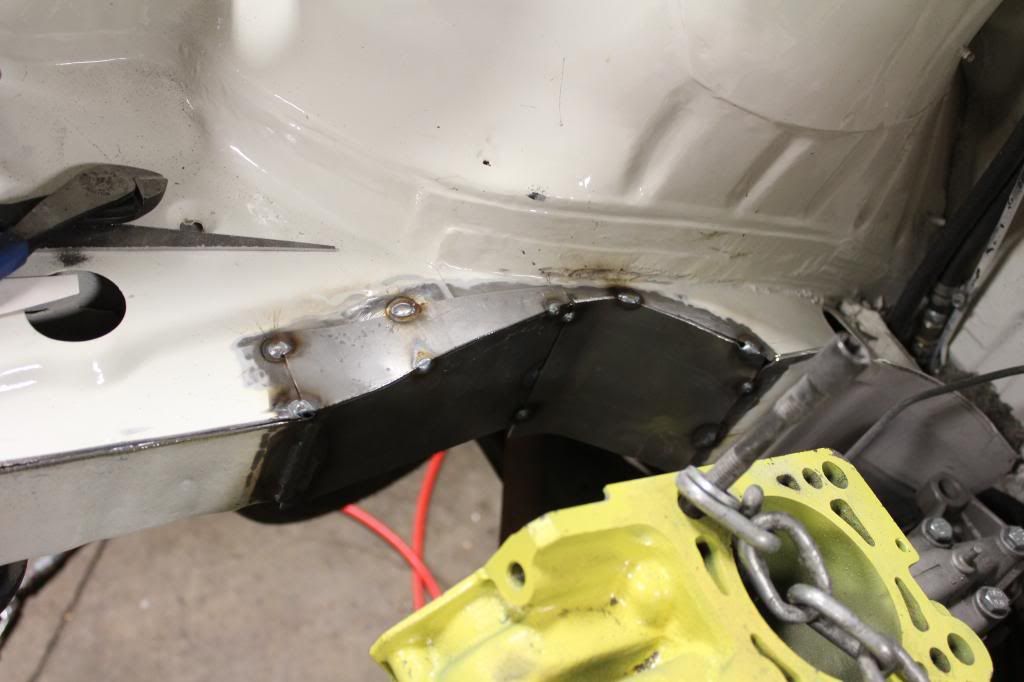
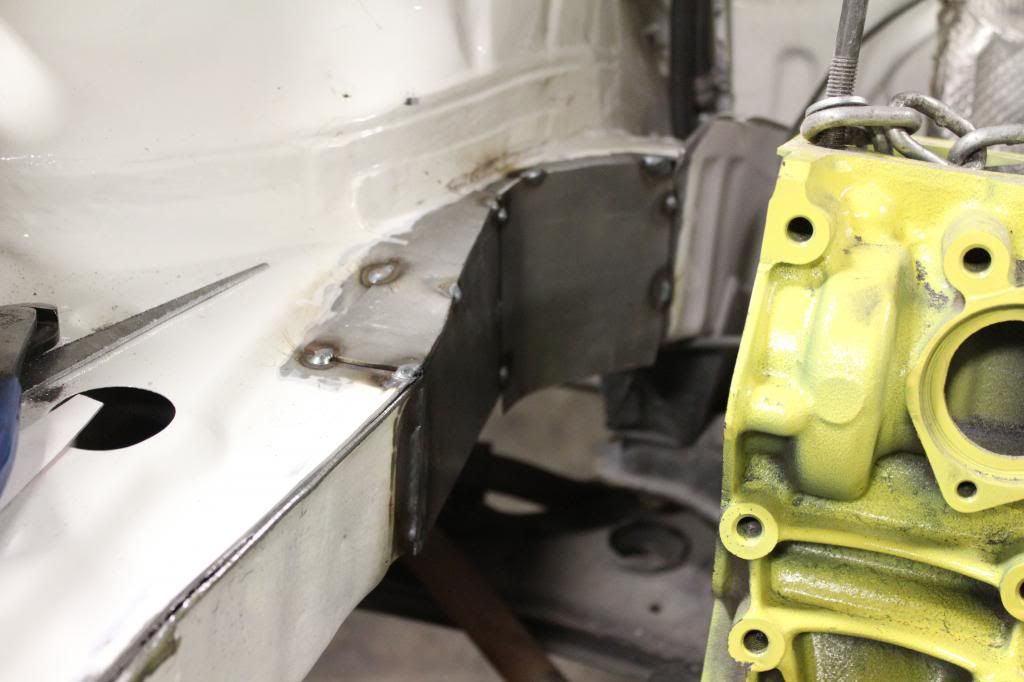
Now we had to work on the place that the engine mount sits. So we went ahead and cut this out of our parts TT. Then made it fit in the MK2.
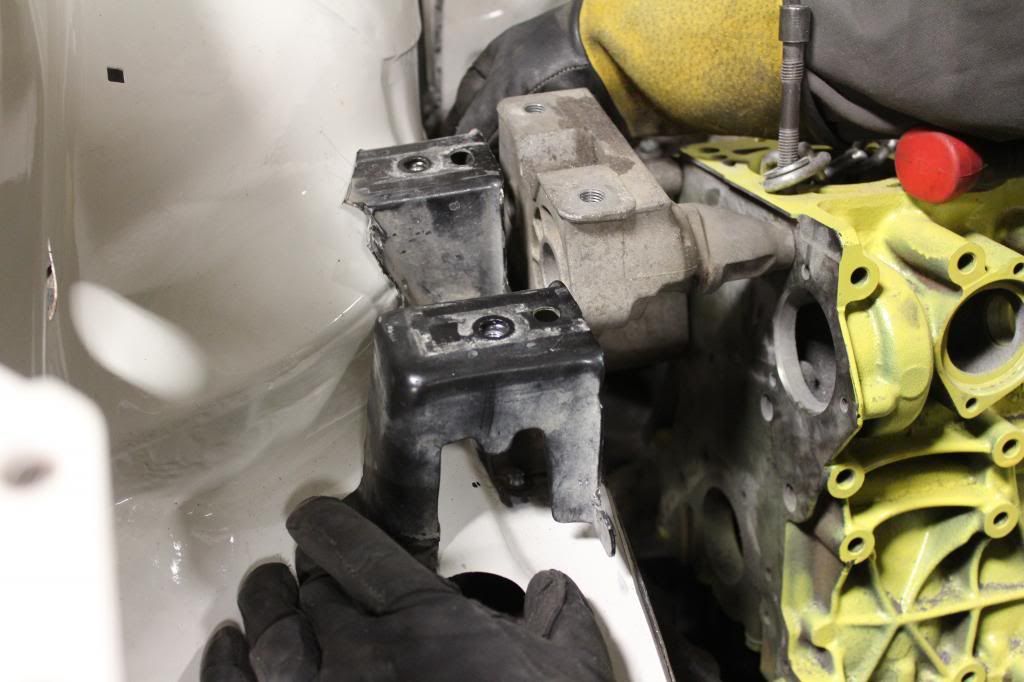
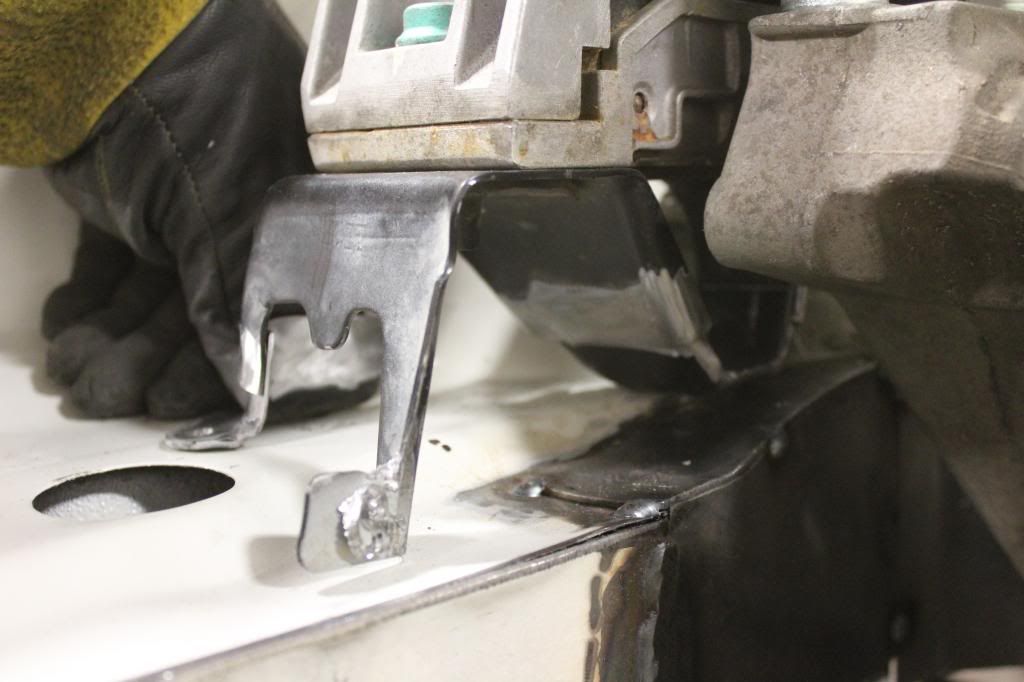
With the mount on it. (Don't mind the washers, they are no longer needed)
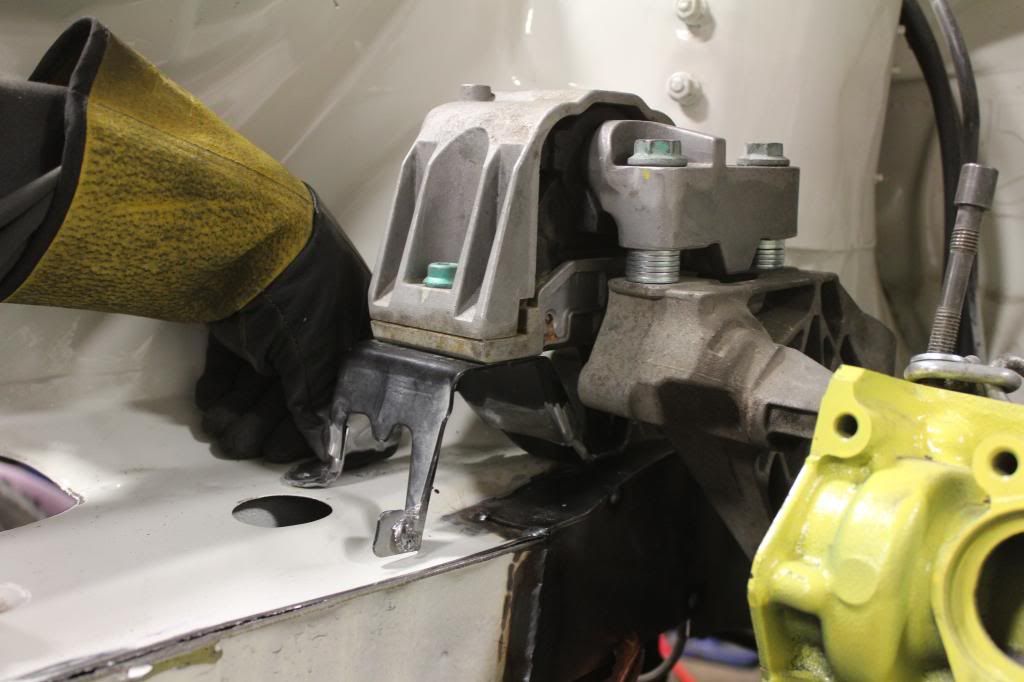
Now that that side was done we had work on the transmission side. It was easier, all we had to do was cut a bit out and then weld an angled piece of steel in.
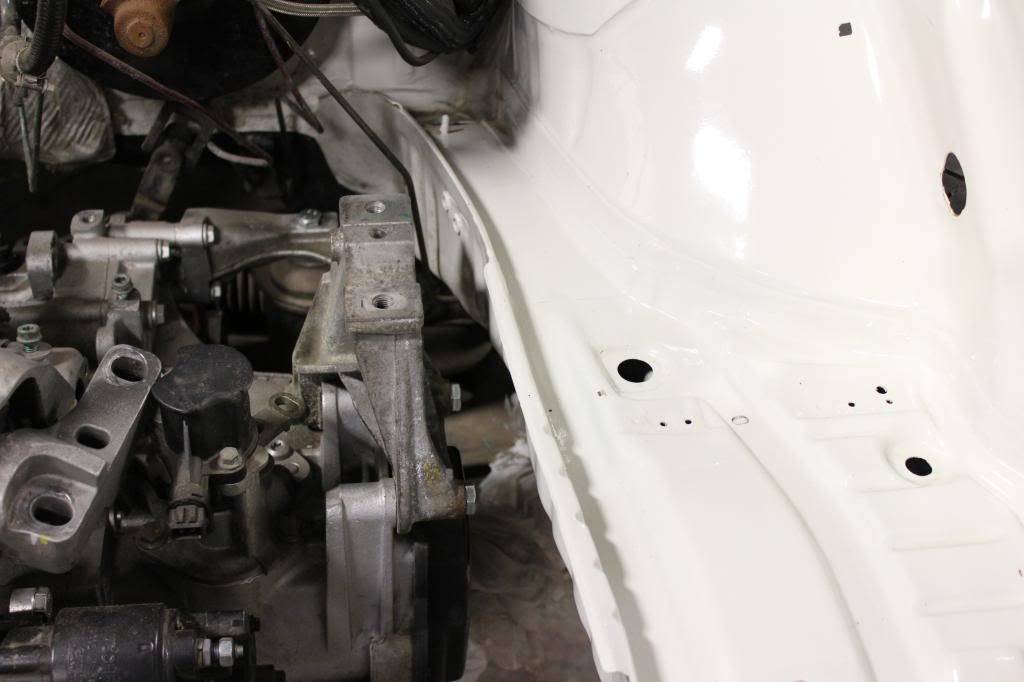
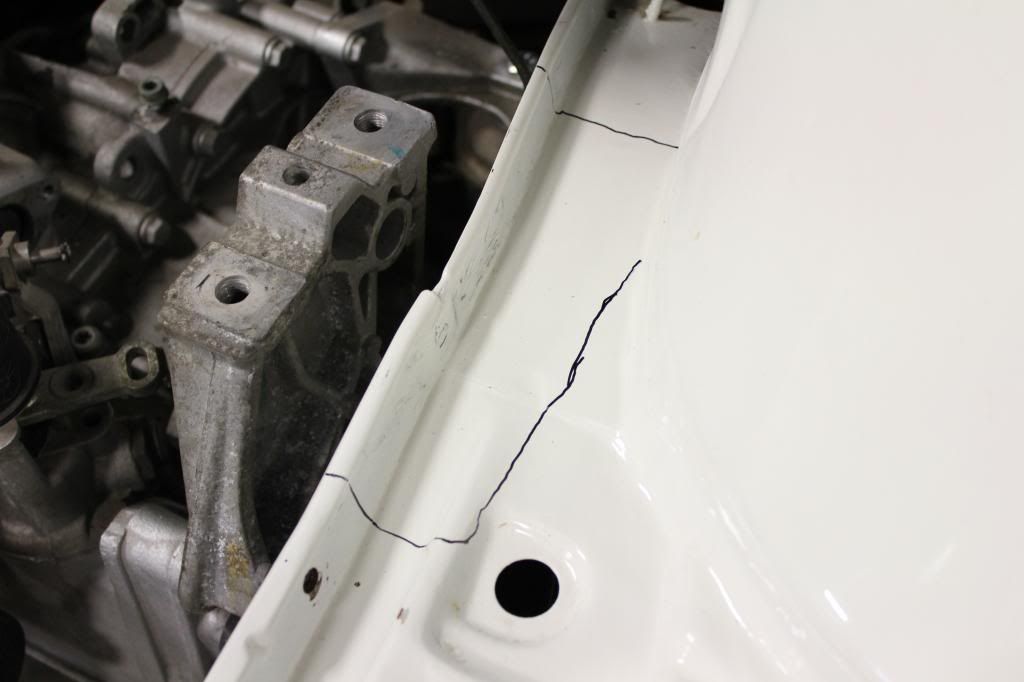
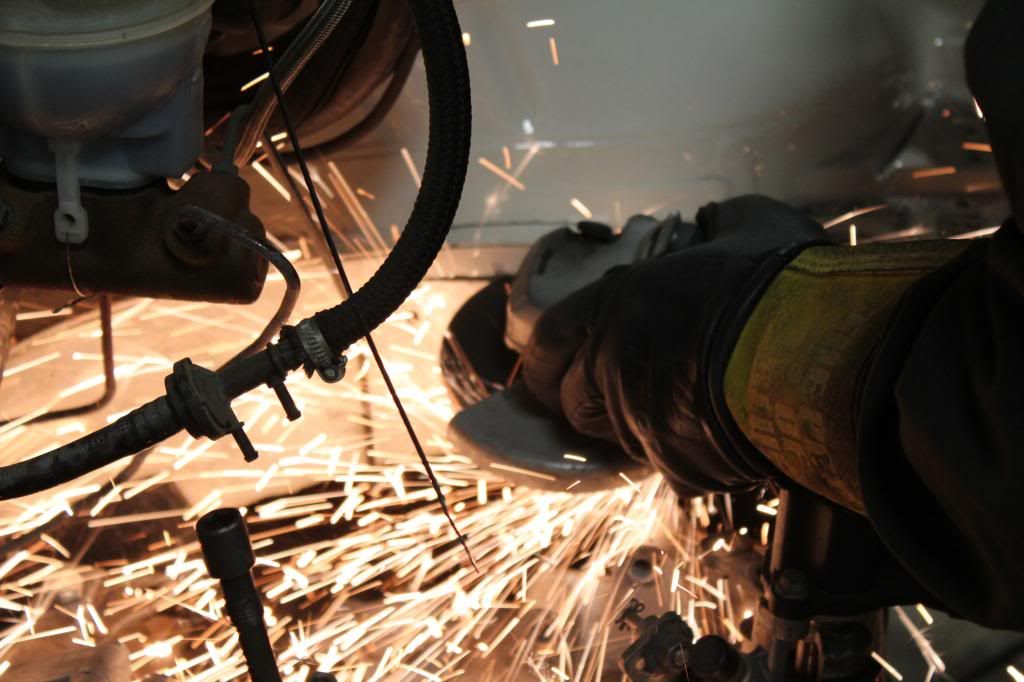
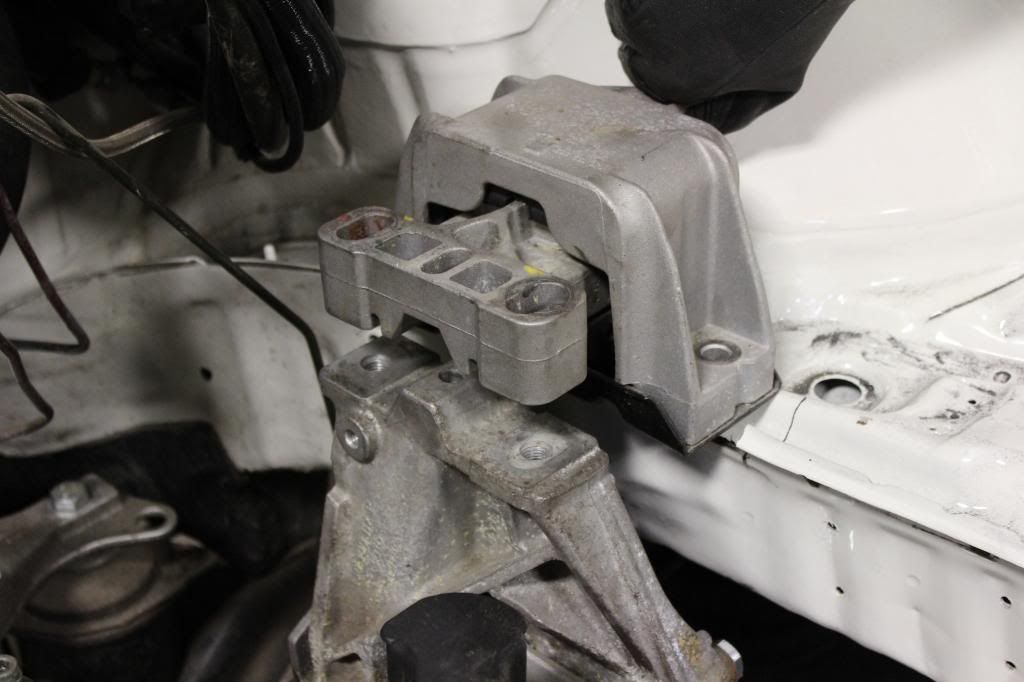
Need to go down more so...
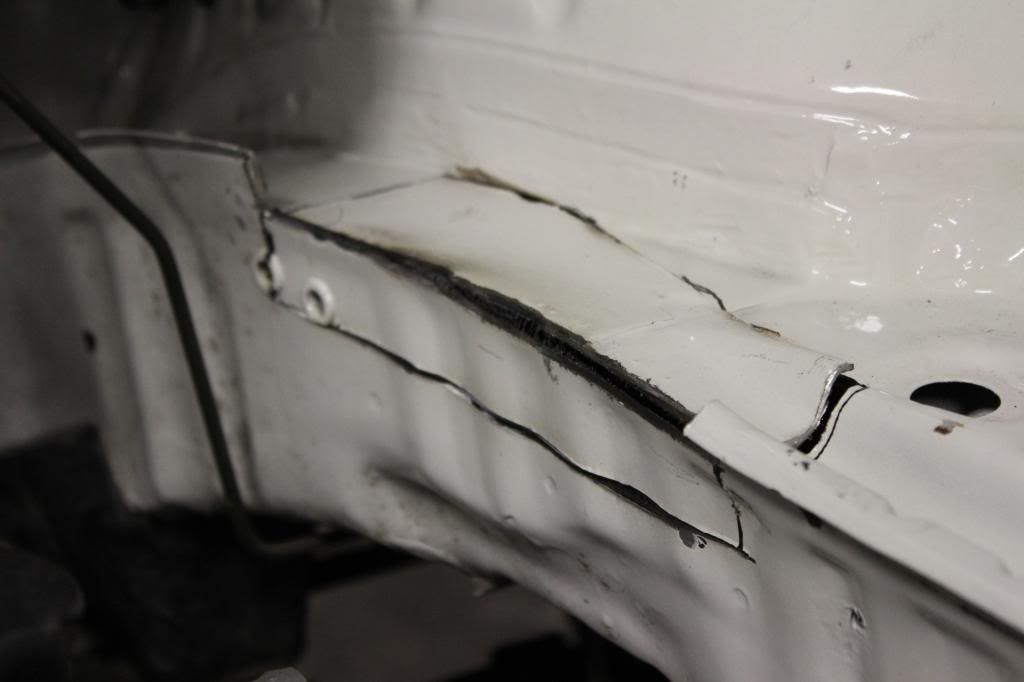
Then it fit, so we weld the angled bit in.
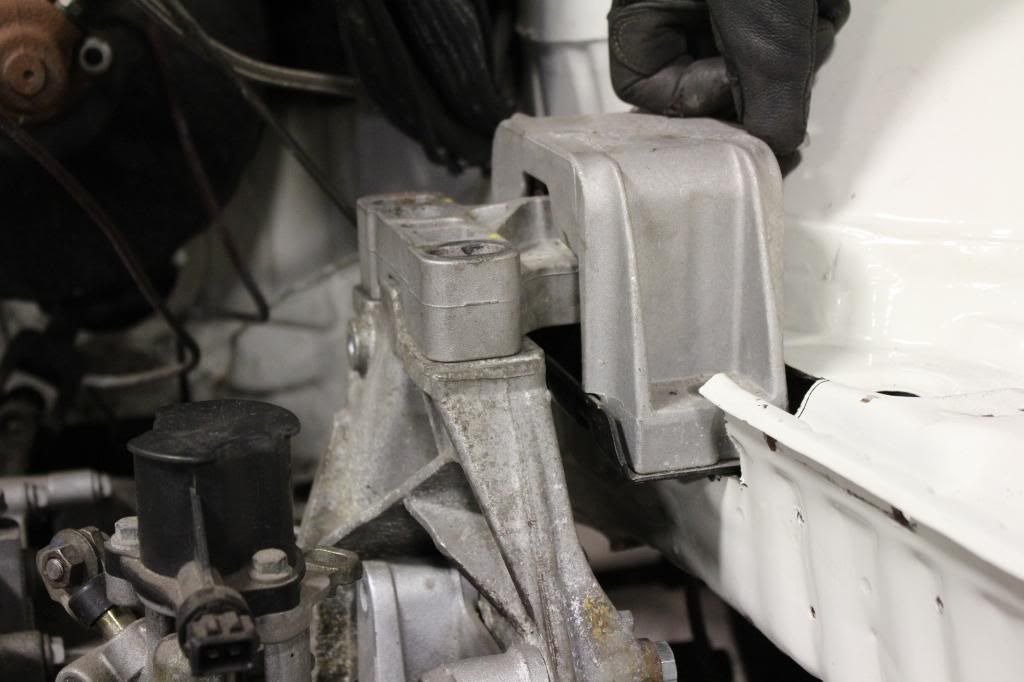
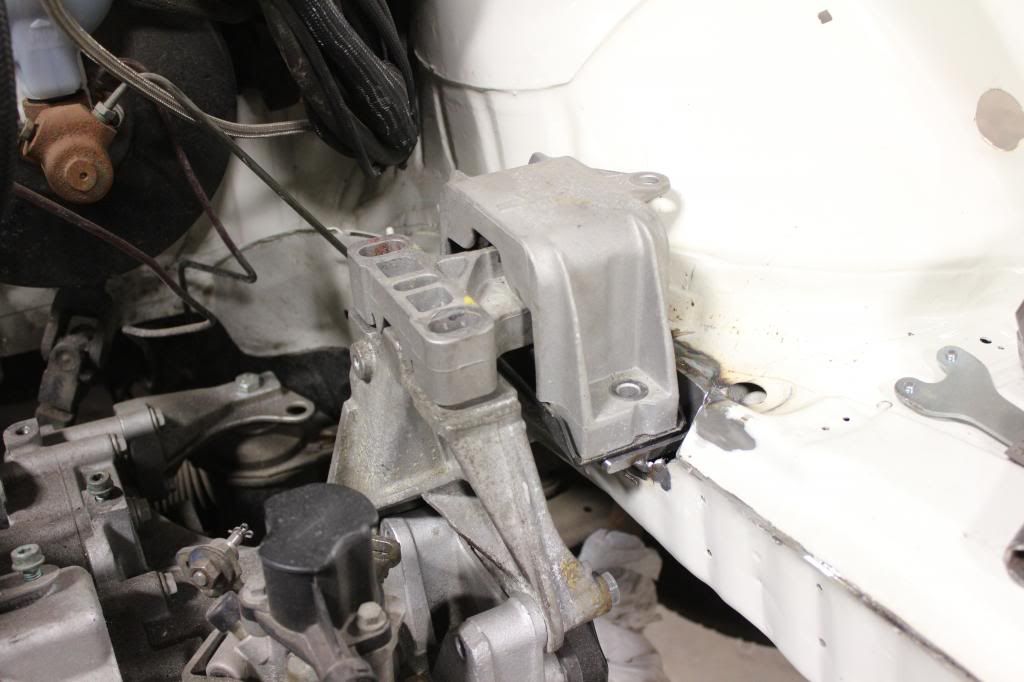
Mock up engine in.
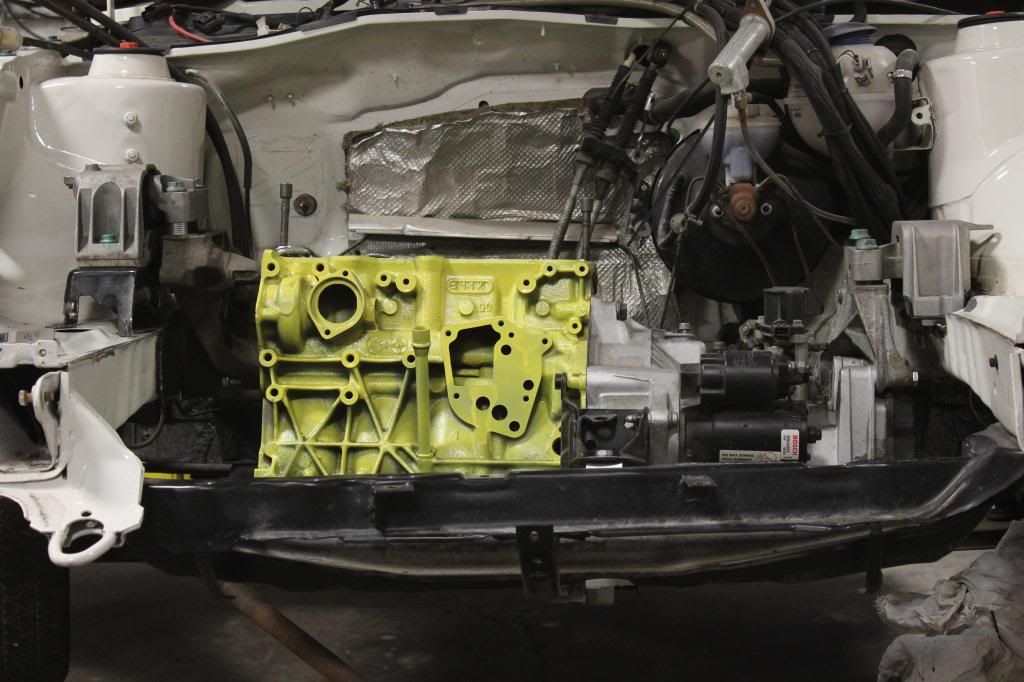
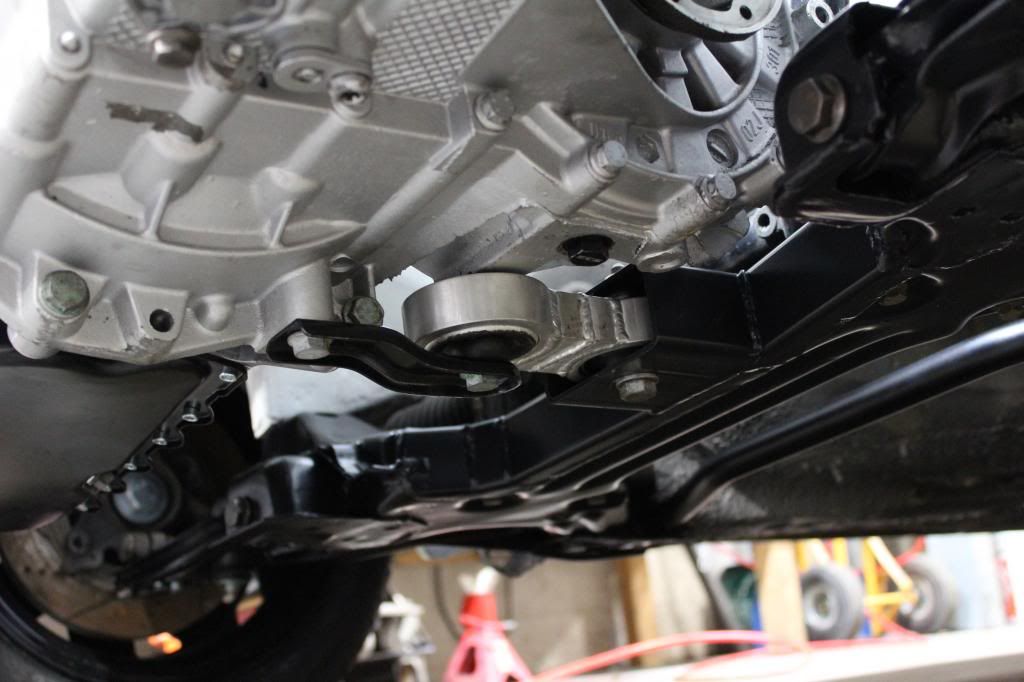
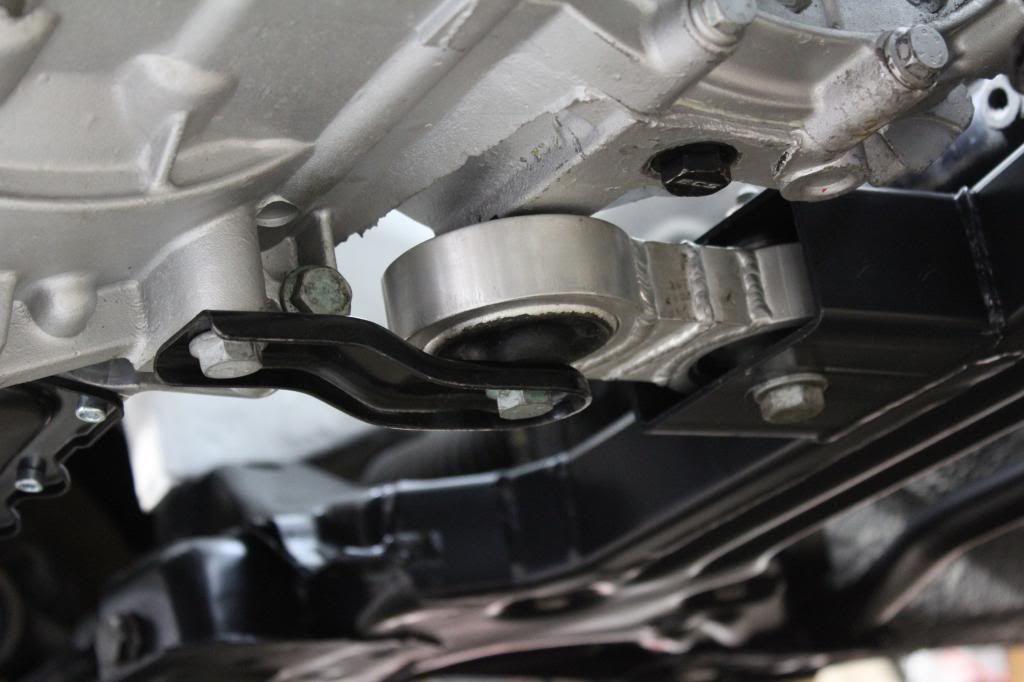
Now for the torque mount. For that we made a custom sub-frame and torque mount. I didn't get any pics of the subframe before it went into the car.
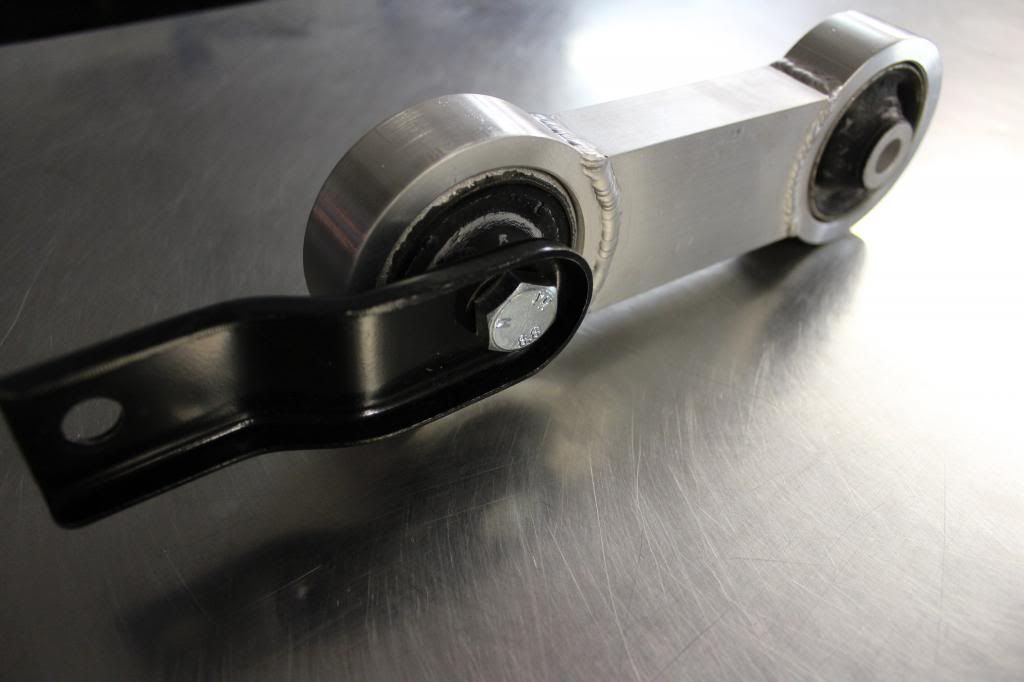
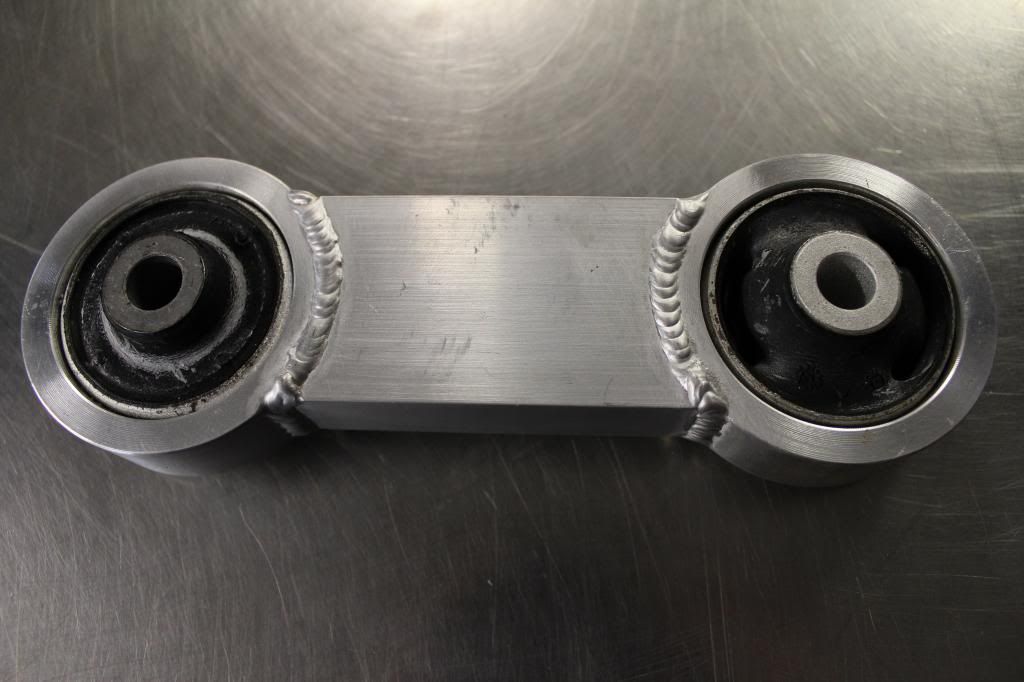
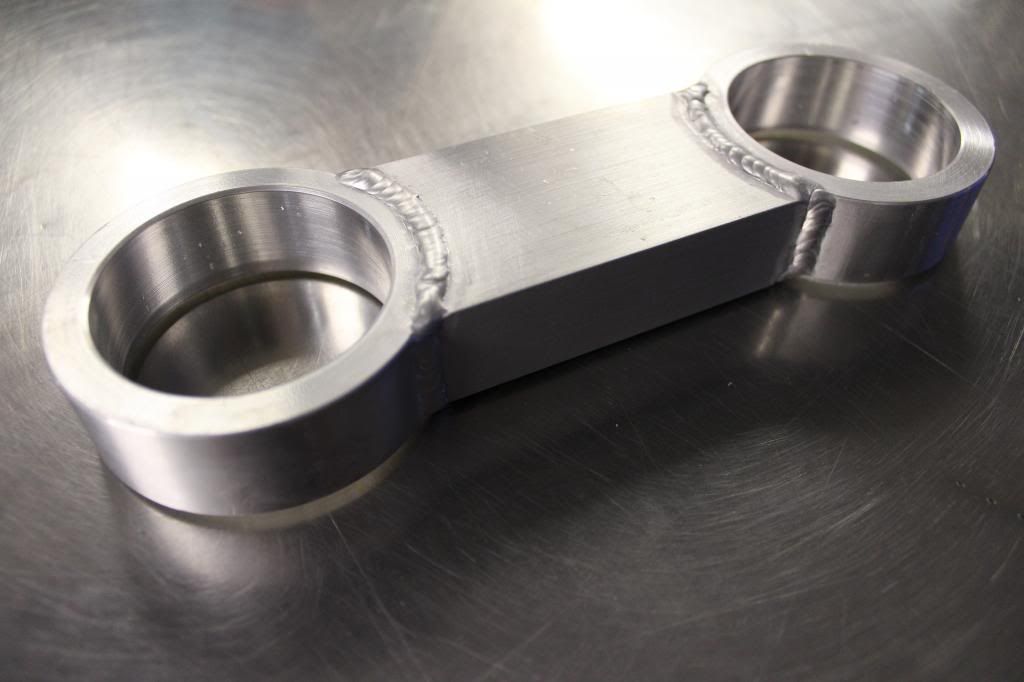
And the subframe.
Now for the bodywork. Many, many hours went into this. I worked on it everyday after school until it was done. I did it all my self except for the welding which my dad did. Oh and Colin helped with a bit of bodywork.
This is what the frame rails looked like after some bodywork and primer.

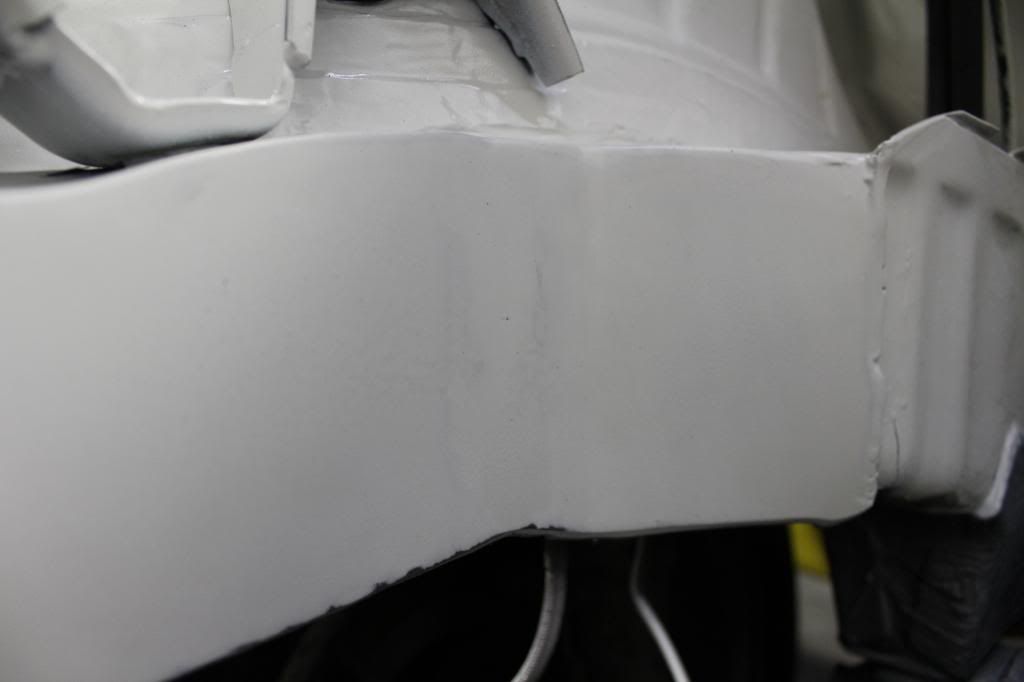
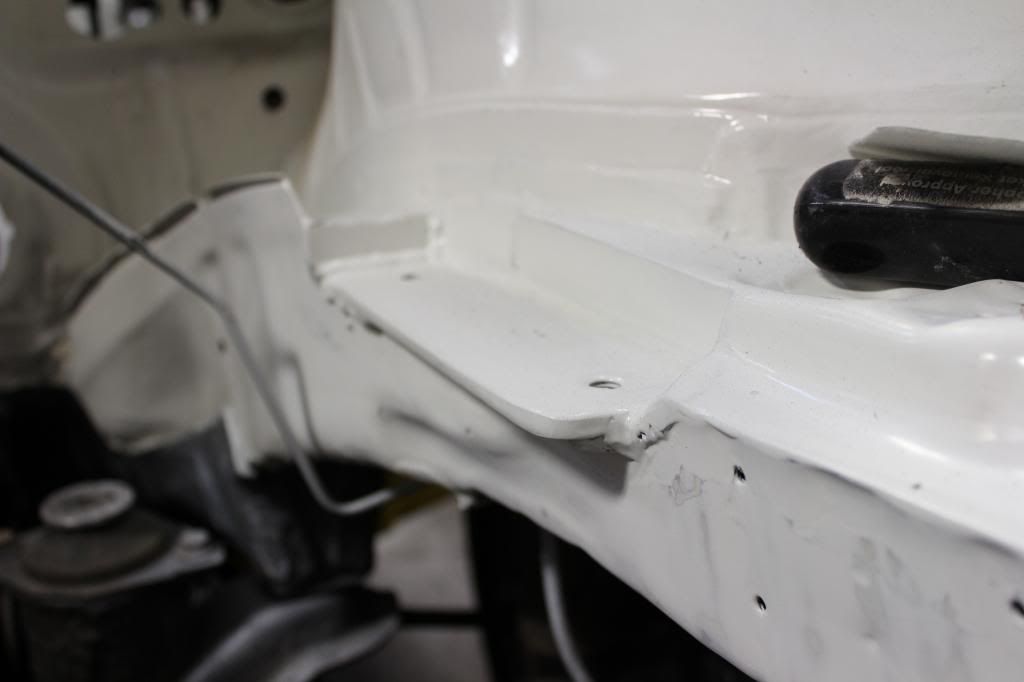
After all the engine mounting stuff was done we started on the bodywork of the actual car. It had a few dents and we shaved a lot of stuff too.. Well basically everything actually.
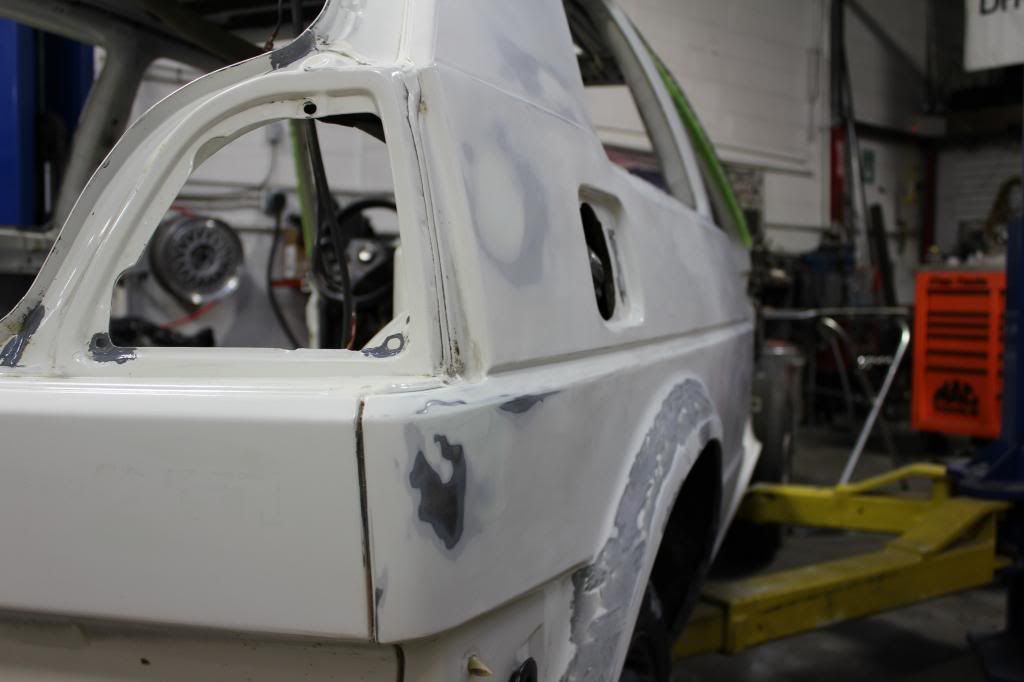
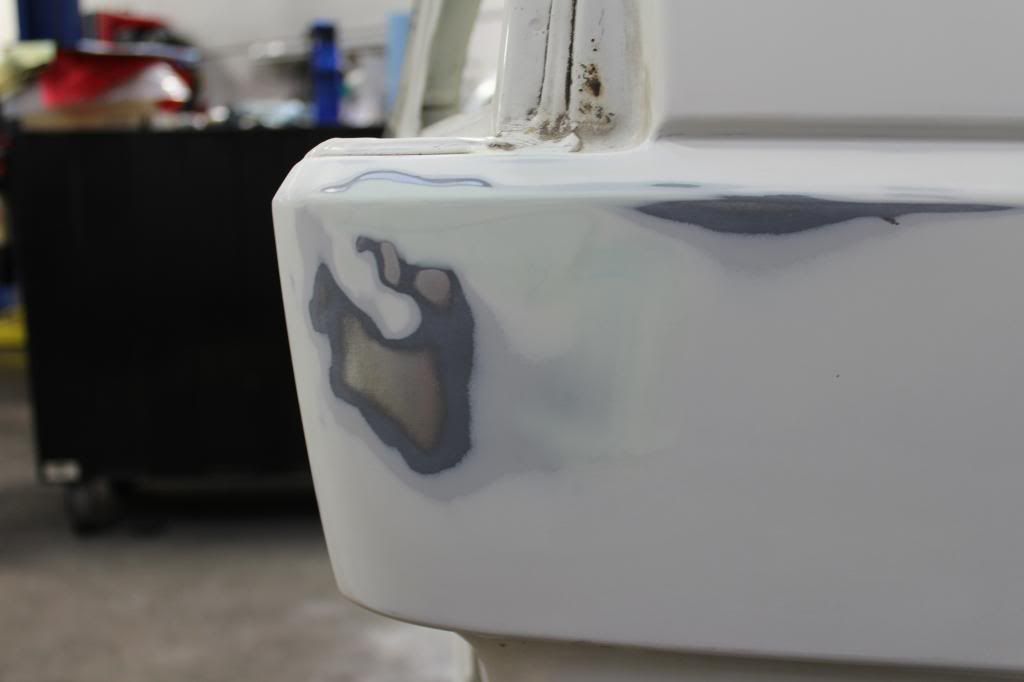
Cleaned out the rain tray. Somebody had put ugly purplish paint in there.
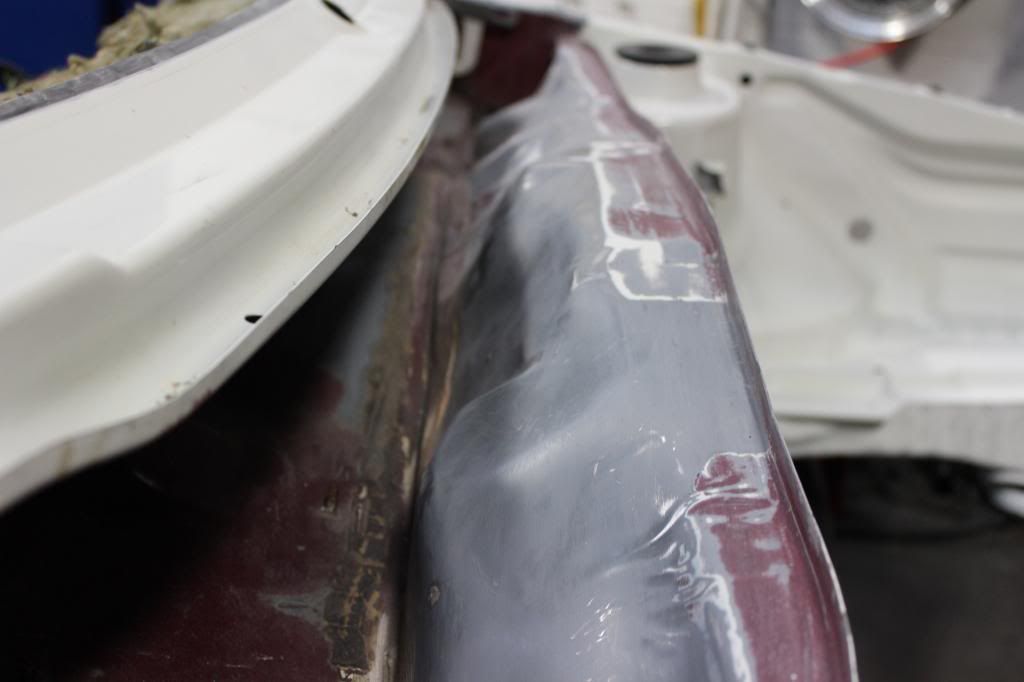
Took the windshield out to check how much rust was under there. Thankfully there wasn't any.
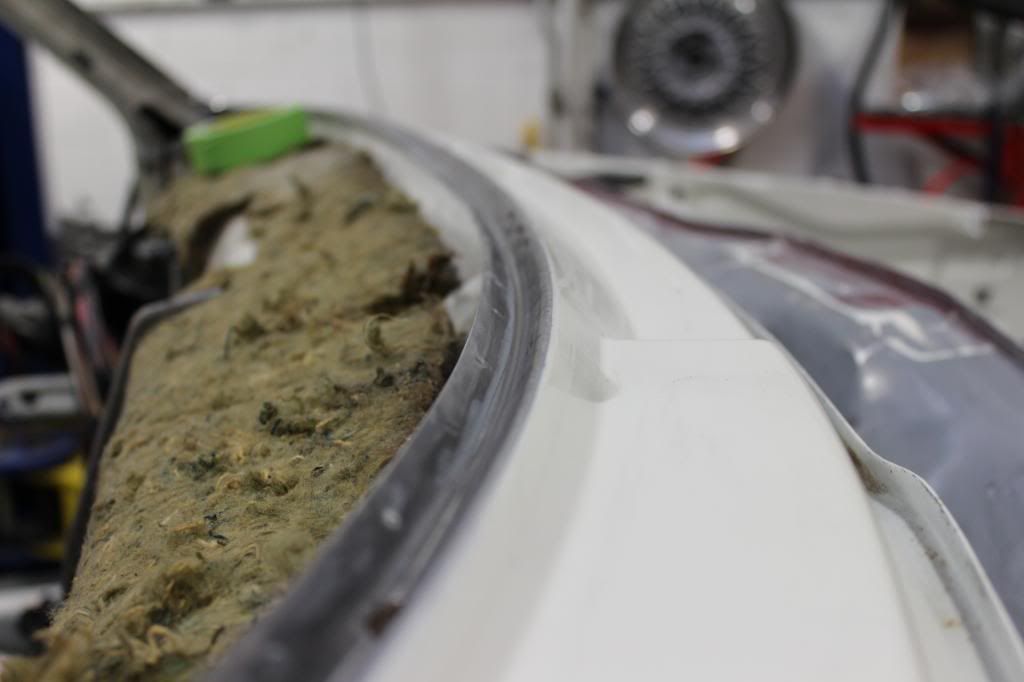
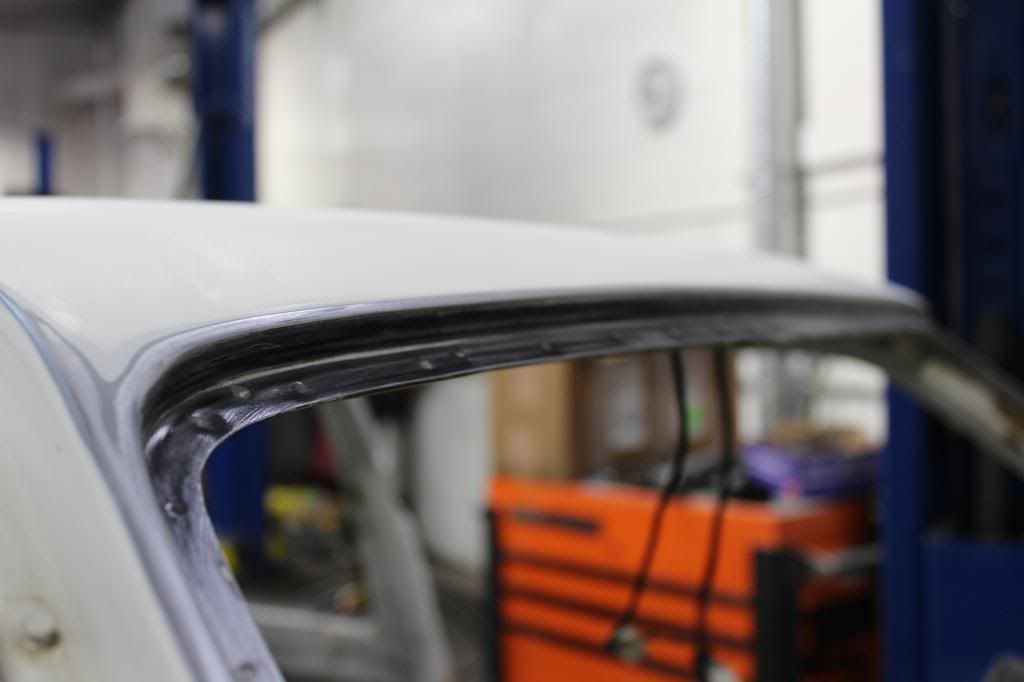
This is what the car and engine bay looked like after primer.
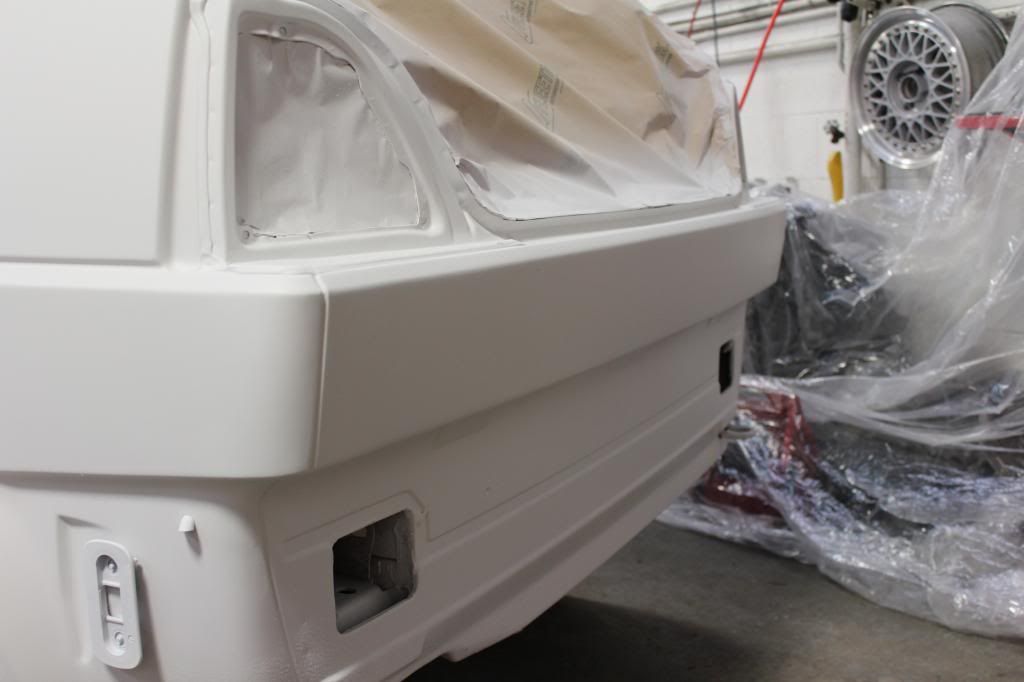
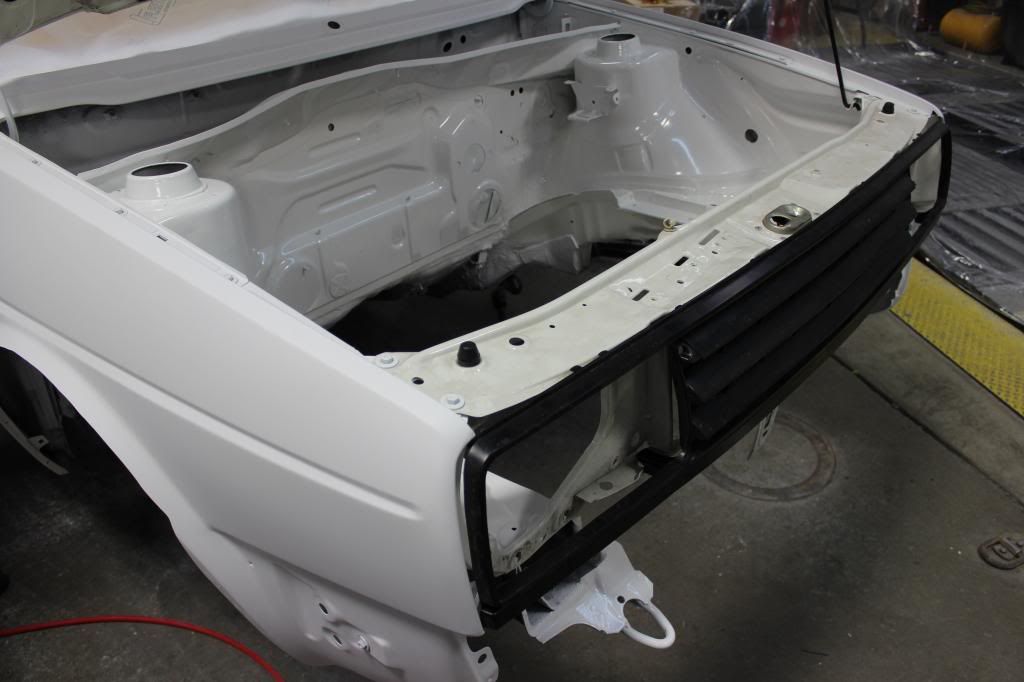
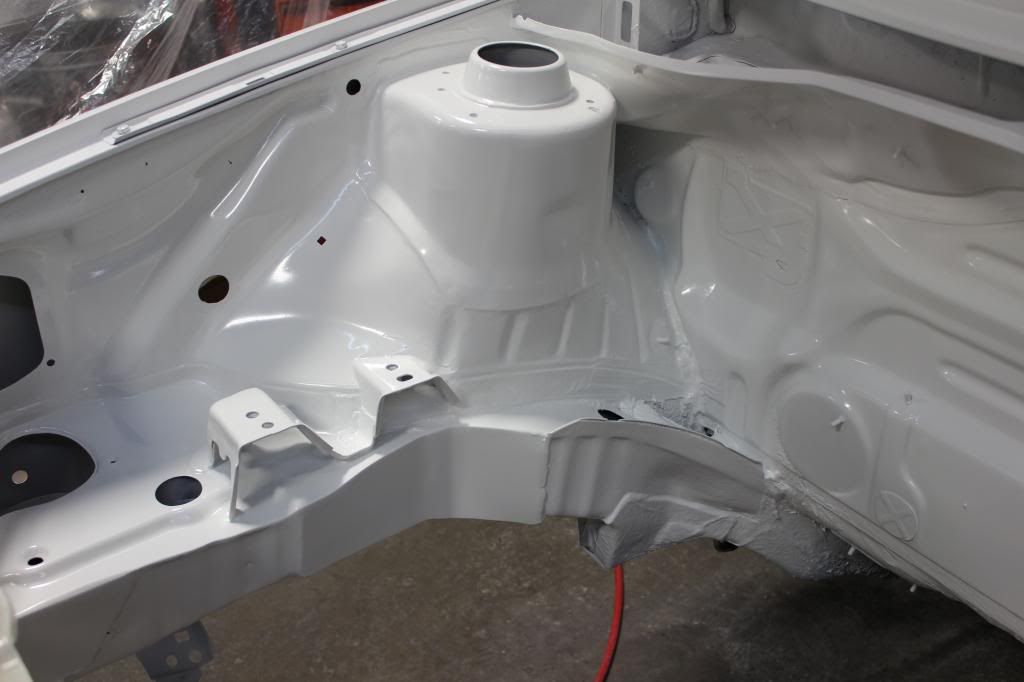
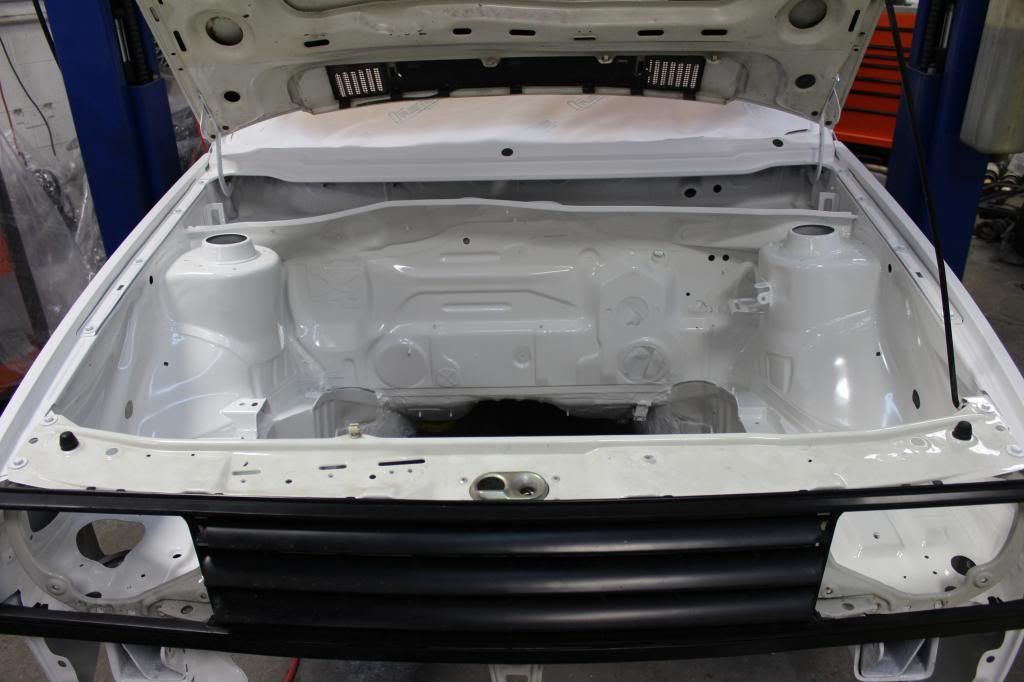
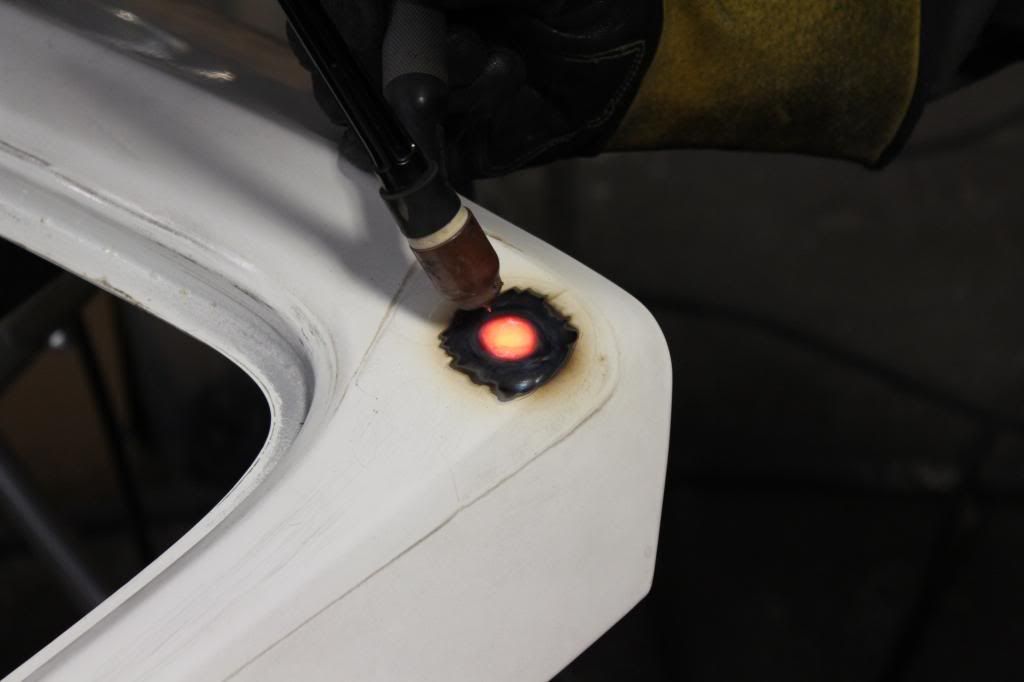
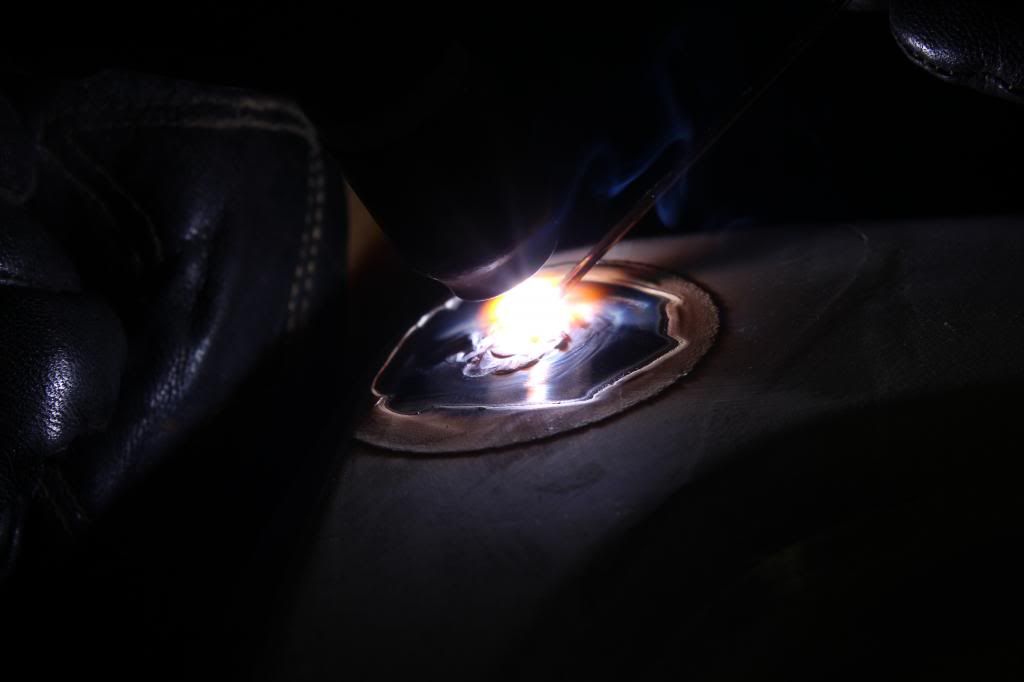
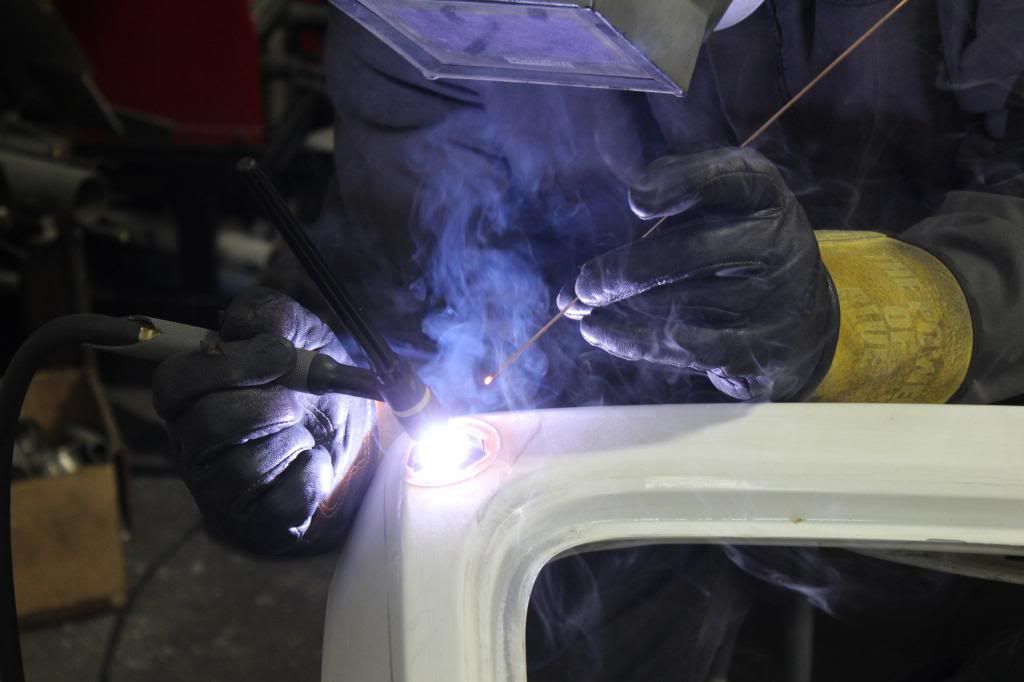
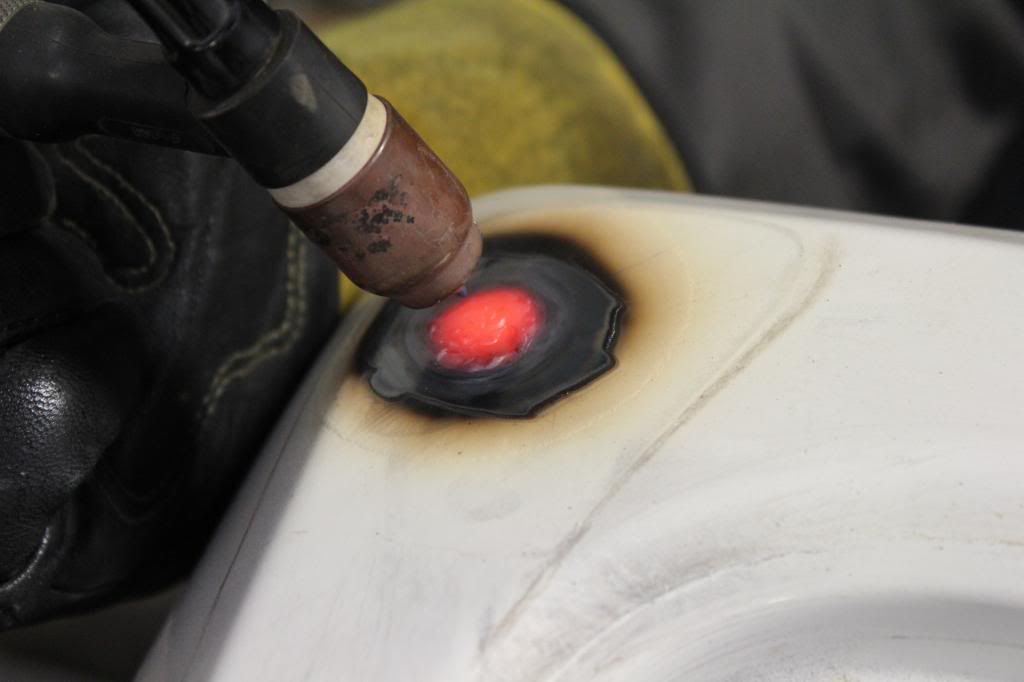
Then we went about fixing the hatch, it had a few hole in it from a Zender spoiler and while we were at it we shaved the wiper too.
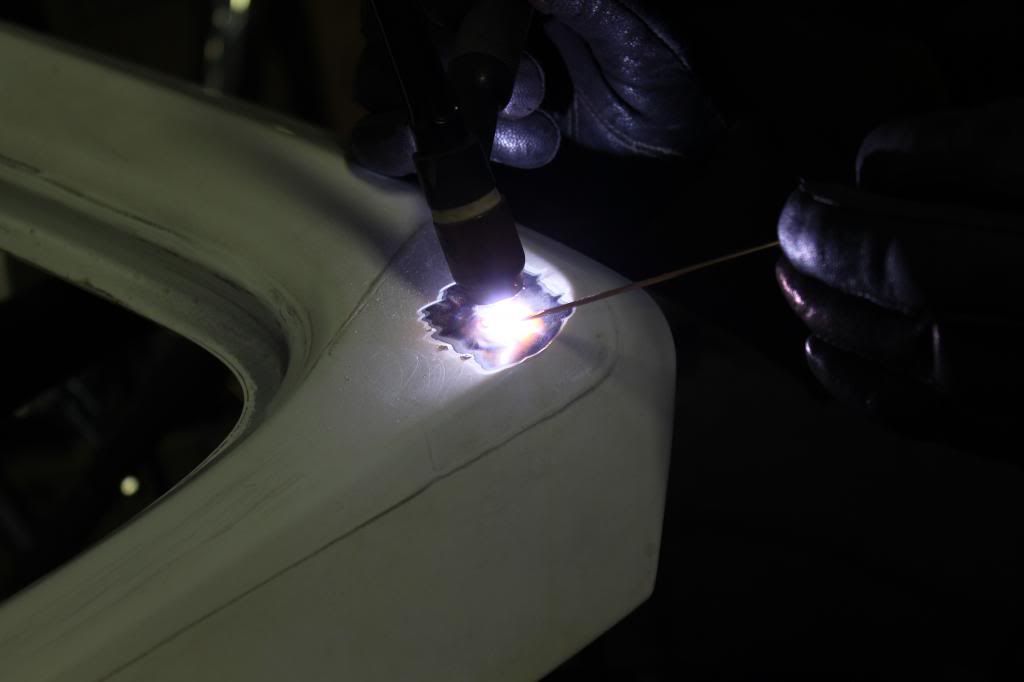
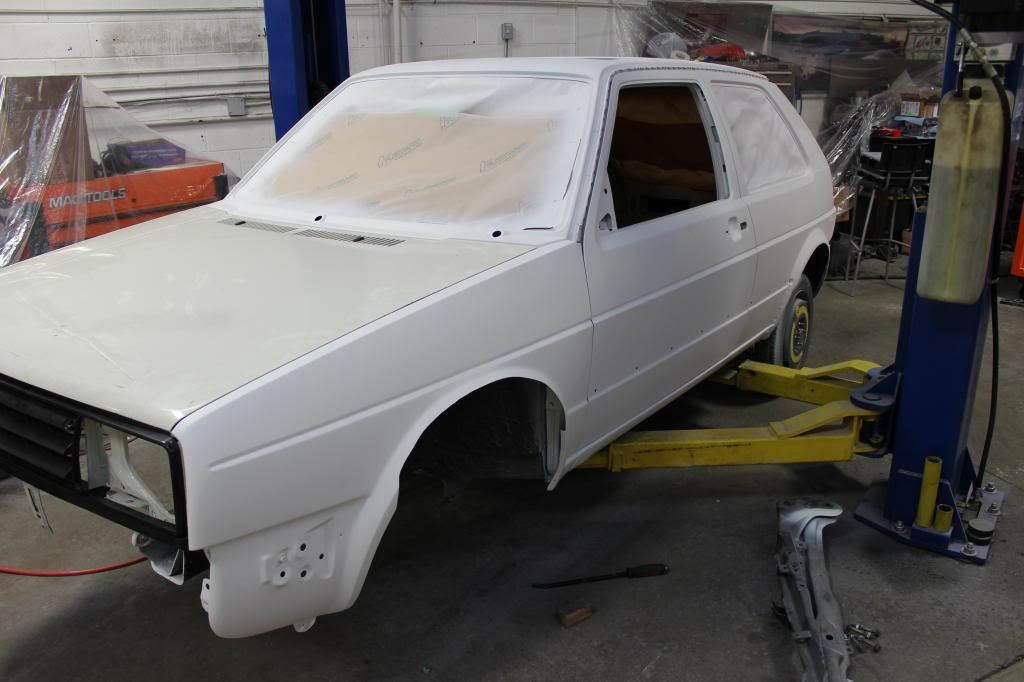
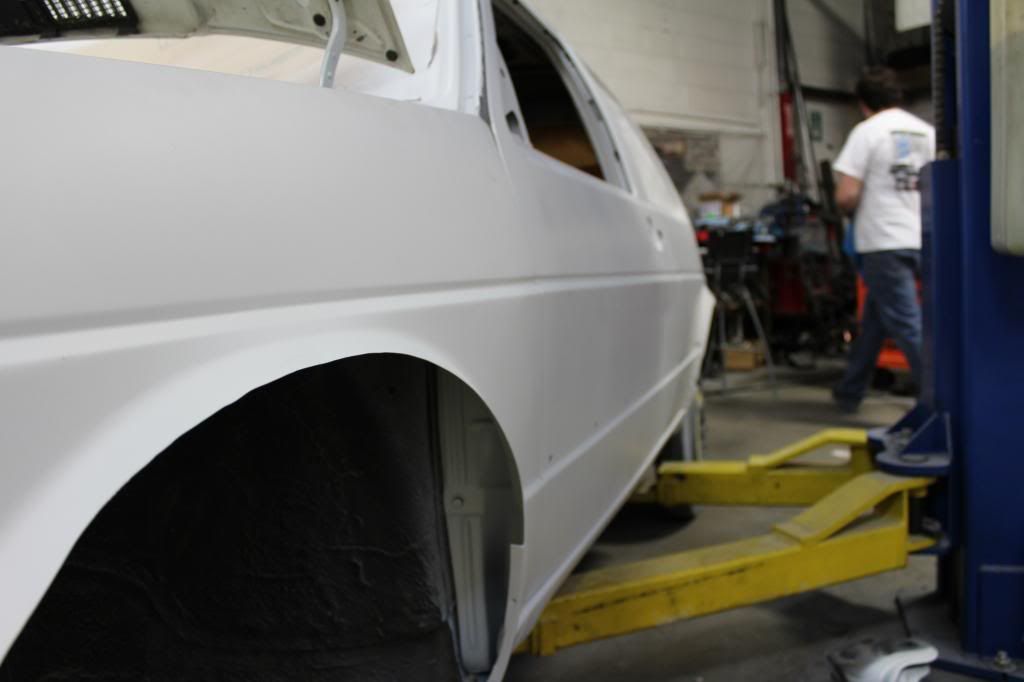
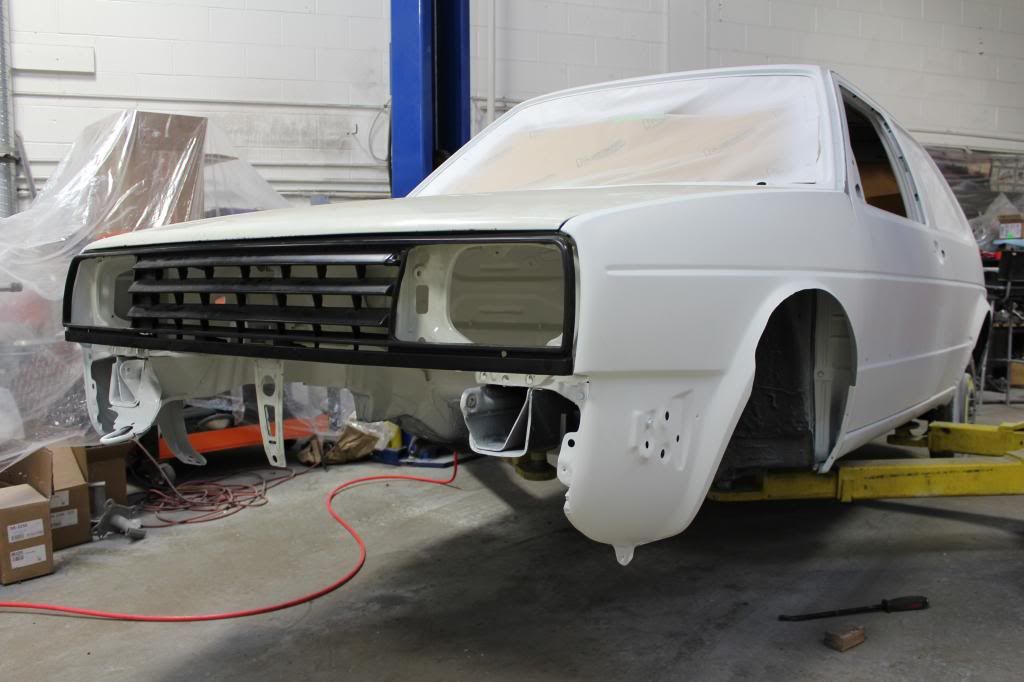
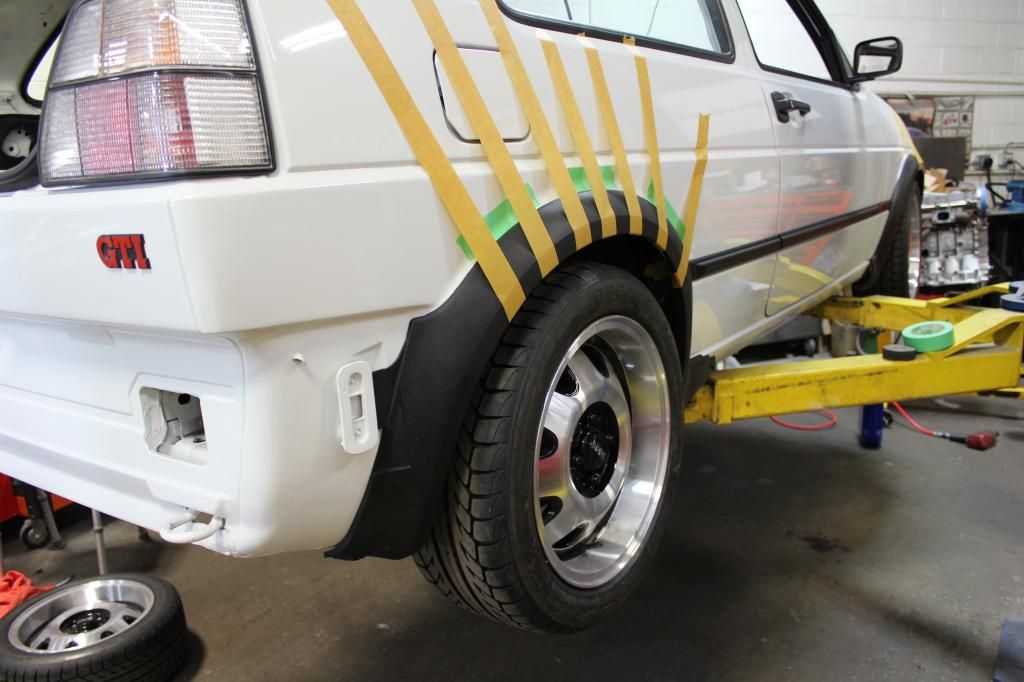
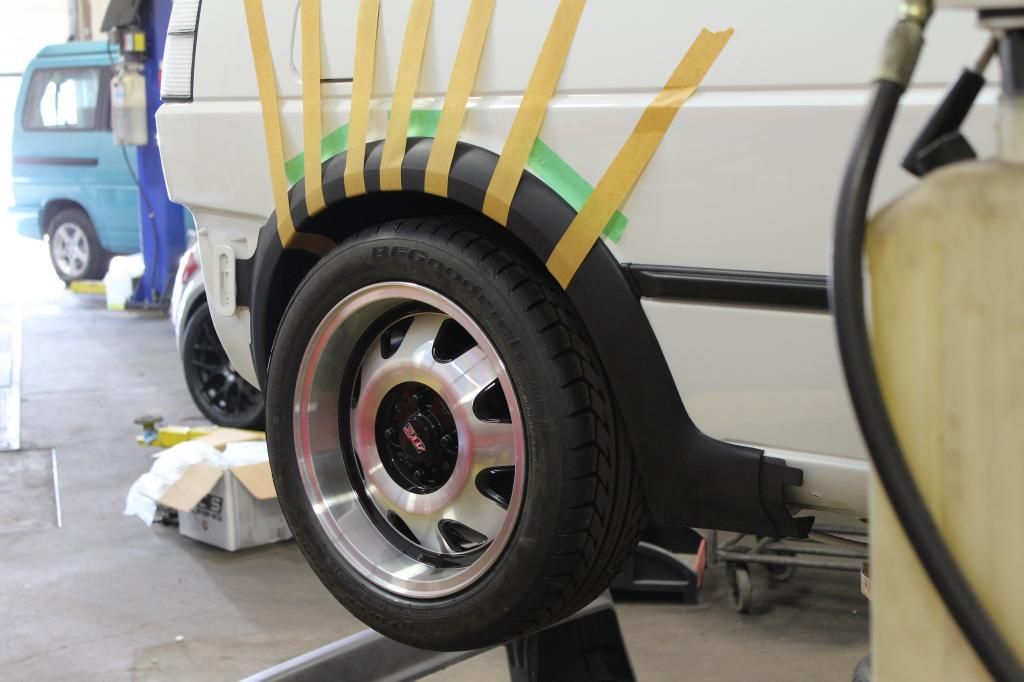
So here are the pictures of the car after it got back from paint and we got some stuff put on it.
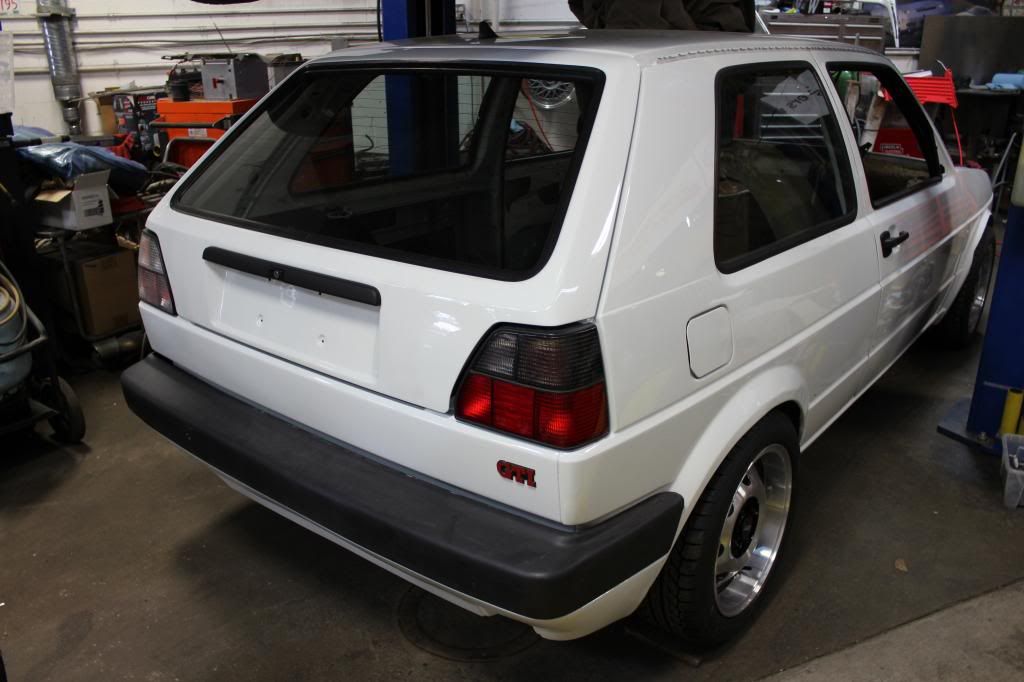
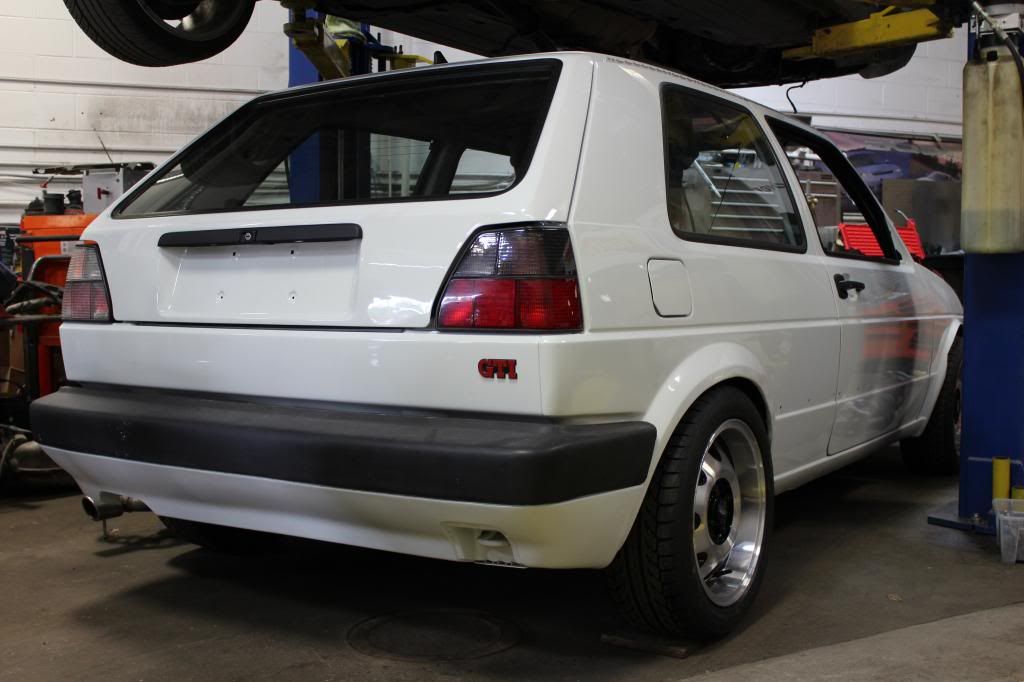
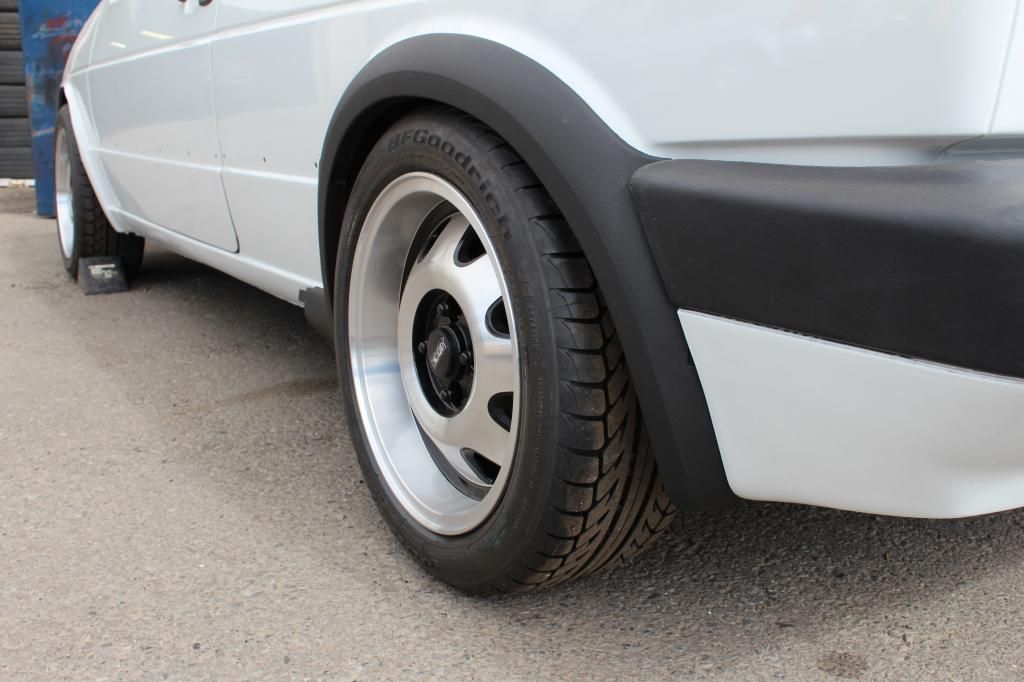
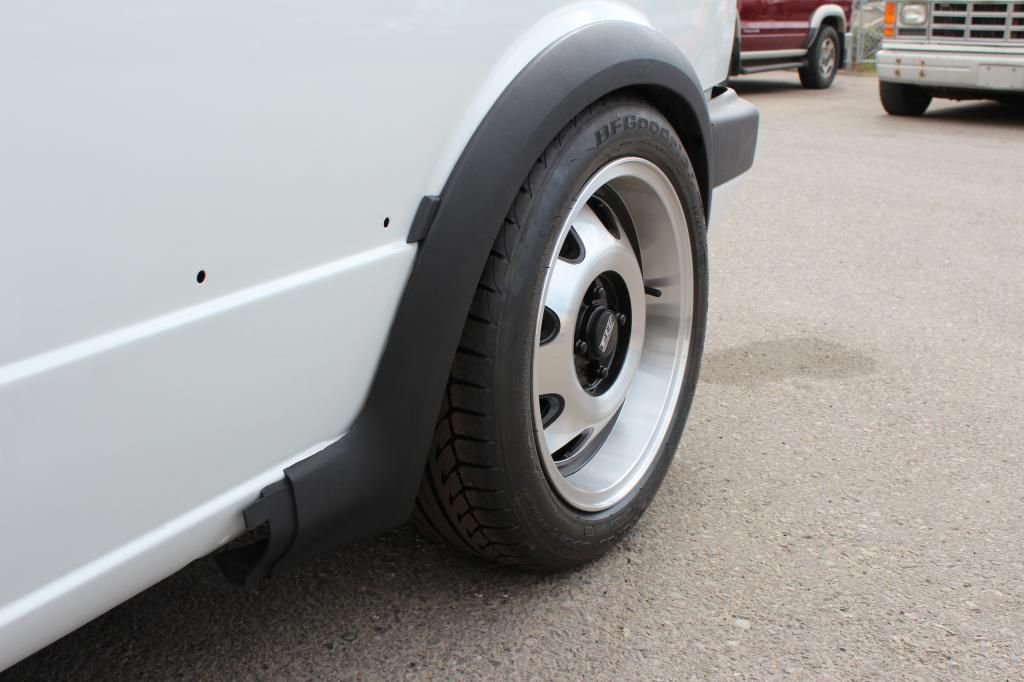
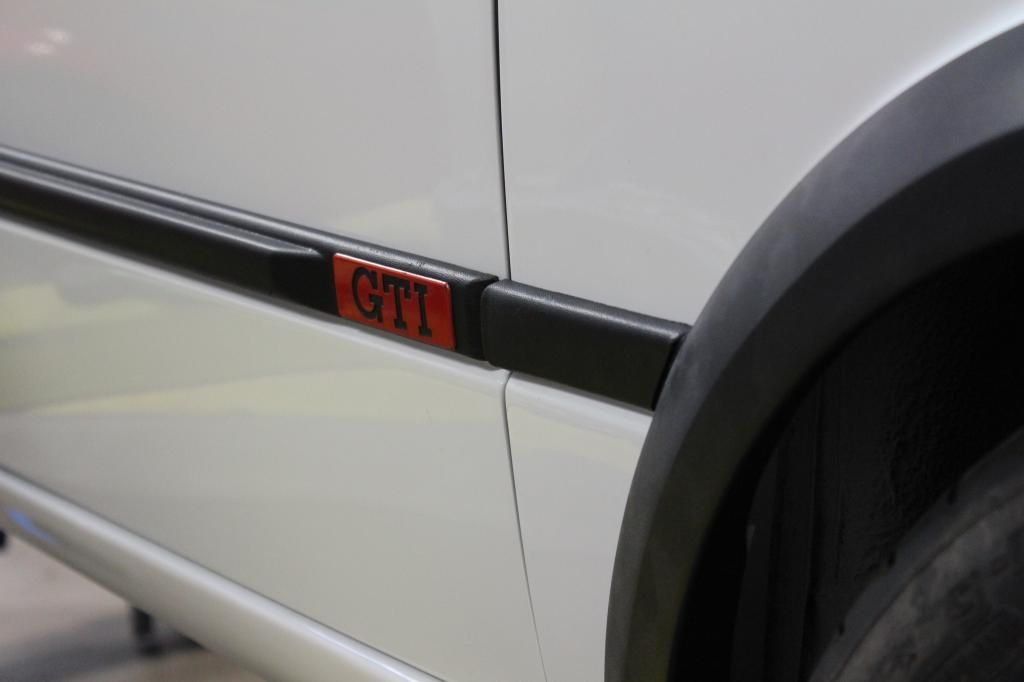
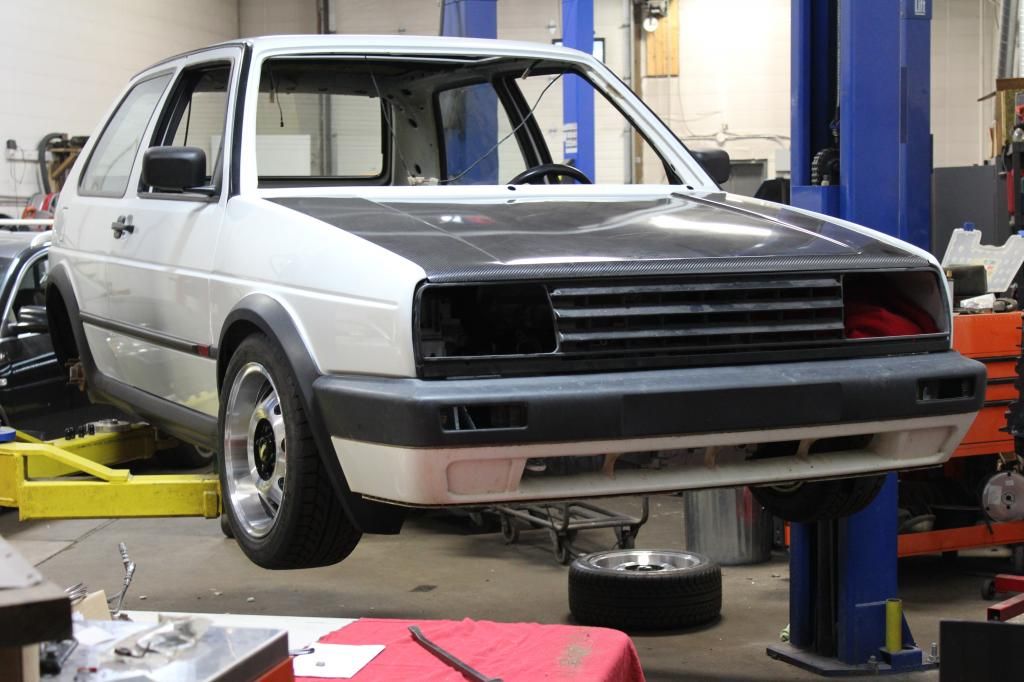
The car. It will eventually have full GTI trim.
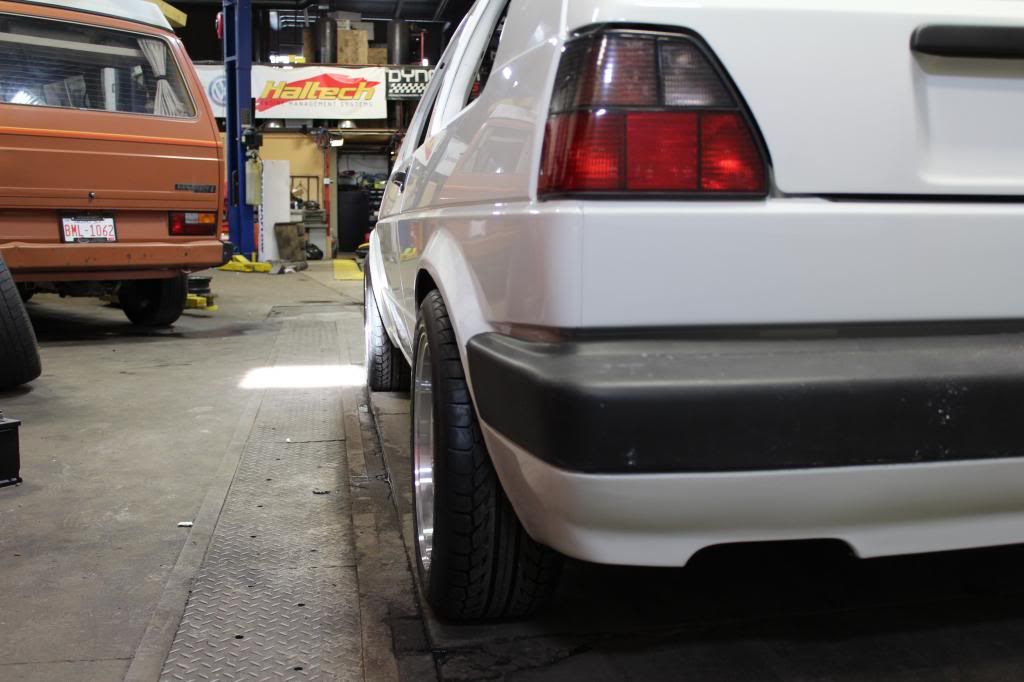
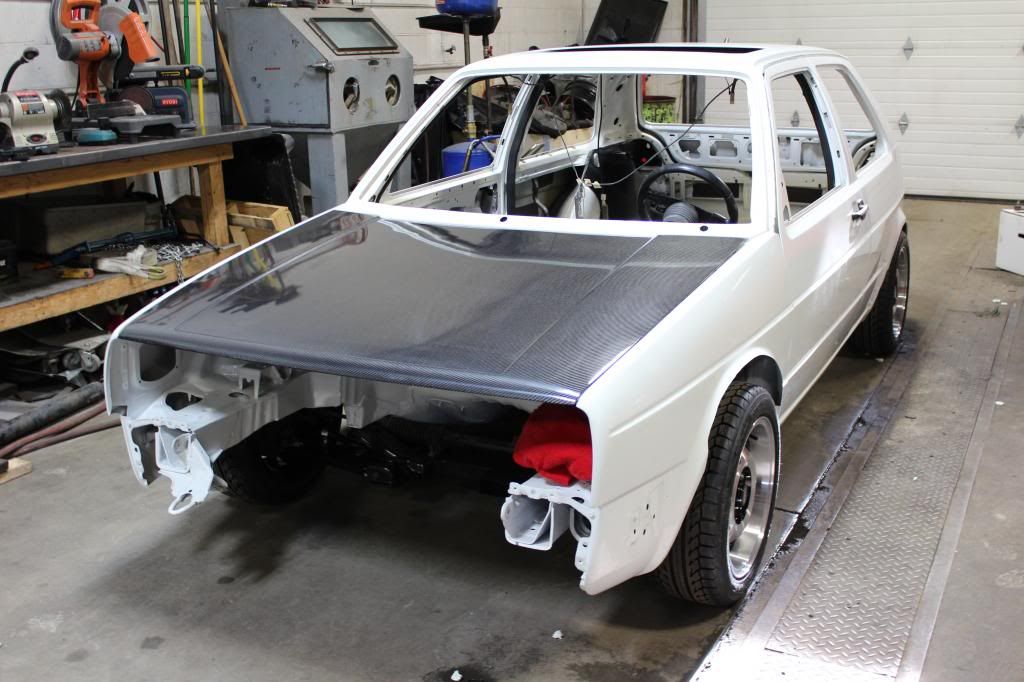
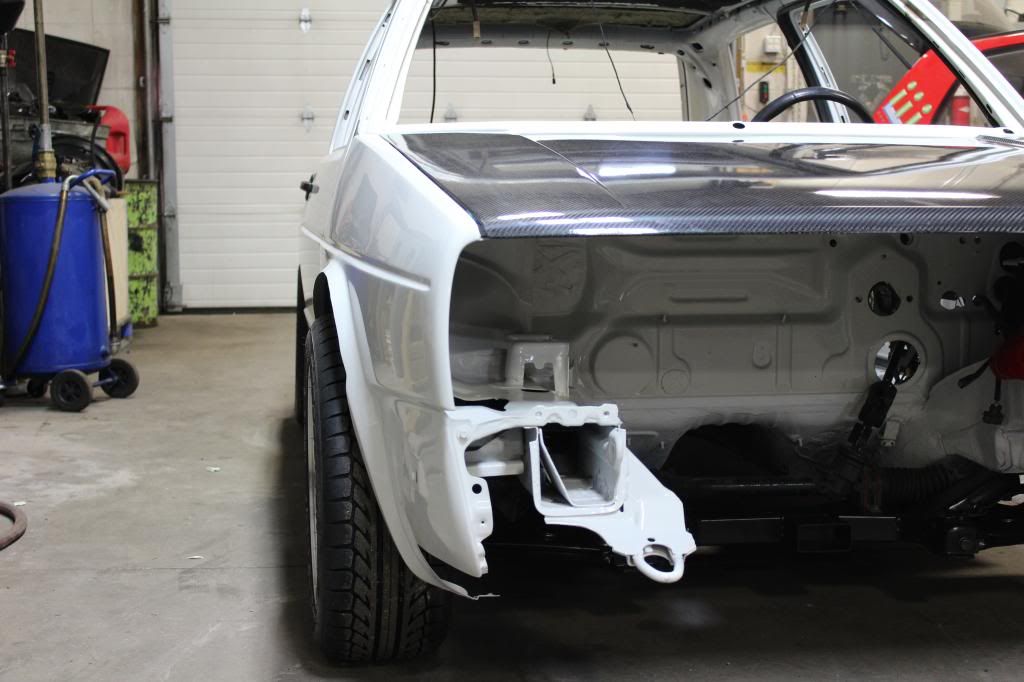
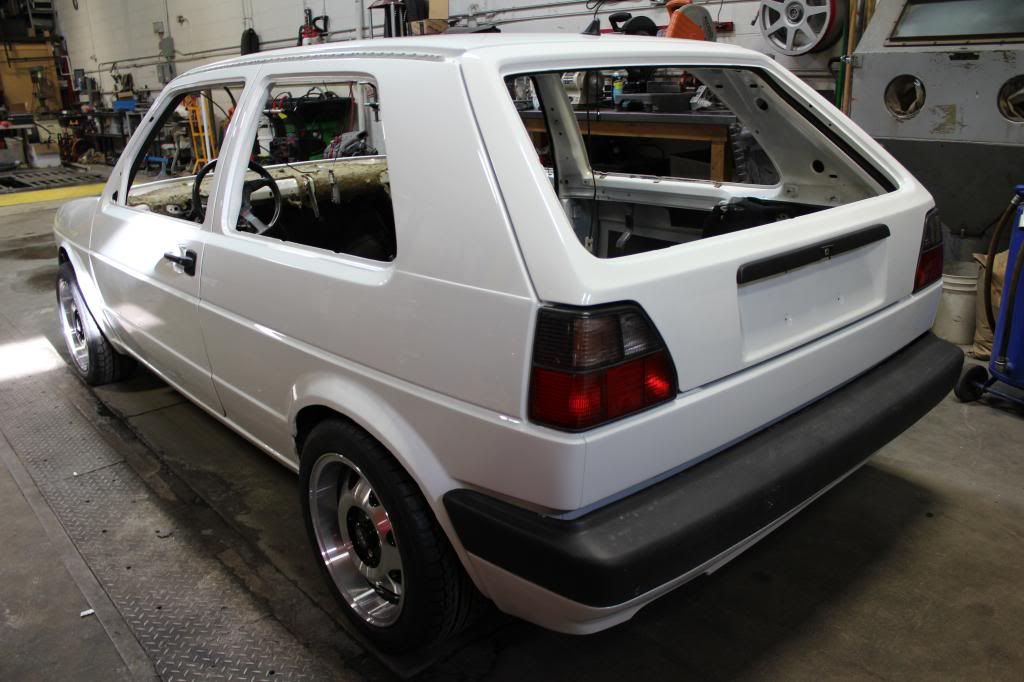
And pictures of the hatch which I think is totally gorgeous. I put many, many hours of work into that. The car also has windows now. The hatch glass is pretty rare, it has no brake light.
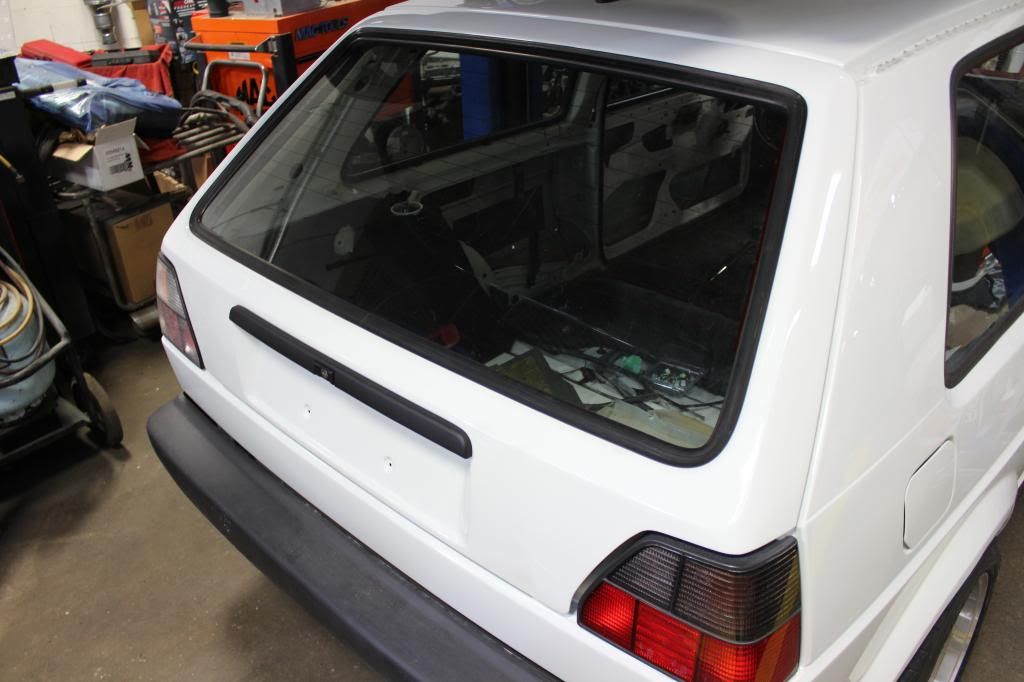
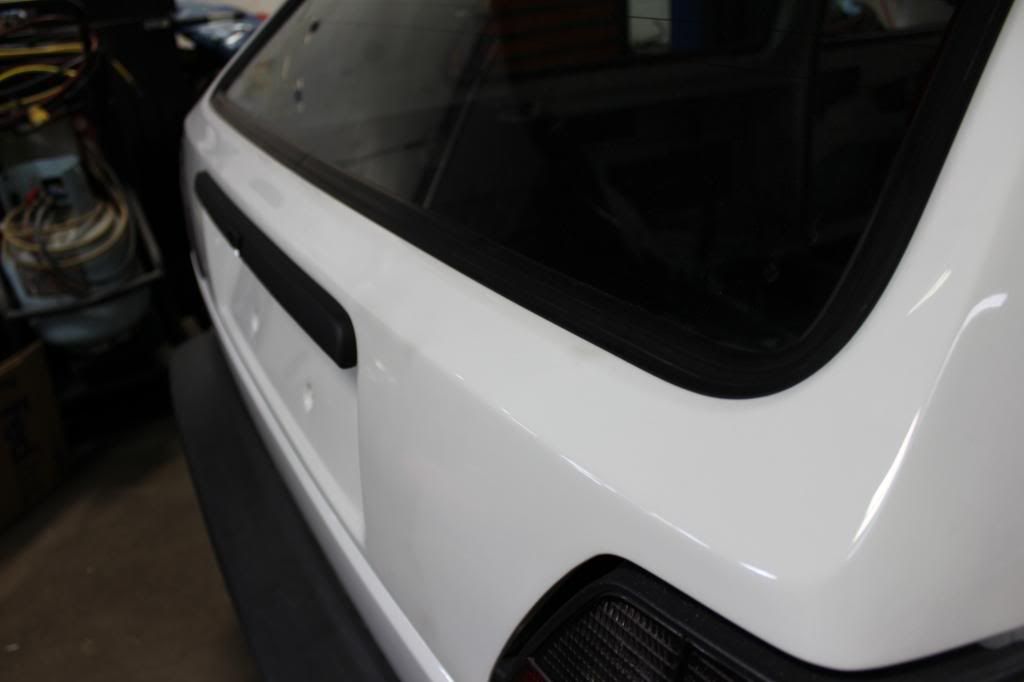
I like my white brake light. Sorry, I didn't have any space for pictures.
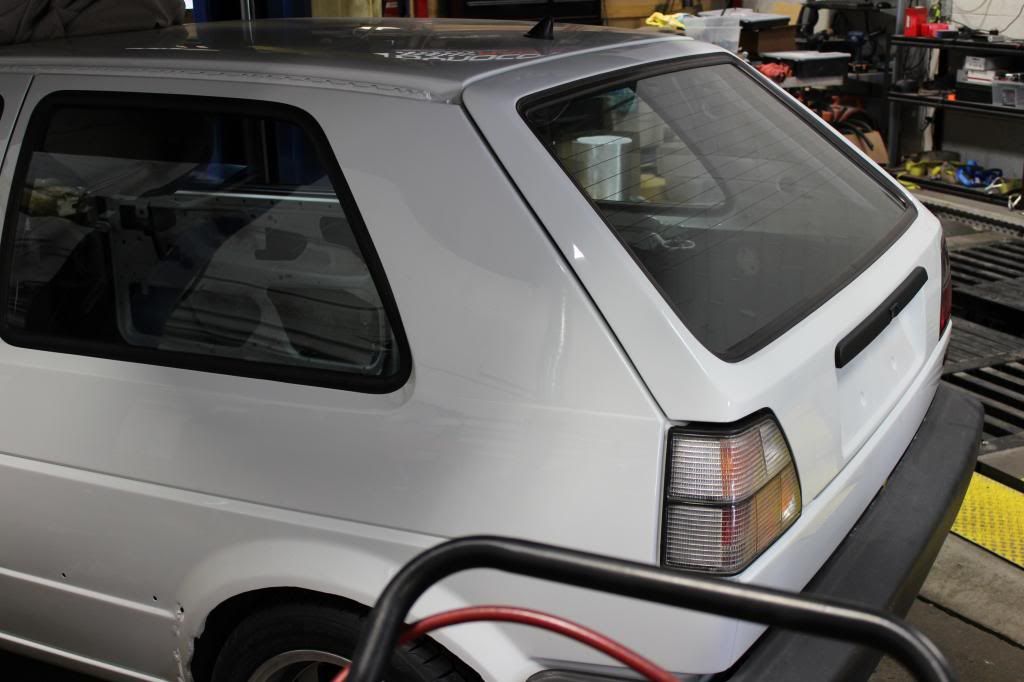
One of my favourite pictures so far.
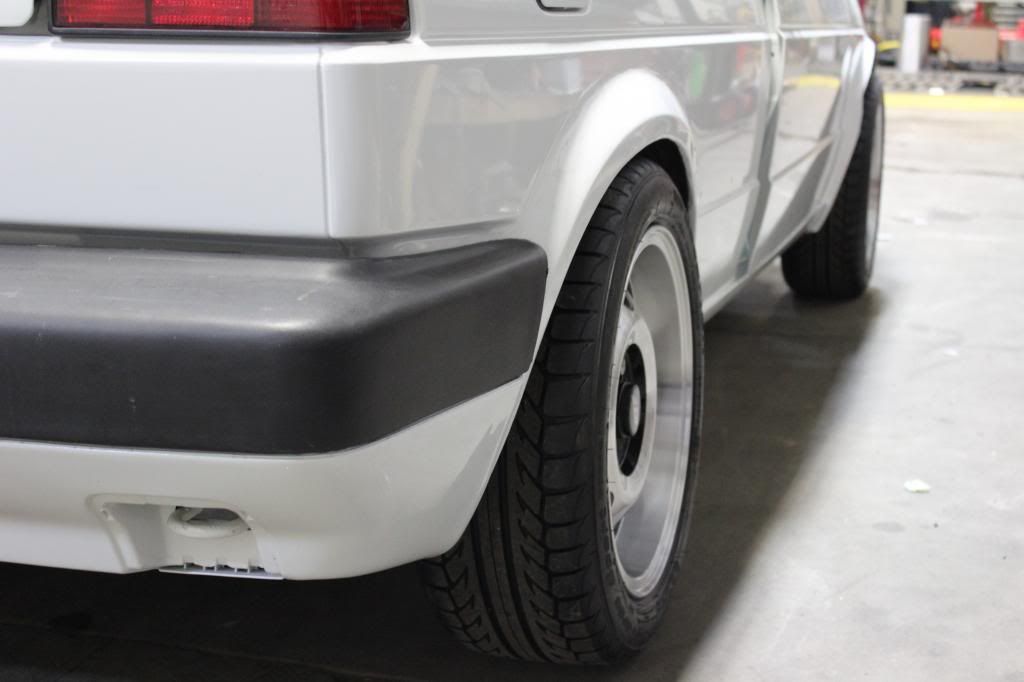
Now for the engine build, which is pretty good.
The bottom end. Eurospec 4340 billet knife edged crank 86.4mm stroke, Wossner rods, ARP everything. All the good stuff.
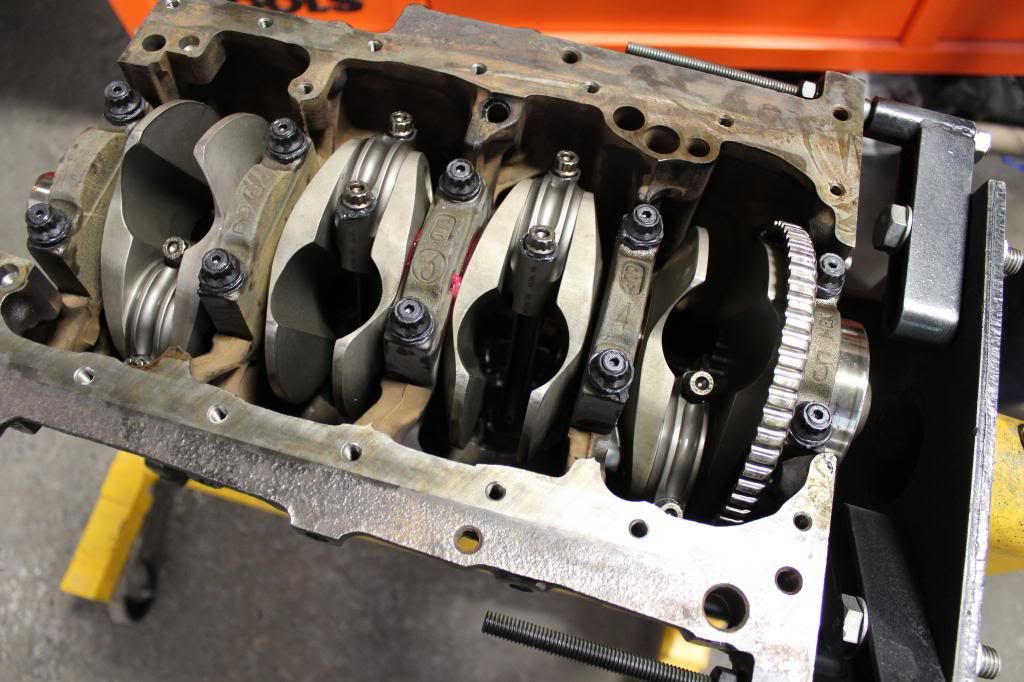
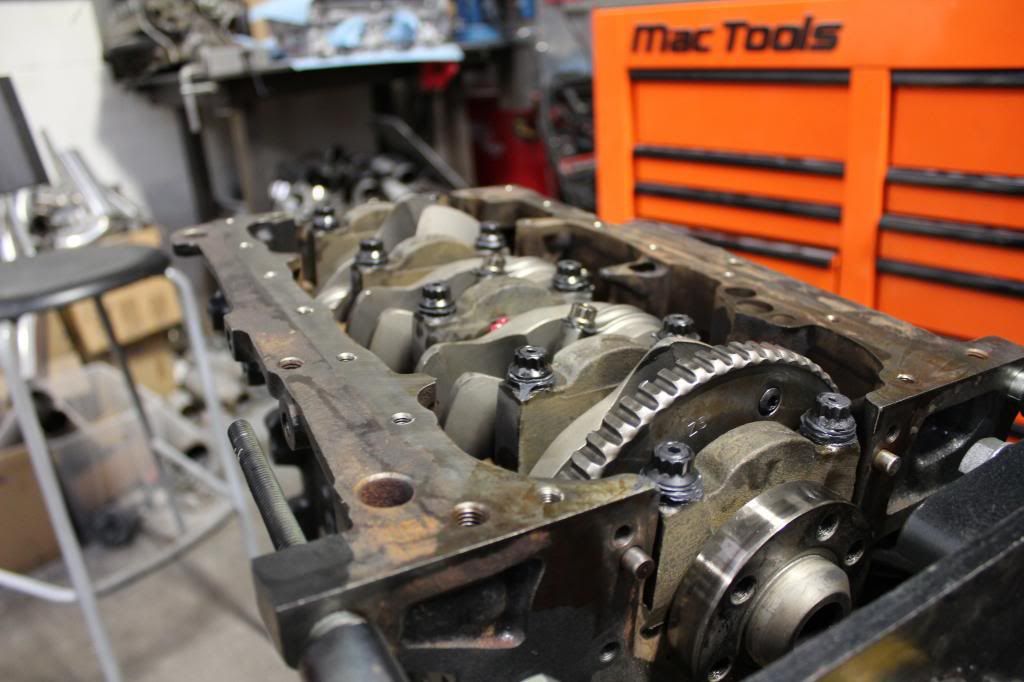
The pistons are Wossner 12.5:1 compression. Its crazy, they actually stick out past the top of the block.
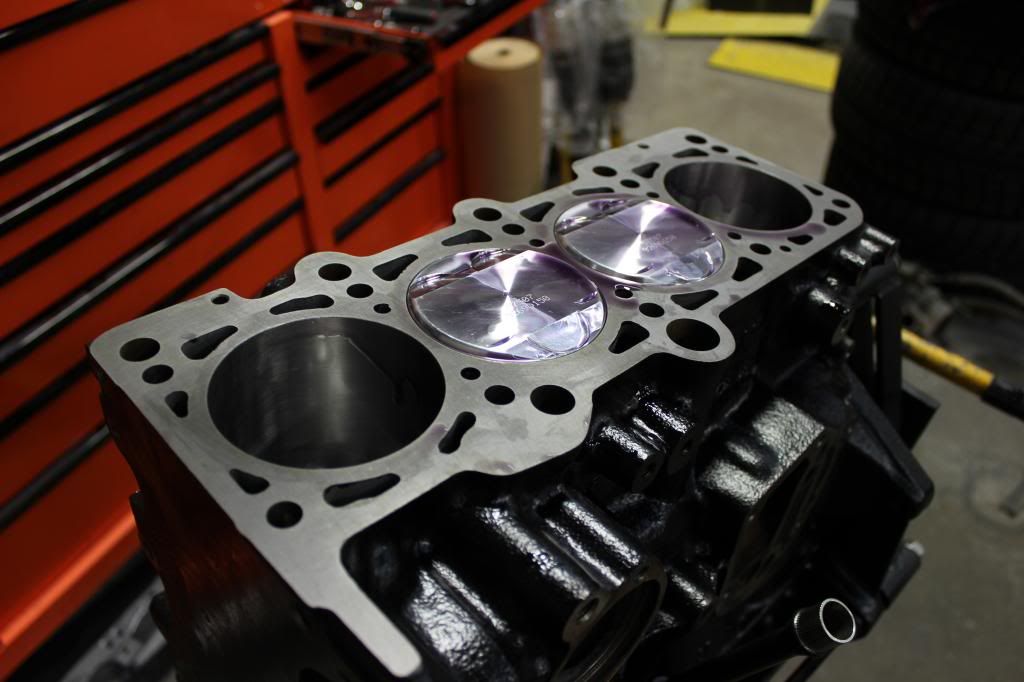
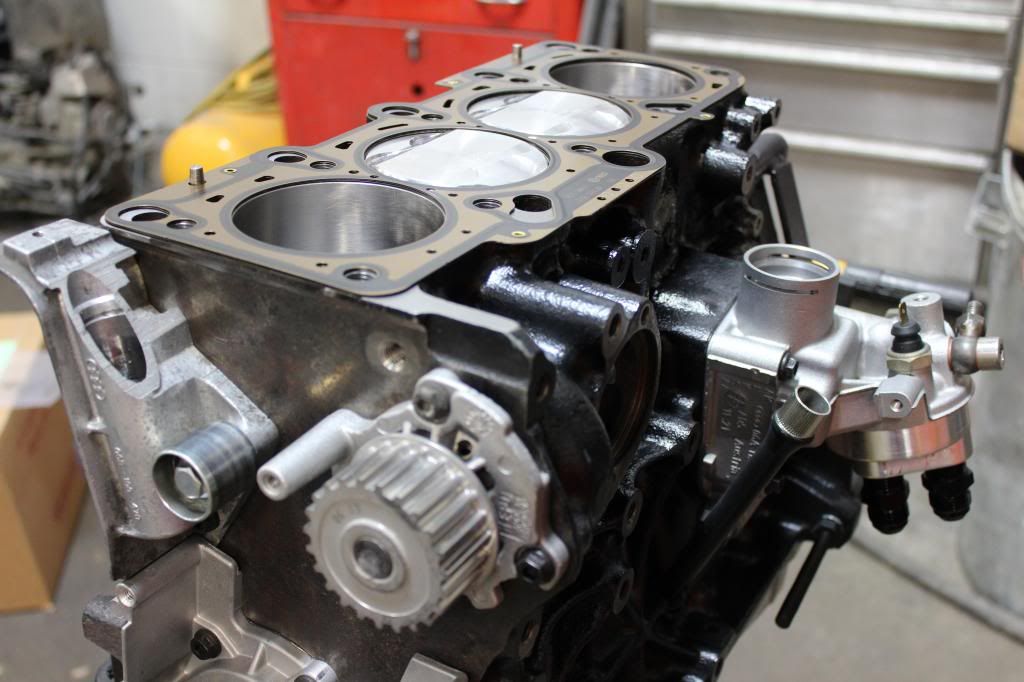
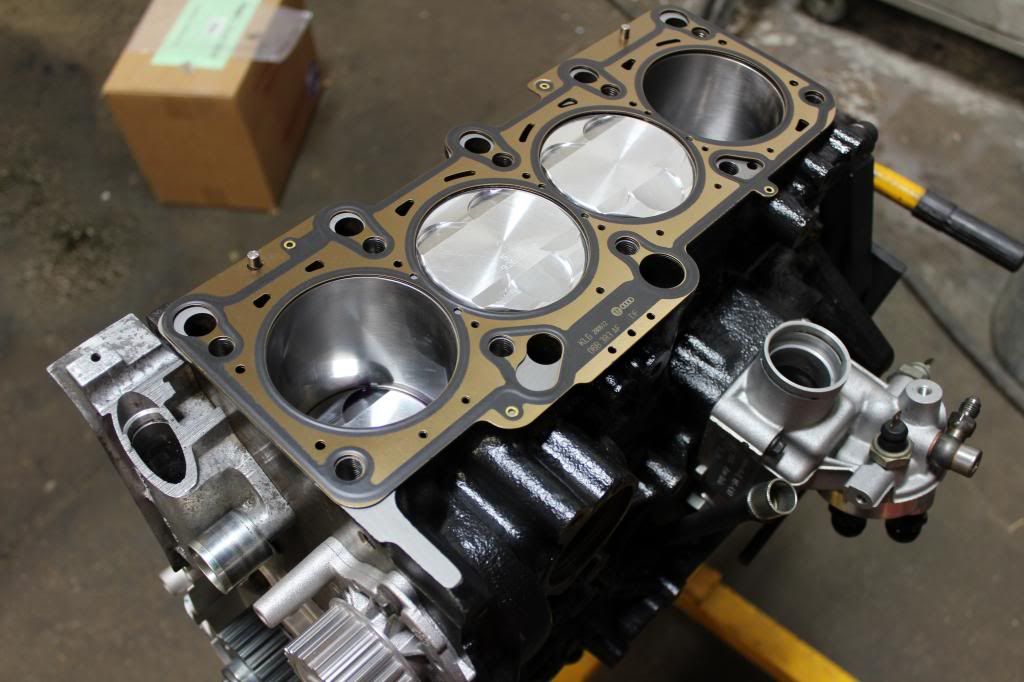
Now for the cylinder head. With the crazy pistons the cylinder head actually wouldn't fit on, so we had to make some room. The bit that is in sharpie is what we had to take off.
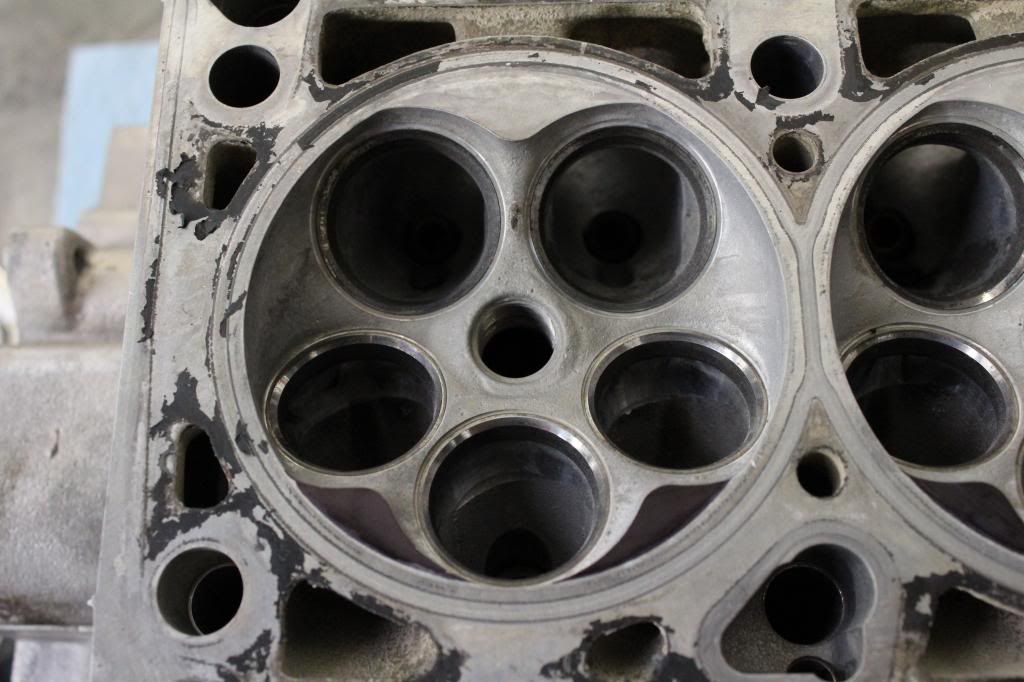
After it looked like this. Notice the part missing.
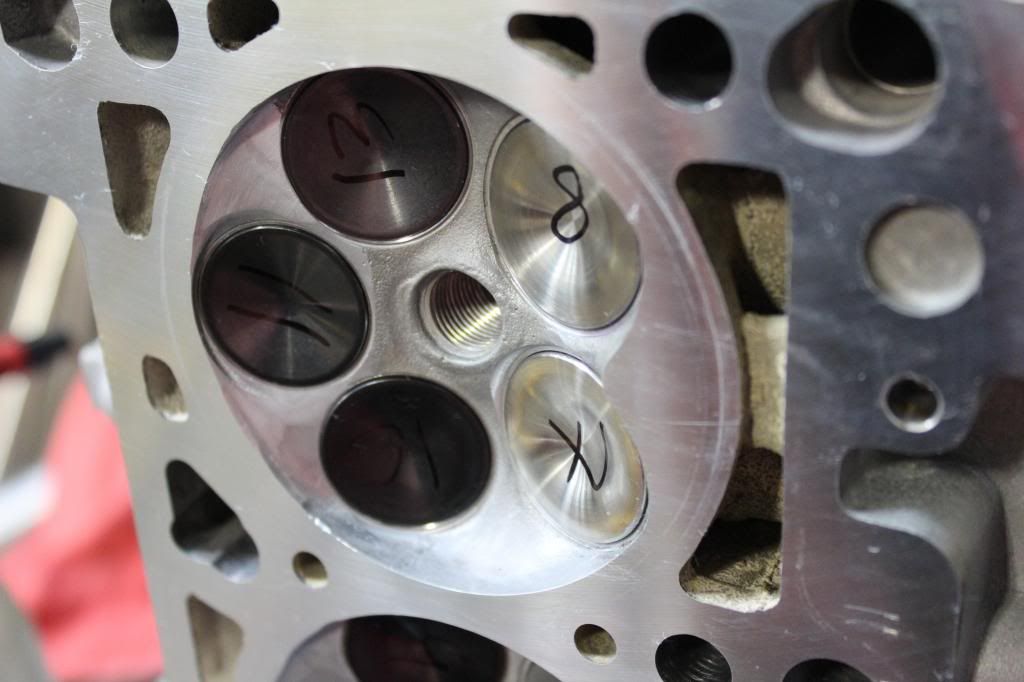
All the valves are SuperTech race valves. Inconel exhaust valves and stainless steel intake valves. With really stiff springs and titanium retainers with single grove keepers.
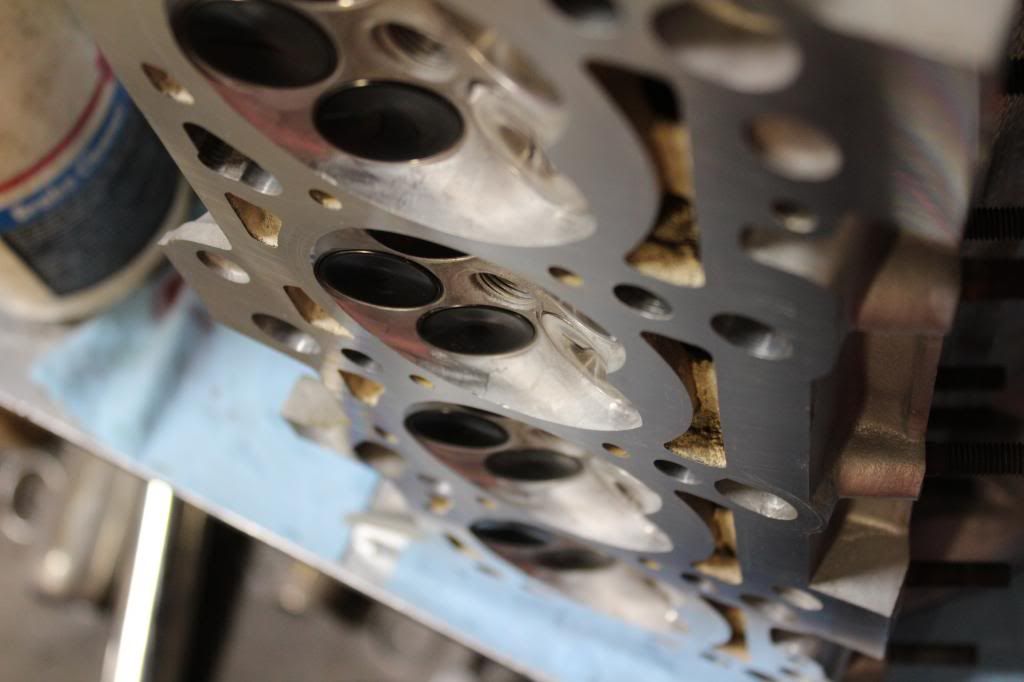
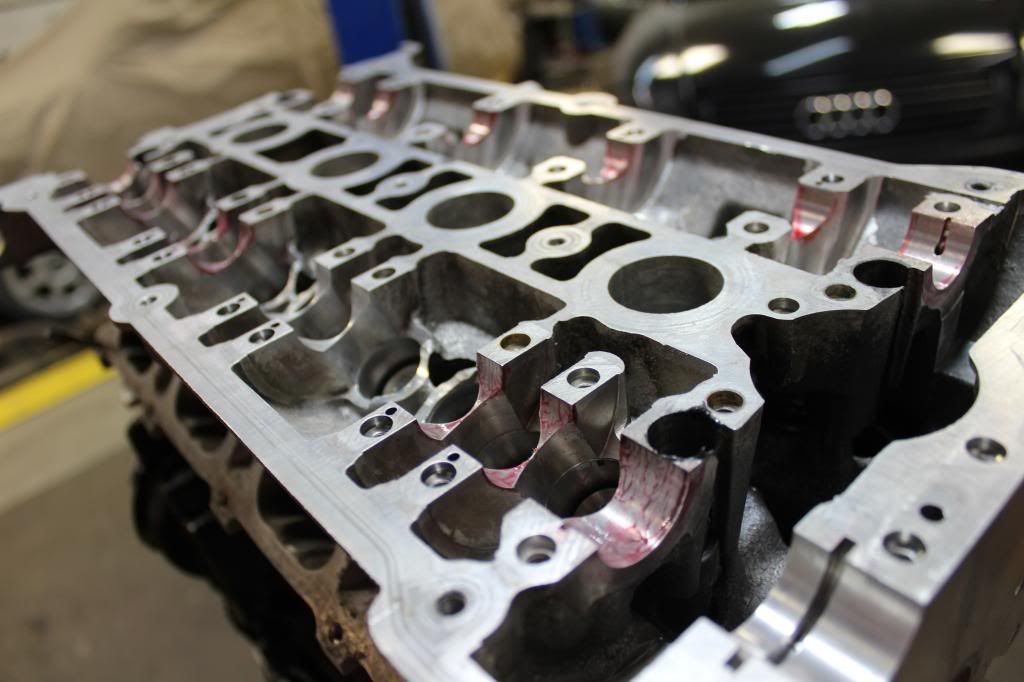
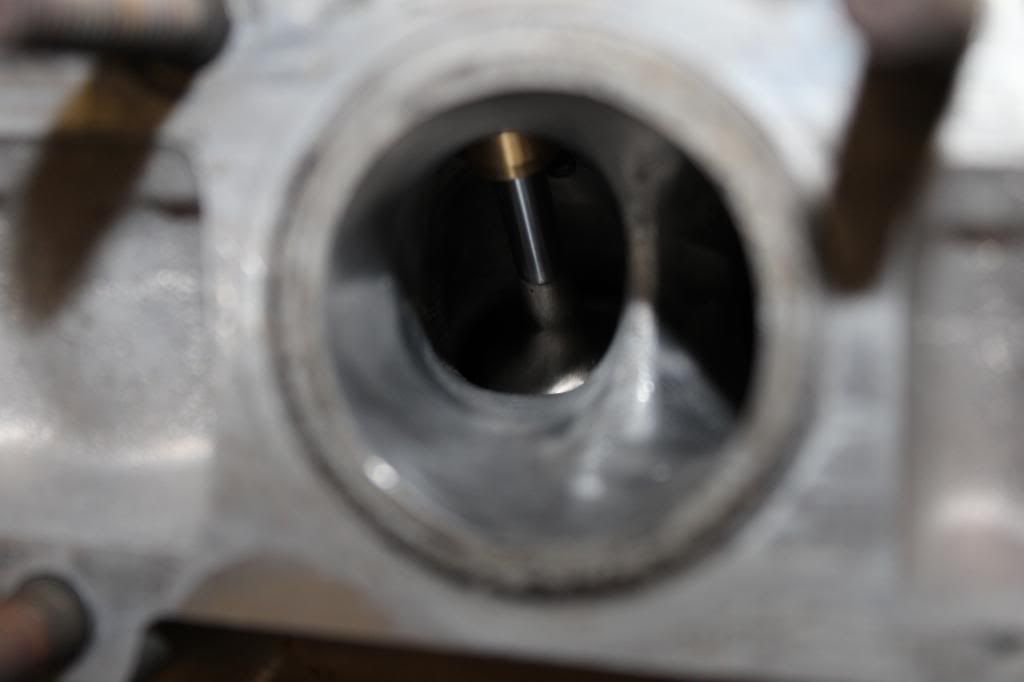
Another thing is the cams wouldn't fit. They are Schrick 296 intake, 292 exhaust. So we had to make some space for them. You can see the bit we had to take away.
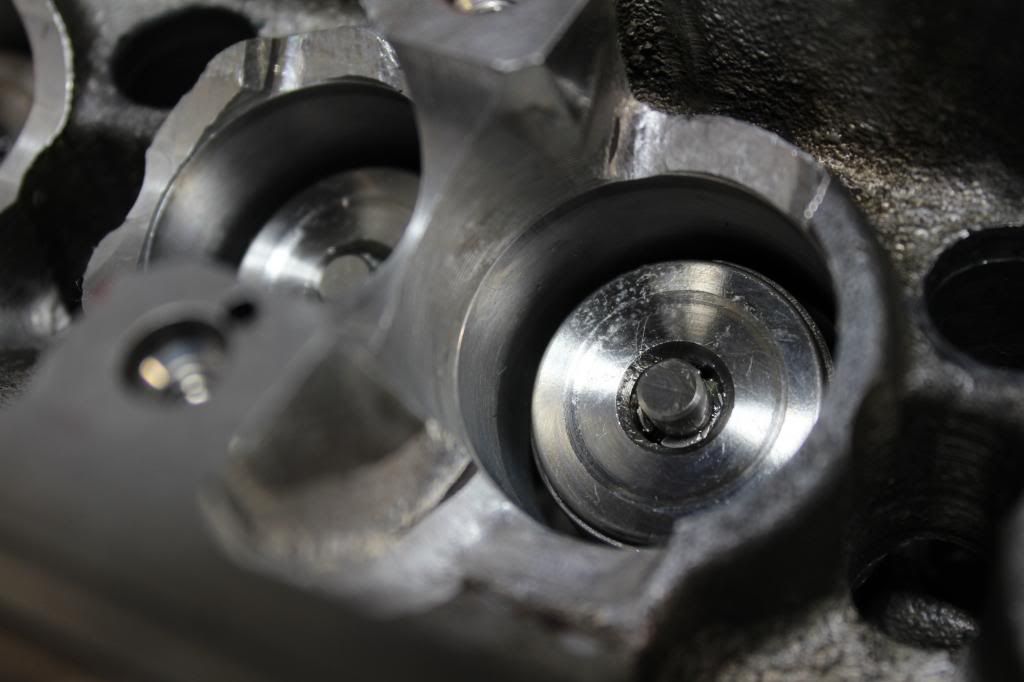
We have SuperTech solid lifters. Getting all the lash caps to right size was a pain...
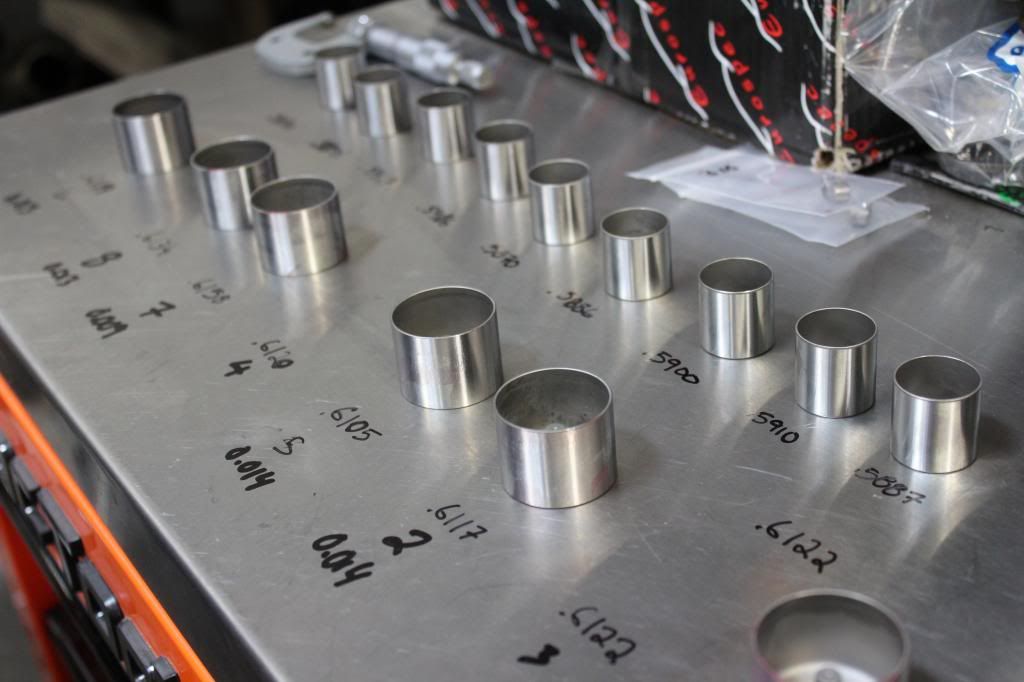
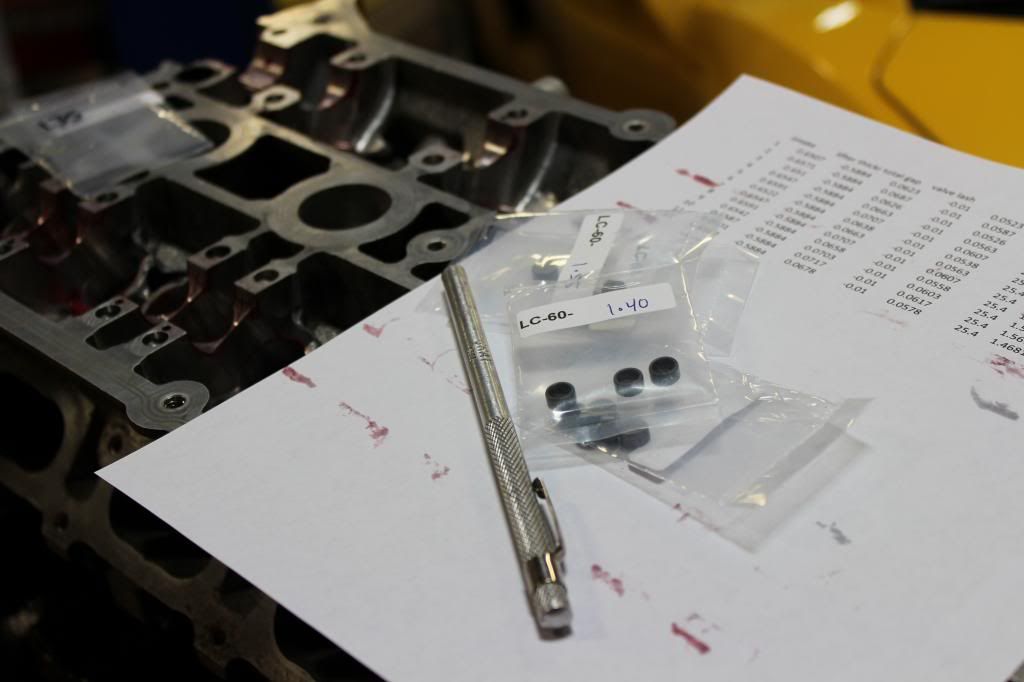
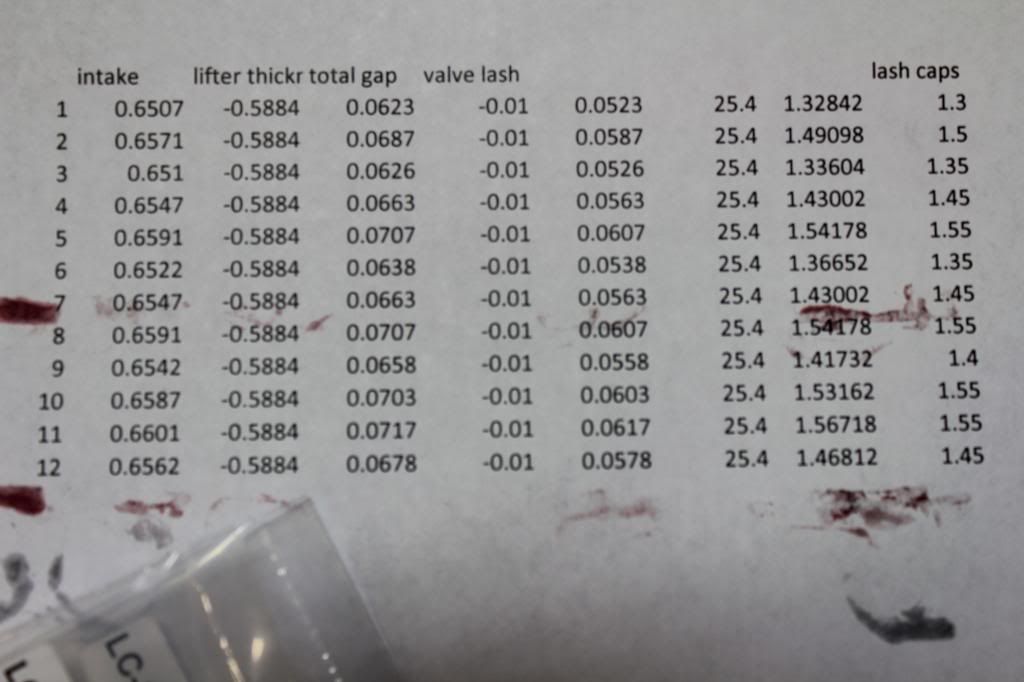
Our spread sheet to tell us what size lash caps we need.
 [/QUOTE]
Now that the engine is done and the body of the car is done we can put the engine in.
But first some pictures of the engine.
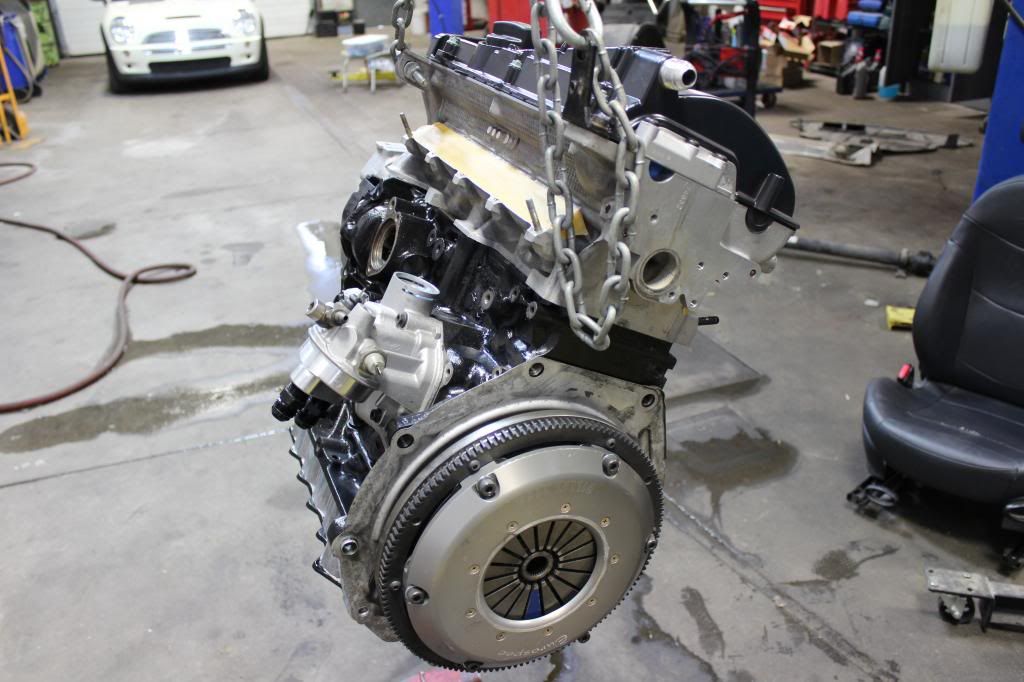
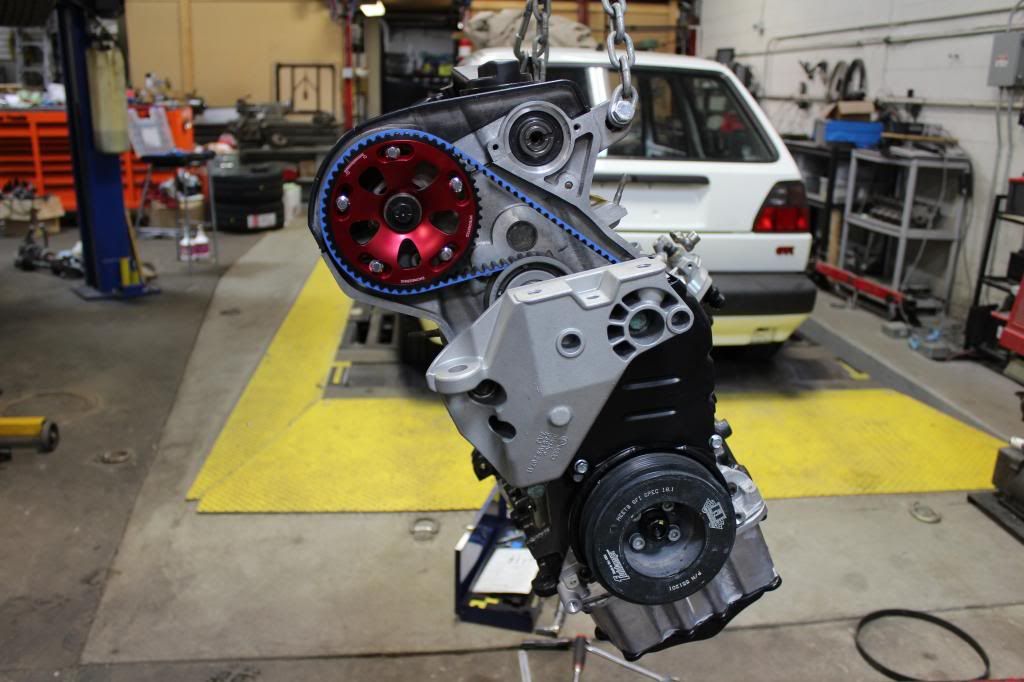
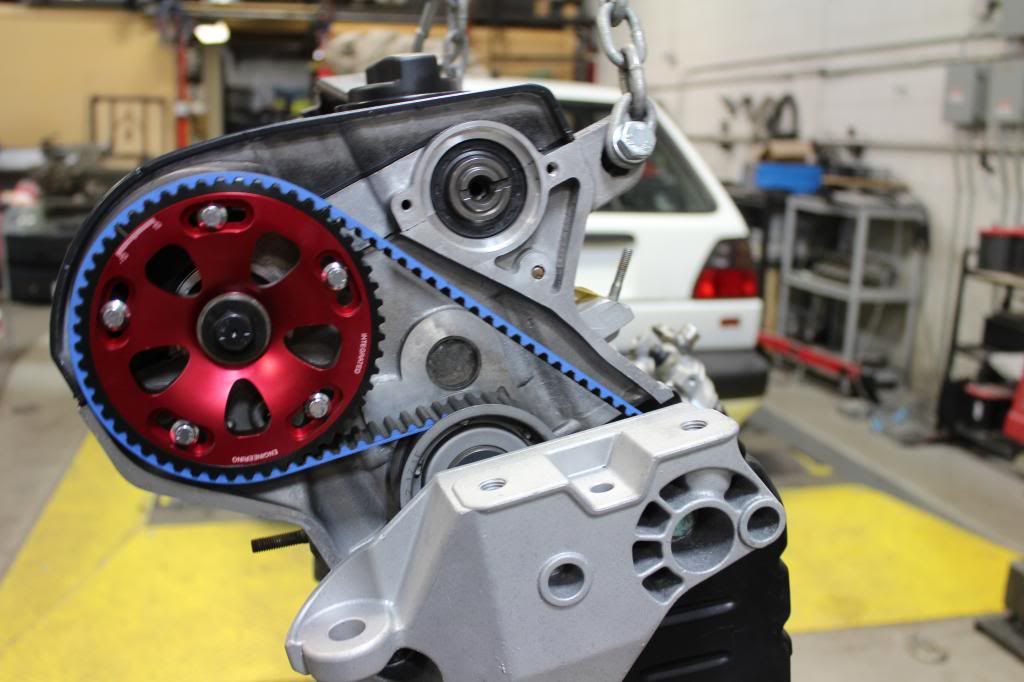
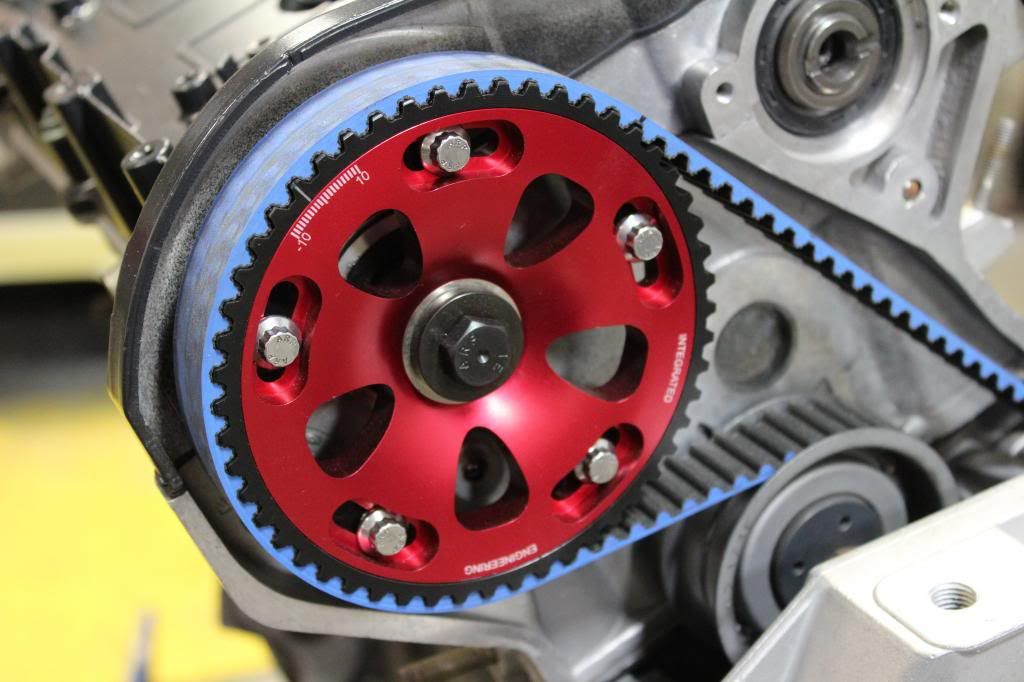
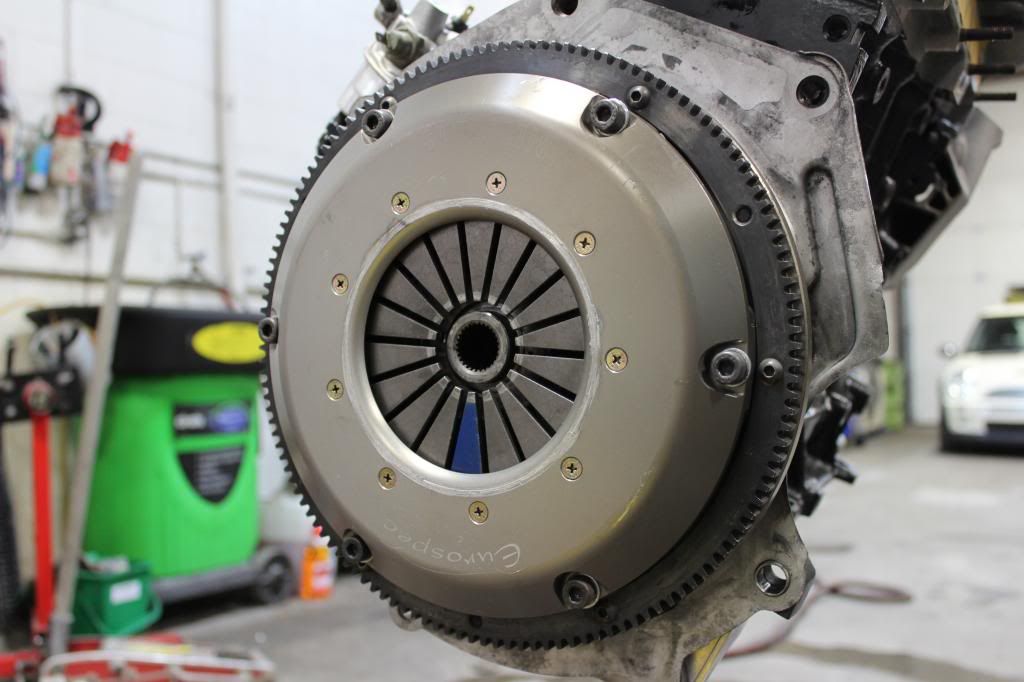
The clutch is a EuroSpec 6 puck with the billet cover.
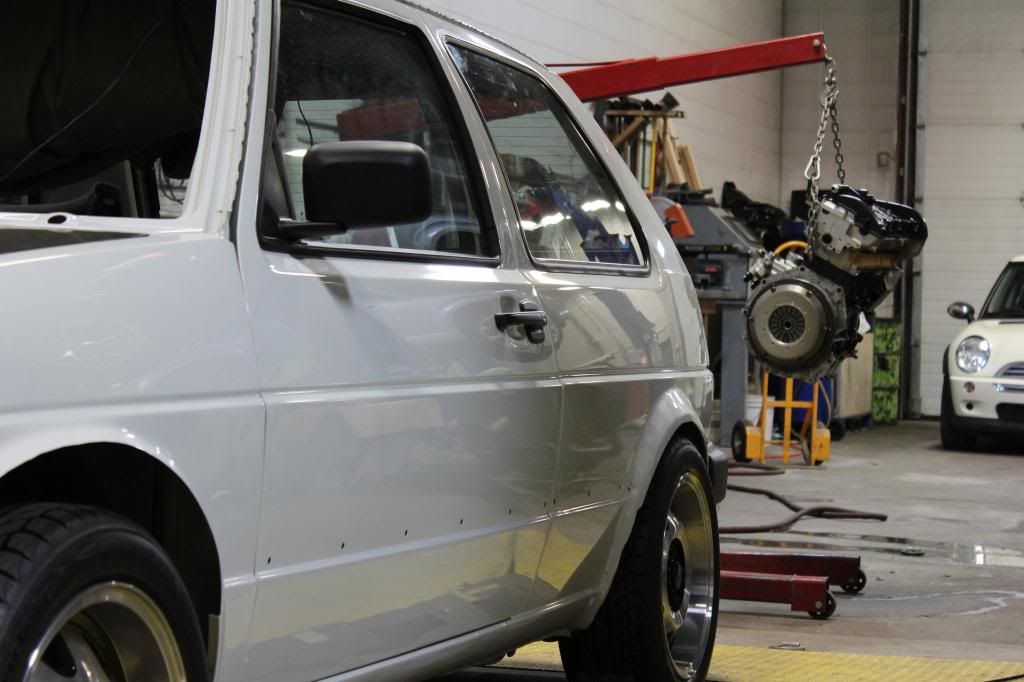
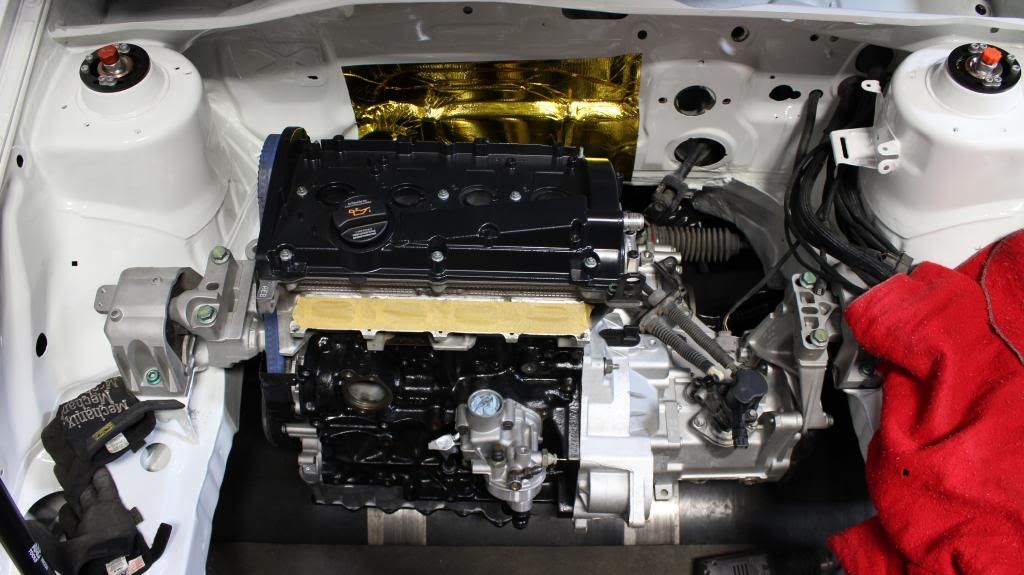
Now for the part where the engine goes in. It dropped in super easy, no trouble with it.
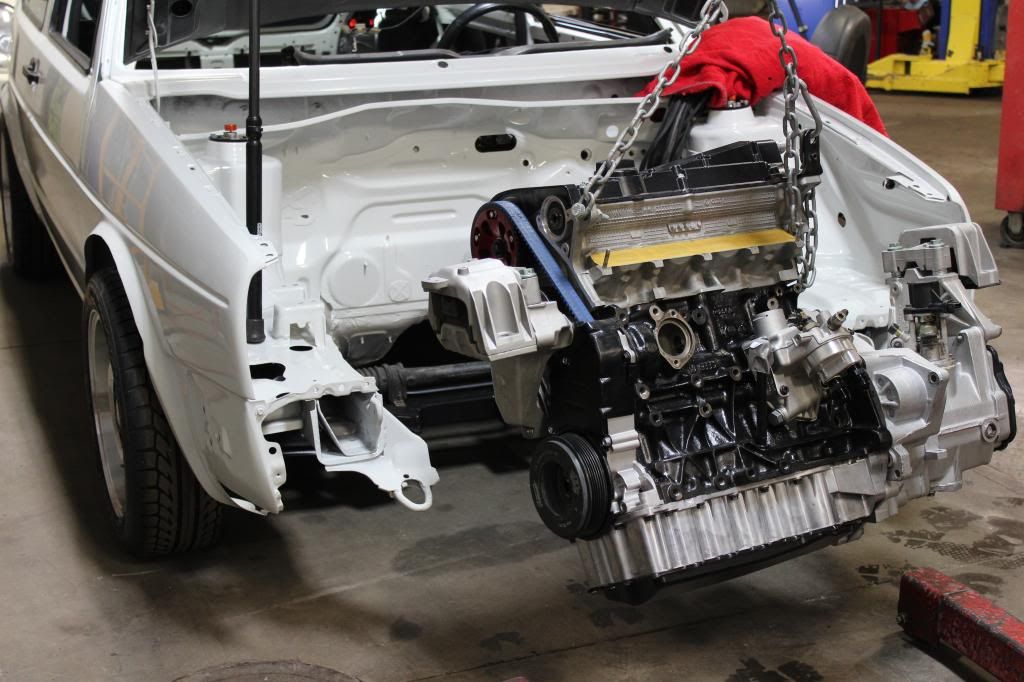
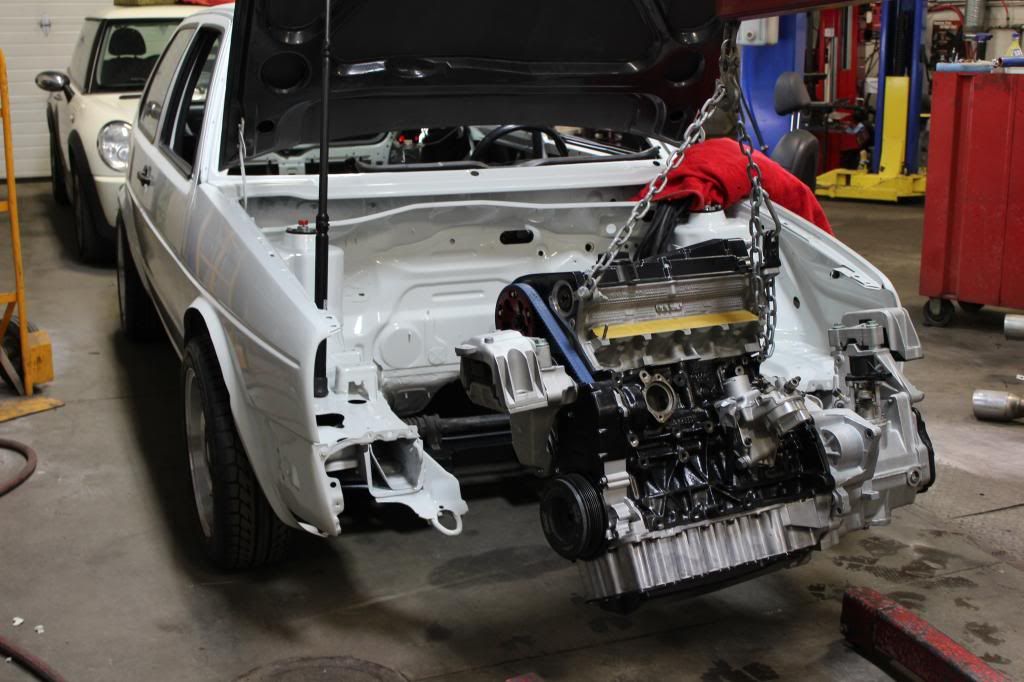
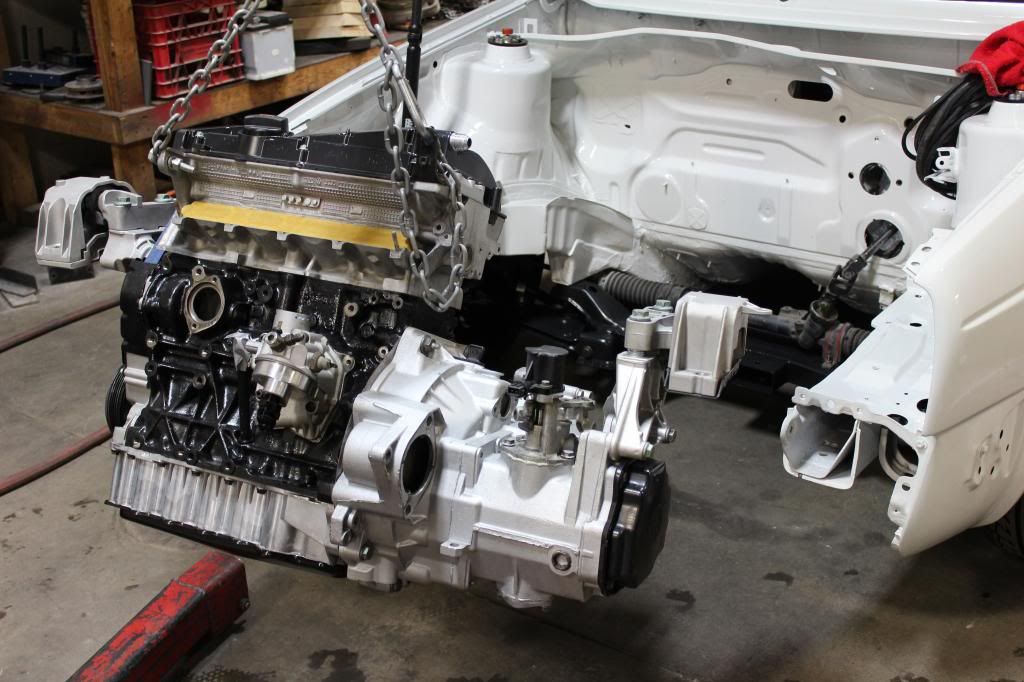
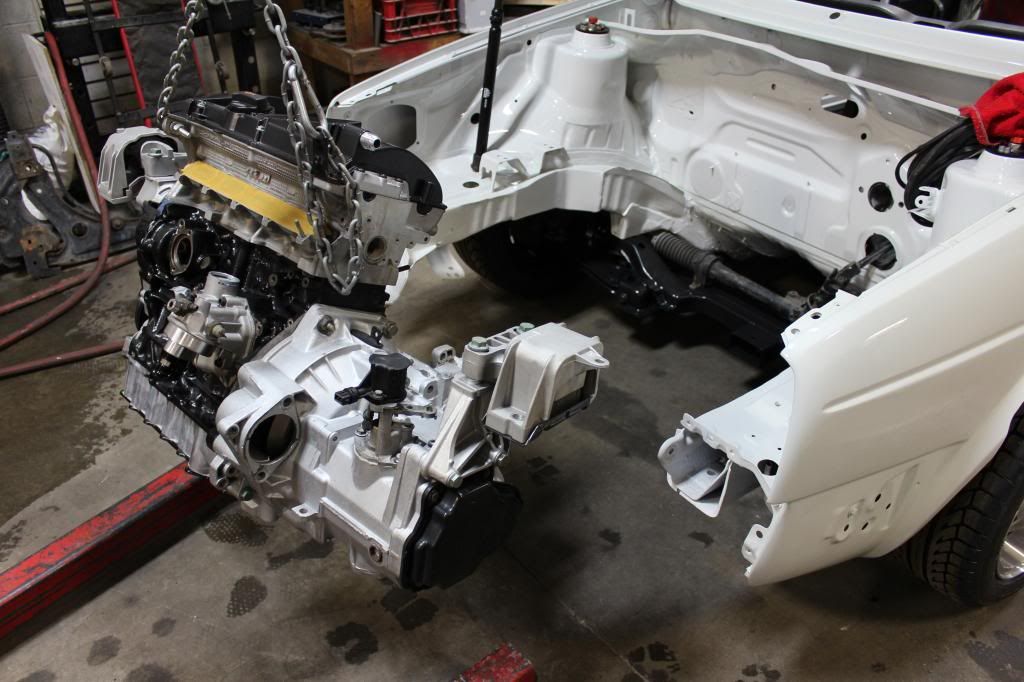
Almost in..
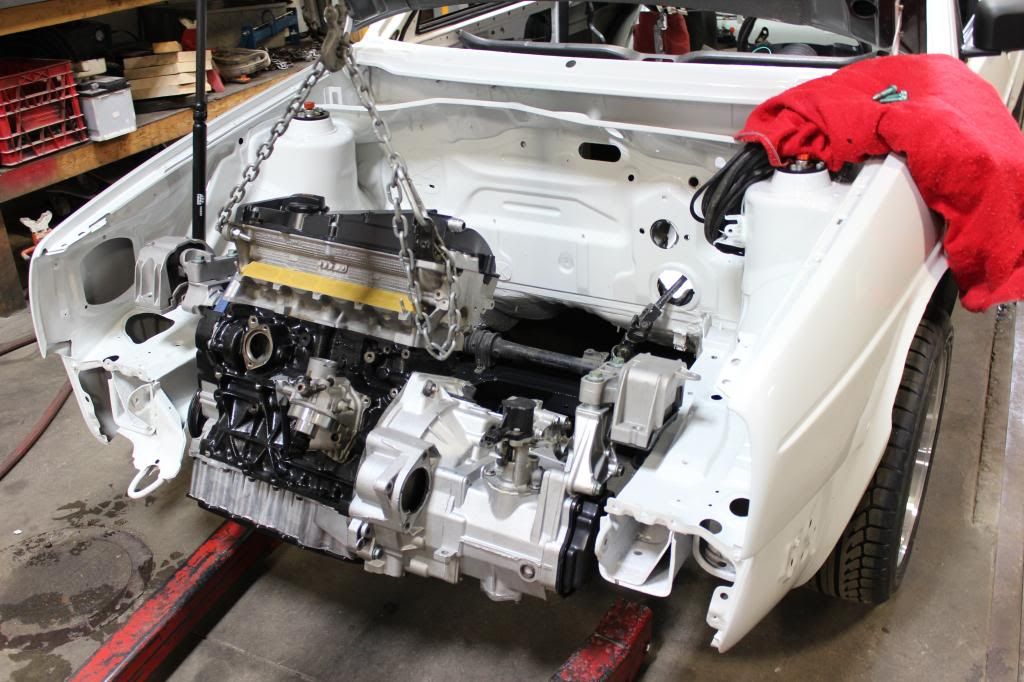
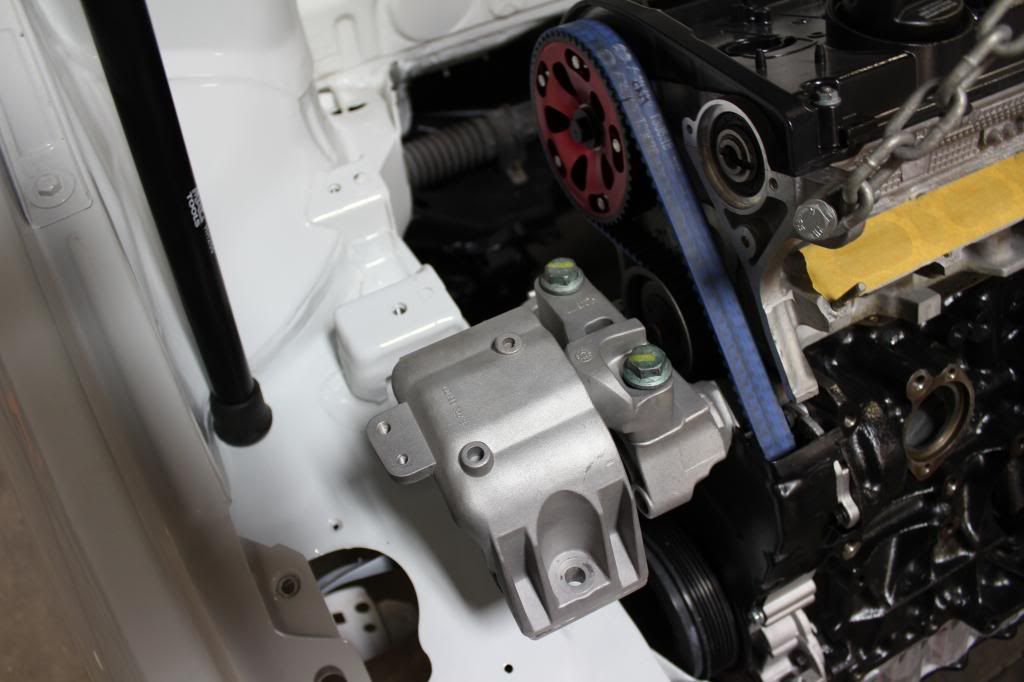
And it's in
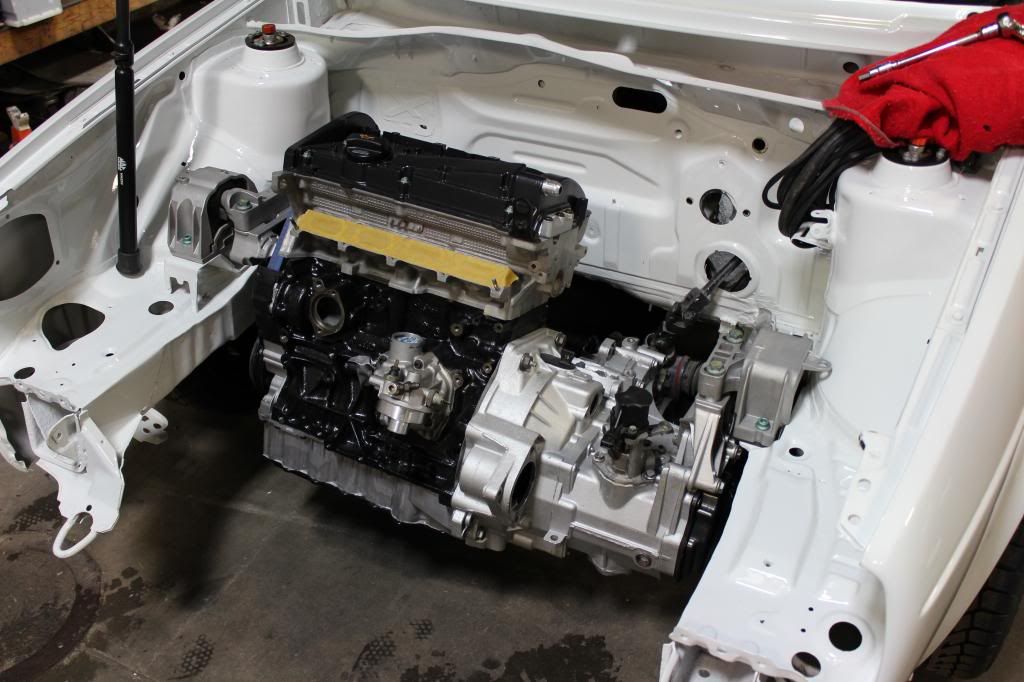
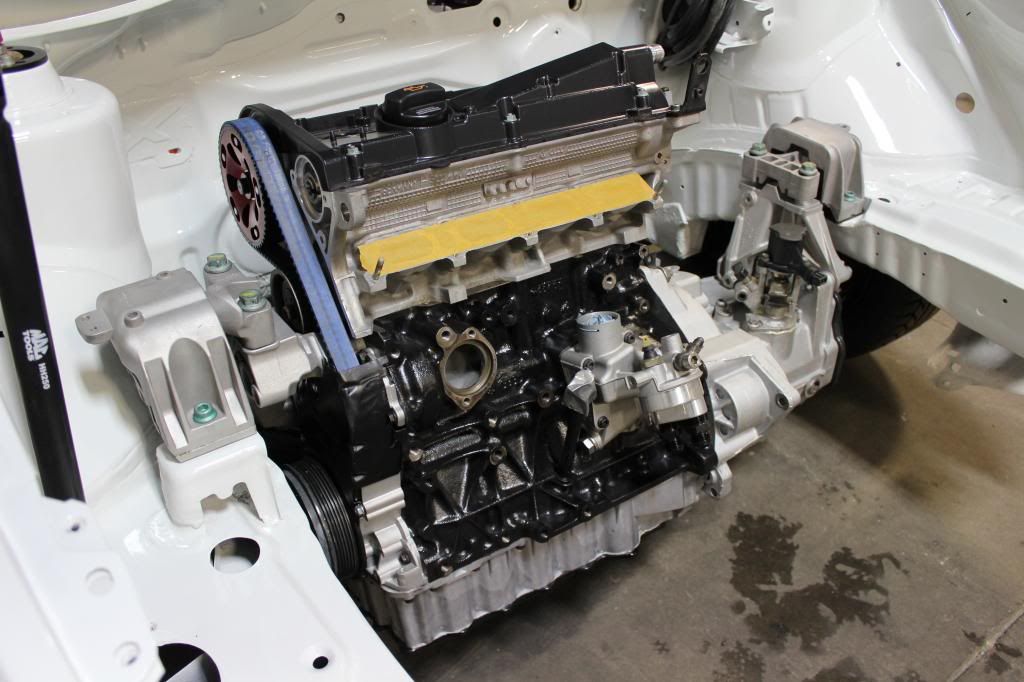
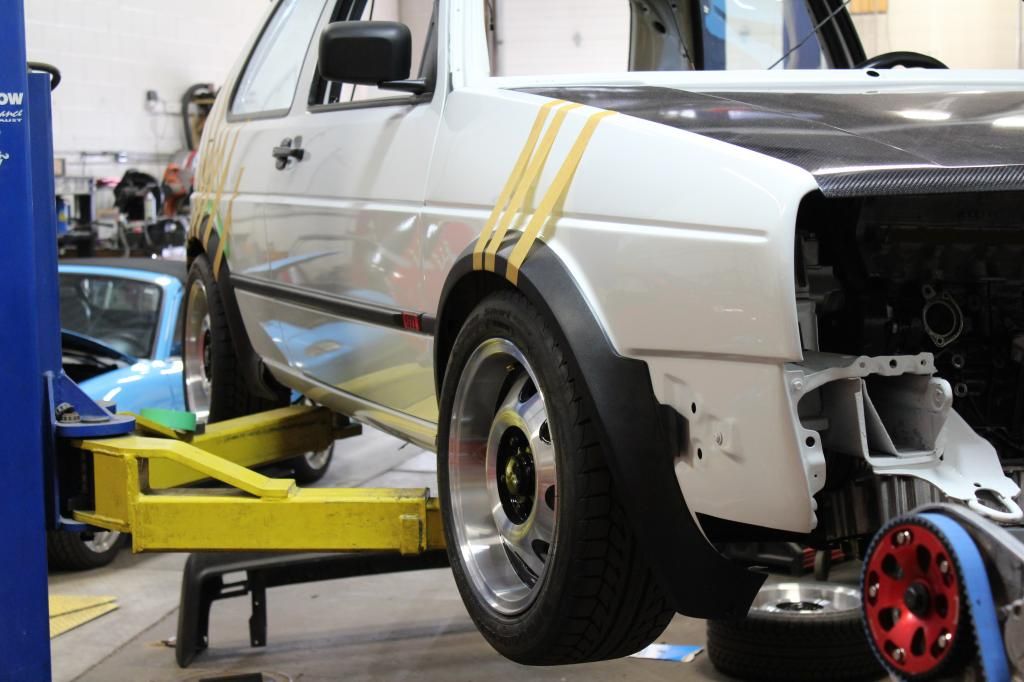
Now we put the torque mount in. I thought it was pretty funny that the whole side of the car lifted up from the jack on the front.
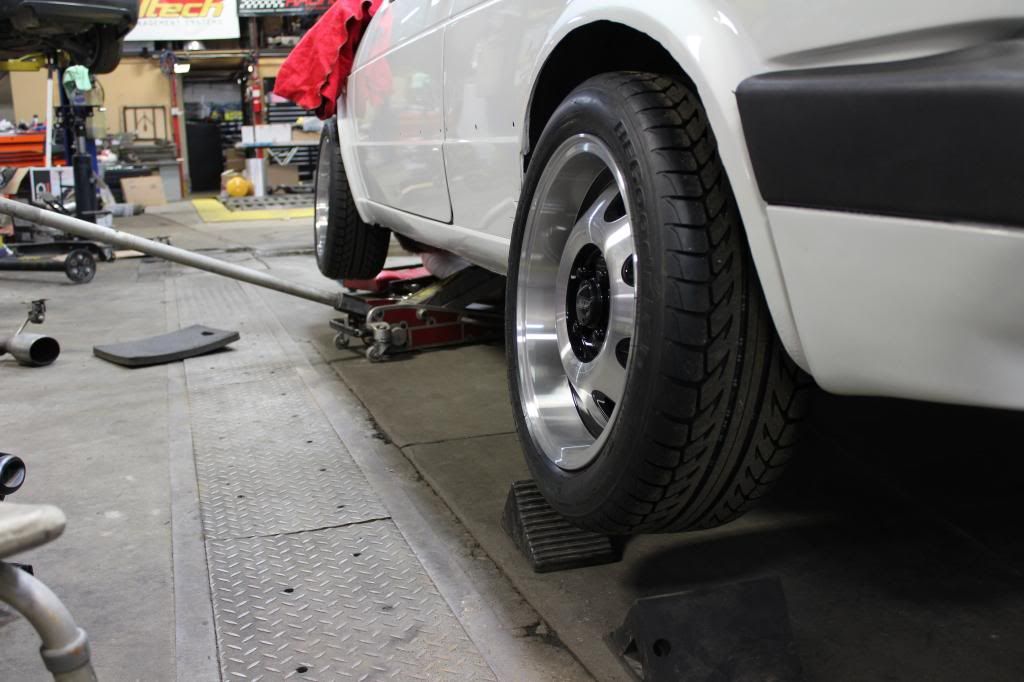
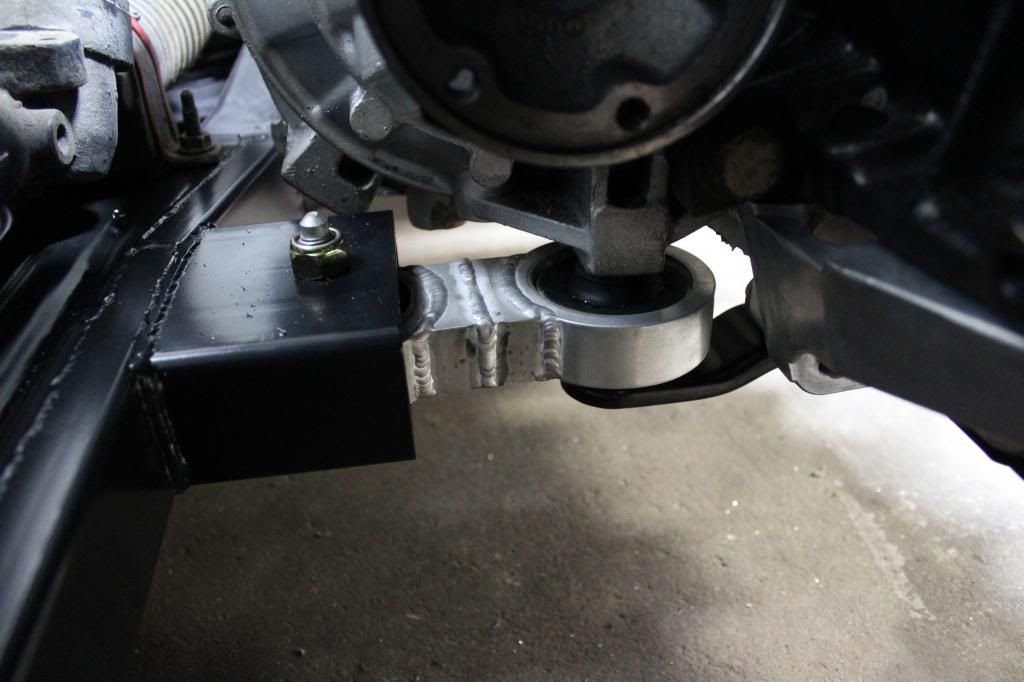
The torque mount is in, you can see the custom sub-frame we made.

And this what it looks like from the top.
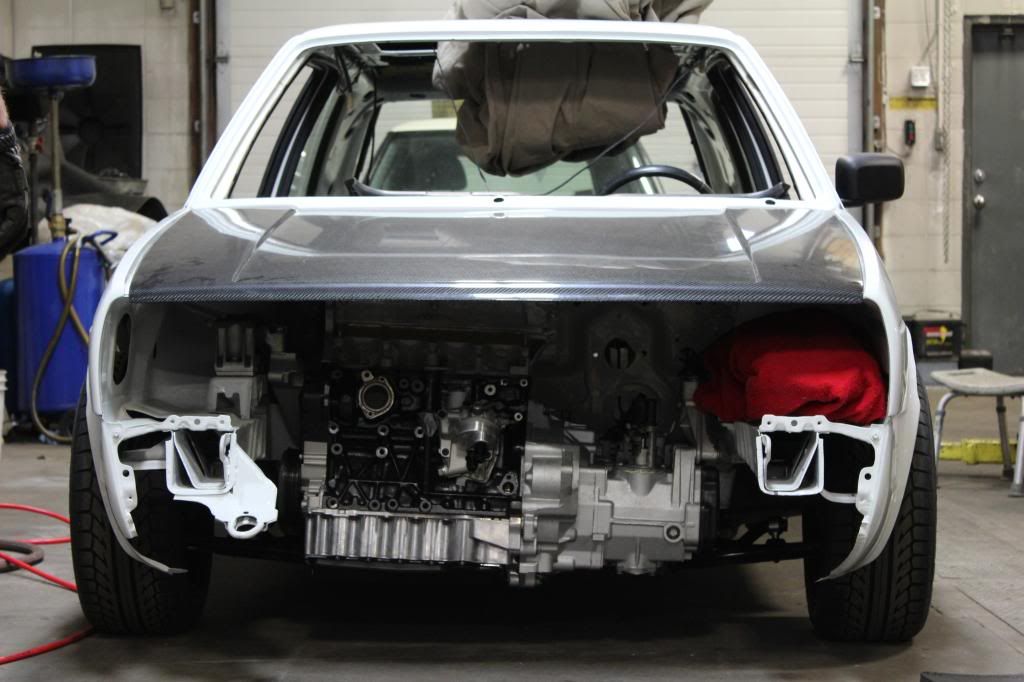
This is another one of my favourite pictures of the car.
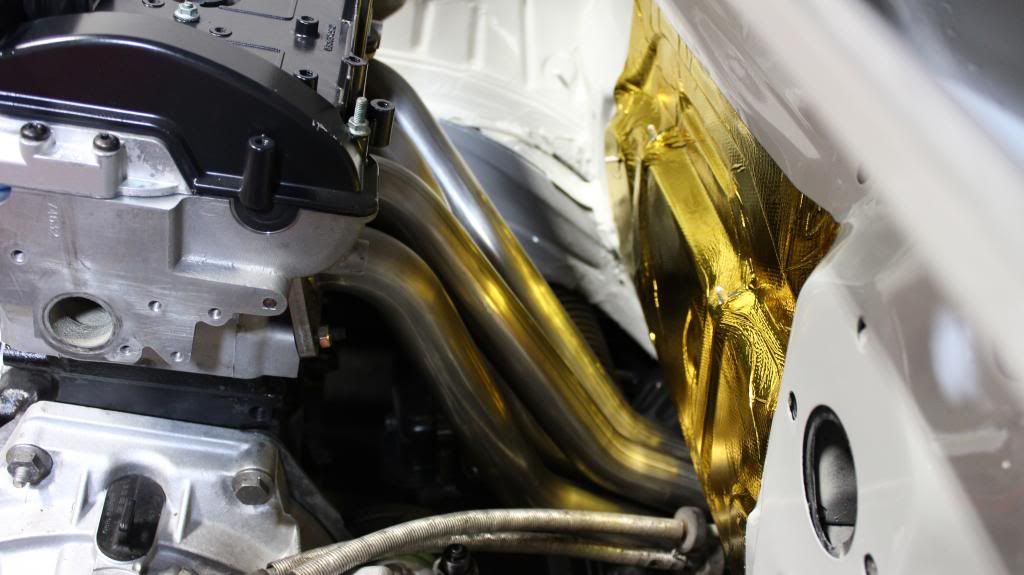
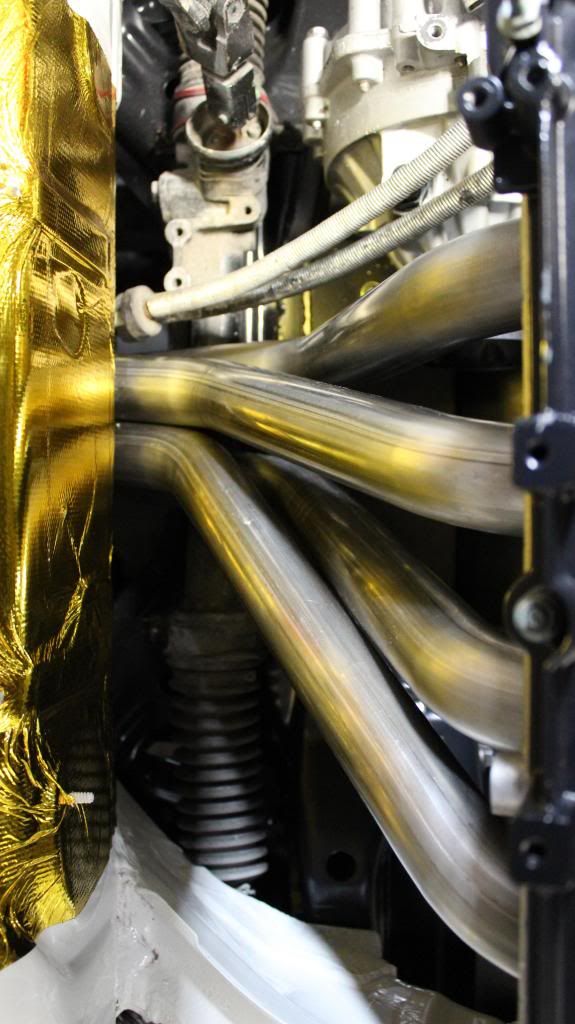
It wont let me post more than 100 pictures in one post haha. Gotta look at the next post.
I've been working on my Mk2 for a while. Its a project that my dad and I have been working on for about 8 months now, we started in November 2013. So basically how I ended up with the car, my dad gave it to me after it had been sitting for a year(ish) and said that we are going to fix it up.
This is what it looked like when I got it. No engine, kinda rusty, had been sitting in our yard for a few years.


All the stuff that it came with.

And this is what it looked like before it lost its engine and went to the yard. I believe it made about 450whp until it blew a piston ring on the dyno. (Was not mine back then)


Okay, so now the fun starts. We started the swap to put MK4 engine mounts into it, thats right MK4 mounts. So first mounted the engine in there with its original MK2 mounts so we could know where its supposed to be. Then we had to make it so that the piece that attaches the mount to the engine fit. Here are some pictures of that.


So we obviously had to cut away part of the frame rail for it to fit.


Half done.

Then it fit!

So we welded it up.


Now we had to work on the place that the engine mount sits. So we went ahead and cut this out of our parts TT. Then made it fit in the MK2.


With the mount on it. (Don't mind the washers, they are no longer needed)

Now that that side was done we had work on the transmission side. It was easier, all we had to do was cut a bit out and then weld an angled piece of steel in.


Need to go down more so...

Then it fit, so we weld the angled bit in.


Mock up engine in.

Now for the torque mount. For that we made a custom sub-frame and torque mount. I didn't get any pics of the subframe before it went into the car.


And the subframe.

Now for the bodywork. Many, many hours went into this. I worked on it everyday after school until it was done. I did it all my self except for the welding which my dad did. Oh and Colin helped with a bit of bodywork.
This is what the frame rails looked like after some bodywork and primer.


After all the engine mounting stuff was done we started on the bodywork of the actual car. It had a few dents and we shaved a lot of stuff too.. Well basically everything actually.


Cleaned out the rain tray. Somebody had put ugly purplish paint in there.

Took the windshield out to check how much rust was under there. Thankfully there wasn't any.


This is what the car and engine bay looked like after primer.


Then we went about fixing the hatch, it had a few hole in it from a Zender spoiler and while we were at it we shaved the wiper too.


So here are the pictures of the car after it got back from paint and we got some stuff put on it.
The car. It will eventually have full GTI trim.


And pictures of the hatch which I think is totally gorgeous. I put many, many hours of work into that. The car also has windows now. The hatch glass is pretty rare, it has no brake light.


I like my white brake light.
 Sorry, I didn't have any space for pictures.
One of my favourite pictures so far.

Now for the engine build, which is pretty good.
The bottom end. Eurospec 4340 billet knife edged crank 86.4mm stroke, Wossner rods, ARP everything. All the good stuff.


The pistons are Wossner 12.5:1 compression. Its crazy, they actually stick out past the top of the block.


Now for the cylinder head. With the crazy pistons the cylinder head actually wouldn't fit on, so we had to make some room. The bit that is in sharpie is what we had to take off.

After it looked like this. Notice the part missing.

All the valves are SuperTech race valves. Inconel exhaust valves and stainless steel intake valves. With really stiff springs and titanium retainers with single grove keepers.


Another thing is the cams wouldn't fit. They are Schrick 296 intake, 292 exhaust. So we had to make some space for them. You can see the bit we had to take away.

We have SuperTech solid lifters. Getting all the lash caps to right size was a pain...


Our spread sheet to tell us what size lash caps we need.
 [/QUOTE]
Now that the engine is done and the body of the car is done we can put the engine in.
But first some pictures of the engine.


The clutch is a EuroSpec 6 puck with the billet cover.

Now for the part where the engine goes in. It dropped in super easy, no trouble with it.


Almost in..


And it's in


Now we put the torque mount in. I thought it was pretty funny that the whole side of the car lifted up from the jack on the front.

The torque mount is in, you can see the custom sub-frame we made.


And this what it looks like from the top.

This is another one of my favourite pictures of the car.

It wont let me post more than 100 pictures in one post haha. Gotta look at the next post.


Comment